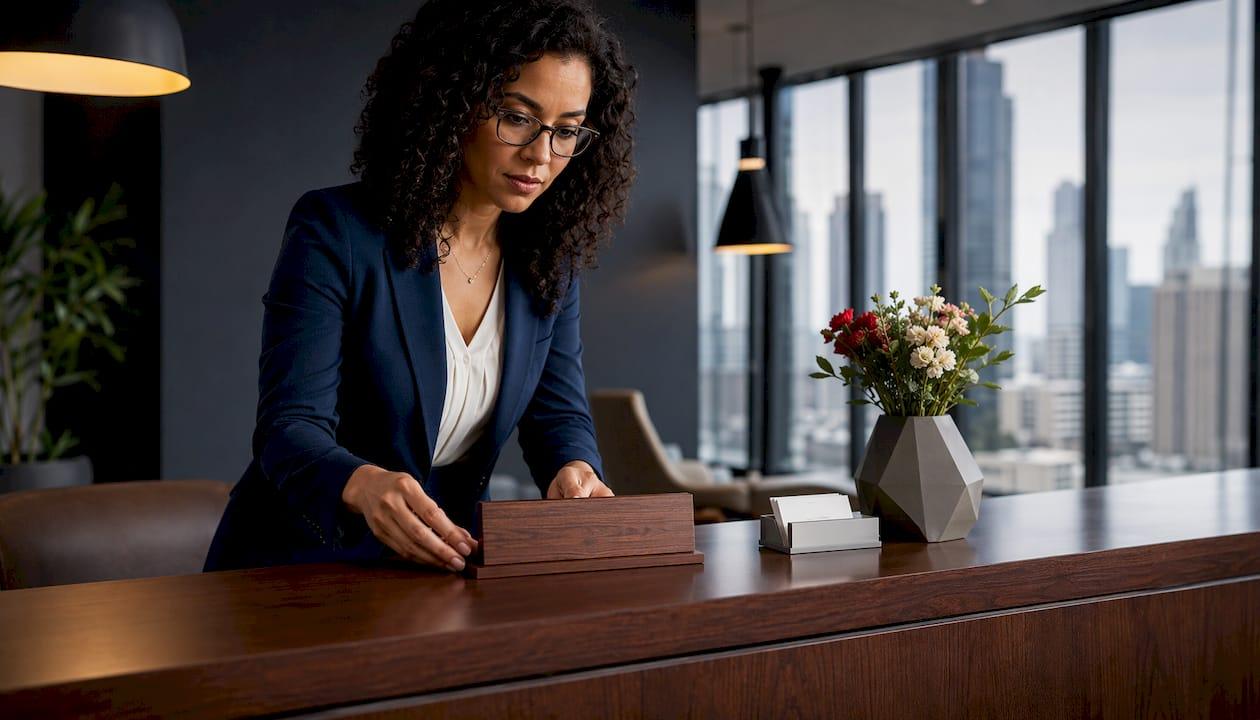
Order a laser-engraved desktop or wall-mounted check-in sign matched to your reception layout — Signaturelaserdesigns handles design review, proofing, and U.S.-based production from start to finish. For low-traffic counters, a desktop tent sign in engraved walnut or acrylic is a great fit. For busier lobbies and medical or corporate settings, a wall-mounted or standoff metal sign delivers the permanence and visibility your front desk deserves. Reception desk signage establishes a first impression and should be sized and styled to complement your interior and traffic patterns. Have your dimensions, logo file, and preferred finish ready when you reach out for a quote.
✦ Featured From Our Etsy Shop ✦
Handcrafted & Laser Engraved Just For You
Pro Tip: Match your mounting choice to foot traffic first. A tent sign works beautifully on a quiet boutique counter; a standoff wall mount is the right call the moment your lobby sees a steady stream of visitors.
Table of Contents
- What materials and mounting options work best for your check-in desk?
- Design rules that keep your sign legible and on-brand
- What affects the price and lead time of your sign?
- How a custom sign order works from quote to delivery
- Placement and installation guidance that actually improves visitor flow
- How to prepare your artwork files for laser engraving
- Style ideas and real-world use cases to spark your design
- Key Takeaways
- Why laser-engraved check-in signs are worth doing right
- Signaturelaserdesigns makes custom check-in signage simple
What materials and mounting options work best for your check-in desk?
The material you choose shapes everything: how the sign looks on day one, how it holds up after two years of daily cleaning, and how well it fits your brand personality.
Wood brings warmth and a handcrafted feel that suits boutique studios, spas, and hospitality desks. Laser-engraved walnut or maple reads as a thoughtful, premium touch. You can explore laser-cut wood options for finish ideas before you order.
Acrylic is the modern, budget-friendly choice. It photographs well and accepts crisp engraving, but acrylic shows micro-scratches under frequent sanitizing. Subsurface-printed or laser-engraved acrylic holds up better than surface-printed versions in high-cleaning environments.
Metal and brass signal permanence. Brushed aluminum or custom engraved brass is sanitary-friendly, scratch-resistant, and the right call for medical clinics, law offices, and corporate lobbies. For settings requiring frequent sanitization, laser-engraved metal is the most resilient long-term option.
| Material | Visual Style | Durability | Sanitation Suitability | Best Use Case |
|---|---|---|---|---|
| Engraved wood | Warm, artisan | Moderate | Low-medium | Boutique, spa, hospitality |
| Acrylic | Modern, crisp | Moderate | Medium (subsurface) | Modern offices, retail |
| Brushed metal/brass | Premium, sleek | High | High | Medical, corporate, legal |
Mounting options at a glance:
- Desktop tent sign: Portable, easy to reposition; ideal for low-traffic counters and temporary setups.
- Wall-mounted placard: Permanent and visible from a distance; great for dedicated reception walls.
- Standoff mounts: Standoff mounts create a floating, three-dimensional effect and are preferred for premium reception signage where first impressions count most.
- Ceiling-suspended displays: Useful in open-plan lobbies where wall space is limited and overhead sightlines matter.
Two quick pairings worth noting: a boutique reception does well with an engraved walnut desktop tent. A medical clinic is better served by brushed aluminum on a standoff wall mount with clear, directive copy.
Design rules that keep your sign legible and on-brand
Prioritize legibility and brand consistency above everything else. A beautiful sign that visitors can’t read from six feet away isn’t doing its job.
For sightlines of 6–12 feet, use a minimum font size of 24pt for primary text and 14pt for supporting details. Bold or medium-weight sans-serif fonts (think clean, geometric typefaces) outperform decorative scripts for primary instructions. High contrast between text and background, such as white on dark walnut or black on brushed aluminum, is non-negotiable for accessibility.
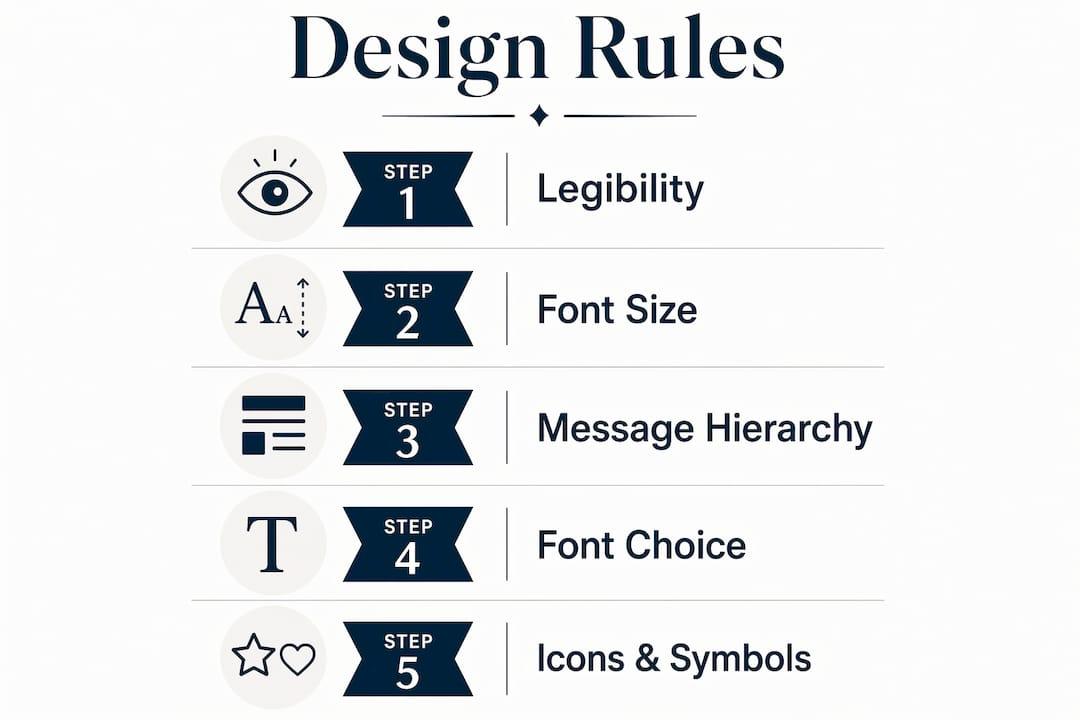
Message hierarchy matters just as much as font choice. Lead with an action verb: “Please Check In” or “All Appointments Check In at Reception.” Specific phrasing tailored to visitor types reduces confusion and bottlenecks at the front desk. Supporting details like desk hours or a department name come second, and an optional QR code for contactless check-in sits at the bottom.
Pro Tip: Reserve decorative scripts for your logo or an accent line only. Never use a script font for the primary instruction — it slows readers down and creates friction at exactly the wrong moment.
Arrow icons and universal symbols help in multilingual or high-volume environments. Keep them proportional and consistent with your brand color palette. For brand consistency across all touchpoints, treat your check-in sign as an extension of your full visual identity, not a standalone piece.
What affects the price and lead time of your sign?
Pricing varies primarily by material, size, and engraving complexity. Those three levers account for most of the difference between a simple counter tent and a large standoff wall sign.
| Factor | Typical Range / Notes | Source |
|---|---|---|
| Base price (simple counter sign) | — | officesigncompany.com |
| UV fade resistance (indoor acrylic) | Several years with UV inhibitors | mydoorsign.com |
| UV fade resistance (outdoor-rated acrylic) | Many years with outdoor-rated coating | mydoorsign.com |
| Standard production lead time | Typically 5–10 business days | Industry standard |
| Rush production | Available; adds cost; confirm at quote stage | Vendor-dependent |
Beyond material and size, expect your quote to reflect quantity (bulk orders reduce per-unit cost), custom artwork complexity, finish type (matte, gloss, brushed), mounting hardware, and shipping. Budget a small allowance for proof revisions and, if you’re undecided on finish, request a material swatch before committing to a full order.
How a custom sign order works from quote to delivery
The process is straightforward: request a quote, review the design proof, approve and pay, then move into production and shipping.
- Request a quote. Share your sign dimensions, quantity, preferred material, mounting type, and any logo or vector files you have ready.
- Design review and proof. The team creates a visual mockup showing your text, logo placement, and finish. Vendors offer proofs and swatches before full production so you can confirm fit and finish.
- Approval and payment. Review the proof carefully. Confirm spelling, hierarchy, and brand colors. Payment is typically collected at approval.
- Production. Your sign is laser-engraved to spec. Standard lead times run 5–10 business days; rush options are available.
- Quality check and ship. Each piece is inspected before packaging. Tracking is provided at shipment.
Signage vendors advise a consultative process where dimensions, visitor flow, and accessibility requirements inform design decisions from the start. Bring those details to your first conversation and the proof stage moves faster.
Placement and installation guidance that actually improves visitor flow
Wall-mounted standoff signs deliver the best combination of permanence and sightlines for busy lobbies. Tent signs are fine for quiet counters but will get knocked over in high-traffic areas.
For wall mounts, position the sign so the center sits at eye level, roughly 60–66 inches from the floor. Place it within 3–5 feet of the check-in point so visitors connect the instruction to the action immediately. Avoid placing signs where overhead lighting creates glare on acrylic or glossy metal surfaces; a matte finish or slight downward angle solves most glare problems.
Hardware options include foam adhesive strips (quick, renter-friendly), screw mounts (permanent, most secure), standoff hardware (premium floating look), and hanging kits for ceiling-suspended displays. For ADA-relevant placements, keep primary text unobstructed and consider adding a tactile or high-contrast element if your facility serves visitors with visual impairments.
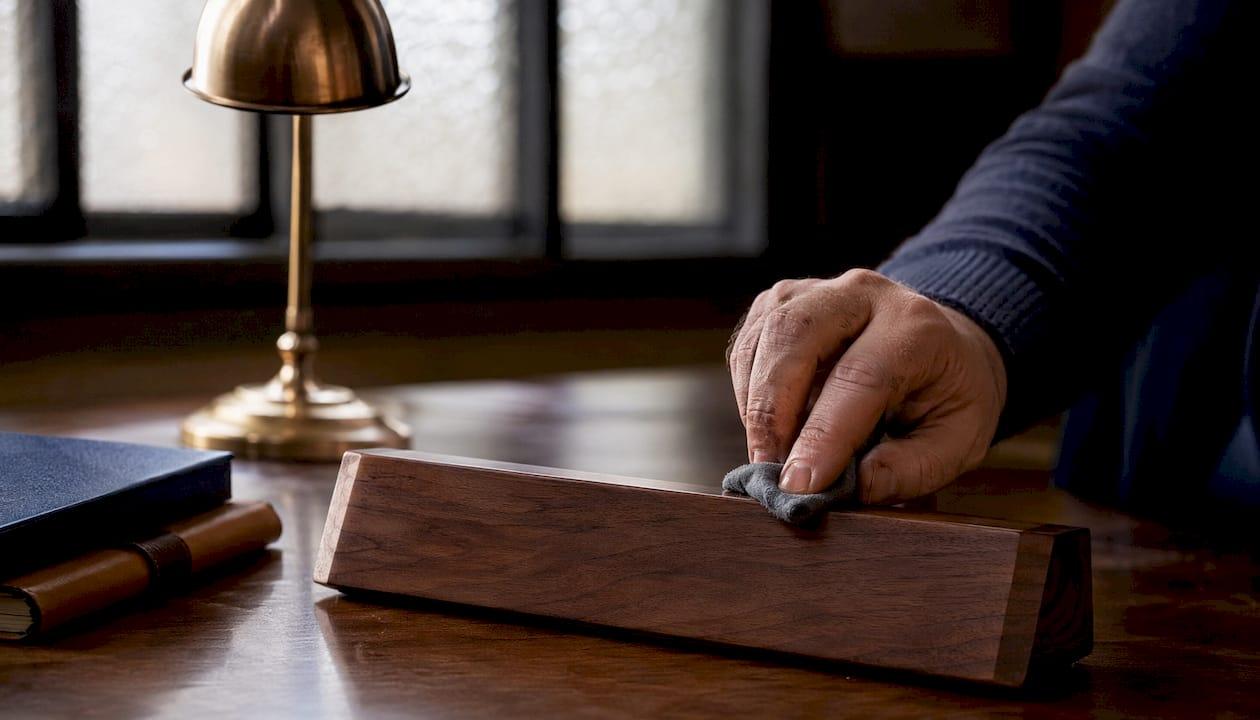
Cleaning is simple: wipe engraved wood with a dry or lightly damp cloth; clean metal and acrylic with a non-abrasive, alcohol-free cleaner to preserve the engraved finish over time.
How to prepare your artwork files for laser engraving
Supply vector artwork in SVG, AI, EPS, or PDF format for all text and logos. Vector files scale without quality loss and give the laser clean, predictable paths to follow. You can review engraving file and durability guidance for a deeper technical walkthrough.
File preparation checklist:
- Vector format preferred (SVG, AI, EPS, PDF); convert all text to outlines before sending.
- Raster images accepted at 300 DPI minimum; avoid upscaling low-resolution logos.
- Convert hairline strokes to outlined paths to prevent them from disappearing in the engraving process.
- No RGB gradients; use solid fills and spot colors for consistent depth control.
- QR codes: supply as vector with a minimum module size of 2mm; test the URL or vCard before submitting. For laser-engraved QR code best practices, module size and contrast are the two factors that most affect scan reliability.
- Include your brand color references (Pantone or hex) and a written scope of work with dimensions, quantity, and finish preference.
Style ideas and real-world use cases to spark your design
Warm wood suits boutique and hospitality environments; brushed metal fits clinics and corporate offices; clear or frosted acrylic works well in modern, minimalist spaces.
Beyond standard engraving, popular customization options include color infill (paint or resin fills the engraved channel for contrast), layered materials (an acrylic face bonded to a wood or metal backer), integrated backlighting for a premium lobby statement, and QR code panels for contactless check-in. These add-ons are especially effective when the sign doubles as a branded company asset that reinforces your identity every day.
Four quick industry examples:
Boutique retail or spa: Engraved walnut desktop tent, warm serif font, color-infill logo. Wording: “Welcome — Please Check In.”
Medical or dental clinic: Brushed aluminum wall-mounted standoff, clean sans-serif, high contrast. Wording: “All Appointments Please Check In at Reception.”
Corporate office: Layered acrylic on metal backer with company logo and QR code for visitor registration. Wording: “Visitors: Check In Here.”
Hotel or hospitality venue: Backlit acrylic panel with gold color infill, elegant script accent for the property name, sans-serif for the instruction line.
Request material swatches or a photo portfolio from Signaturelaserdesigns before you finalize your order if you’re choosing between finishes. Seeing a physical sample in your space is the fastest way to make a confident decision.
Key Takeaways
Laser-engraved check-in desk signage delivers the best combination of durability, brand alignment, and professional appearance when material, mounting, and message hierarchy are chosen together from the start.
| Point | Details |
|---|---|
| Material drives durability | Metal and subsurface acrylic outperform surface-printed options in high-cleaning environments. |
| Mounting matches traffic | Use desktop tent signs for quiet counters; choose standoff or wall mounts for busy lobbies. |
| Legibility first | Lead with an action verb at 24pt minimum; reserve decorative scripts for logo accents only. |
| File prep speeds production | Supply vector artwork (SVG, AI, EPS, PDF) with text converted to outlines to avoid delays. |
| Signaturelaserdesigns | Handles design review, proofing, material samples, and U.S.-based production for custom check-in signage. |
Why laser-engraved check-in signs are worth doing right
Most offices treat the check-in sign as an afterthought, and it shows. A printed paper card in a plastic holder sends a message, just not the one you want. What I find genuinely interesting about laser-engraved check-in signage is that it sits at the intersection of function and brand identity in a way few other office purchases do. Every visitor who walks through your door reads that sign before they interact with a single person on your team.
The conventional wisdom is to pick a sign that “matches the decor.” That’s too passive. The better frame is to pick a sign that directs behavior. Clear wayfinding and check-in instructions improve visitor flow and reduce front-desk congestion, which means your staff spends less time redirecting confused visitors and more time doing their actual jobs. The wording, the size, and the placement are all functional decisions, not just aesthetic ones.
What I appreciate about working with Signaturelaserdesigns on these projects is the collaborative proof process. Clients see a visual mockup before a single piece of material is engraved. That step catches problems early and gives buyers real confidence in the finished piece. U.S.-based production also means realistic lead times and straightforward communication when adjustments are needed.
Reach out to request a quote or a material swatch — it’s the fastest way to see exactly what your finished sign will look like.
Signaturelaserdesigns makes custom check-in signage simple
Signaturelaserdesigns is the direct route to a laser-engraved check-in sign that looks like it belongs in your space, not like it came off a shelf. We offer design review, vector-proofing, material samples, standoff mounting kit options, and rush production when your timeline is tight. Pricing depends on material, size, and quantity, so the best next step is a quick quote request.
Our industrial laser engraving services cover everything from simple desktop tent signs to large-format wall-mounted standoff pieces in wood, acrylic, brass, and brushed metal. When you reach out, include your sign dimensions, preferred material, quantity, and any logo files you have. We’ll send back a proof and a clear price before anything goes into production. Visit our services page to see the full range and start your order today.
