How to Care for Laser Engraved Wood: Full Guide
Proper care for laser engraved wood means cleaning residue carefully, applying protective finishes correctly, and maintaining stable environmental conditions to preserve both the wood and the engraved detail. The industry term for this practice is “laser engraved wood maintenance,” and it covers three core areas: soot removal, finish protection, and humidity control. Skip any one of these, and you risk fading, warping, or losing the sharp contrast that makes engraved wood so striking. Whether you own a personalized cutting board, a decorative wall piece, or a custom gift from Signaturelaserdesigns, the same best practices apply.
✦ Featured From Our Etsy Shop ✦
Handcrafted & Laser Engraved Just For You
How to care for laser engraved wood: cleaning soot and residue
Cleaning is the first and most frequent task in maintaining engraved wood. The laser burning process leaves behind soot, char, and fine residue inside the engraved grooves. Left untreated, this buildup dulls the contrast and can trap moisture against the wood surface.
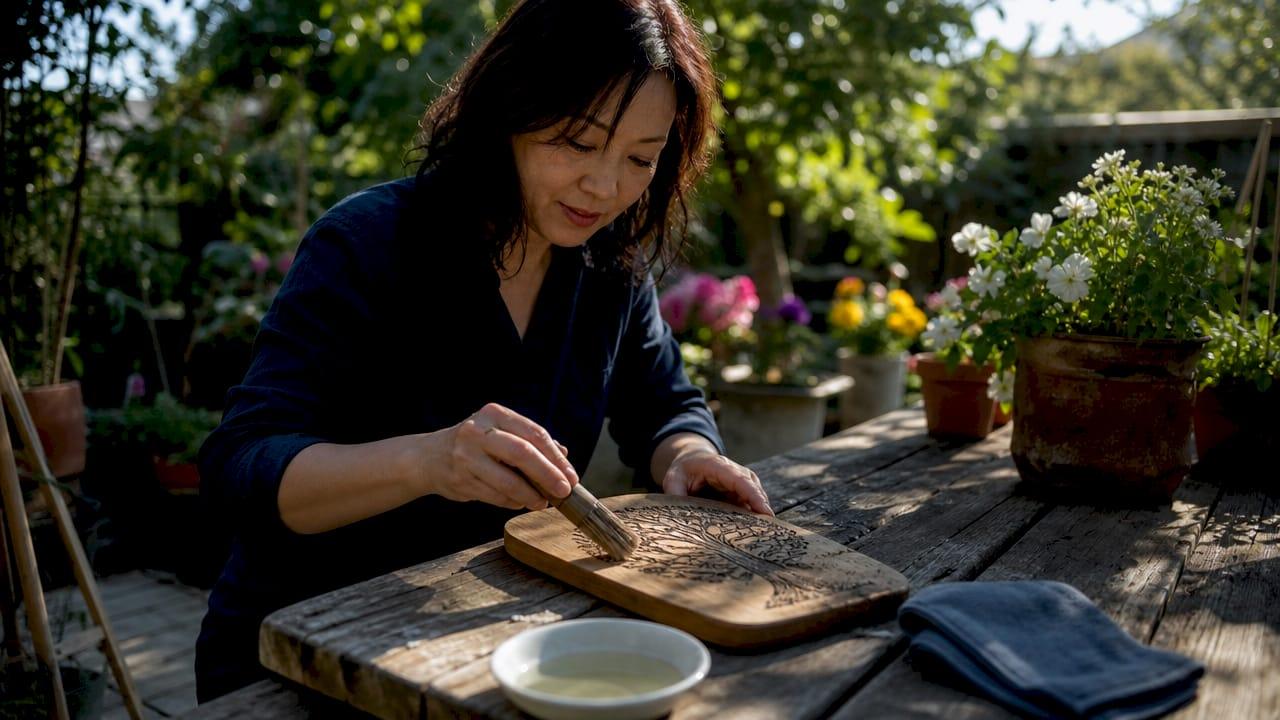
Start with dry tools. A soft-bristled brush or a dry microfiber cloth removes loose soot without scratching the finish. Work in short, gentle strokes across the engraved area. This step alone handles most routine cleaning after light use.
For deeper cleaning, wet methods work well. White vinegar on a soft cloth lifts soot and residue without saturating the wood. Isopropyl alcohol is another reliable option for stubborn spots. Apply either one sparingly. You want the cloth damp, not dripping.
Two things to avoid completely: abrasive pads and ammonia-based cleaners. Abrasive pads scratch the wood surface and erode any protective finish. Ammonia strips finishes fast, leaving the wood exposed and vulnerable to moisture damage.
Pro Tip: Apply masking tape to the wood surface before engraving. The tape shields surrounding areas from soot and burn marks, and peels away cleanly after the job, cutting cleanup time significantly.
| Cleaning Method | Effectiveness | Safety for Finish | Best Use Case |
|---|---|---|---|
| Dry microfiber cloth | Moderate | Excellent | Routine dust and light soot |
| Soft-bristled brush | Moderate | Excellent | Grooves and detailed engravings |
| White vinegar on cloth | High | Good | Post-engraving soot removal |
| Isopropyl alcohol | High | Good | Stubborn residue spots |
| Ammonia-based cleaner | High | Poor | Not recommended |
| Abrasive pad | High | Poor | Not recommended |
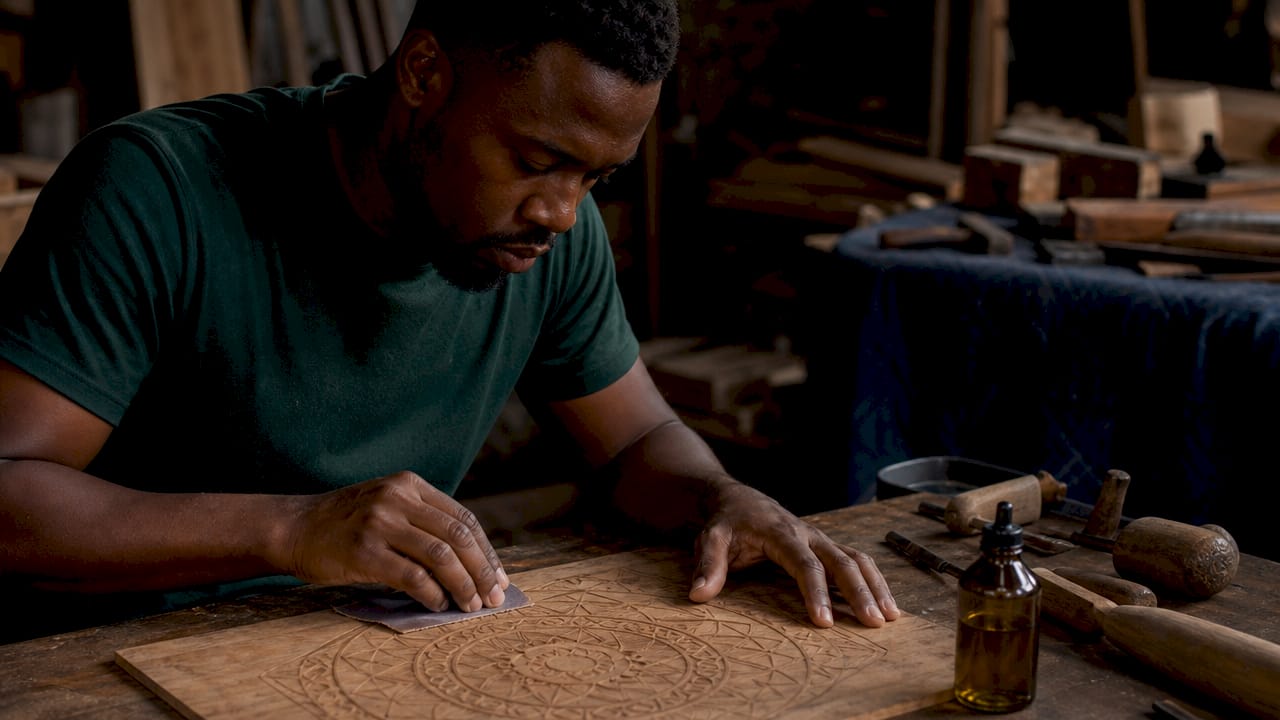
When soot is baked into the wood, fine-grit sandpaper in the 220–400 grit range removes it without harming the engraving. Always sand with the grain, never across it. Sanding against the grain leaves visible scratches that catch light and ruin the look of the piece.
What protective finishes work best for engraved wood?
A protective finish does two things: it seals the wood against moisture and abrasion, and it enhances the visual contrast of the engraving. Choosing the right finish depends on how the piece will be used.
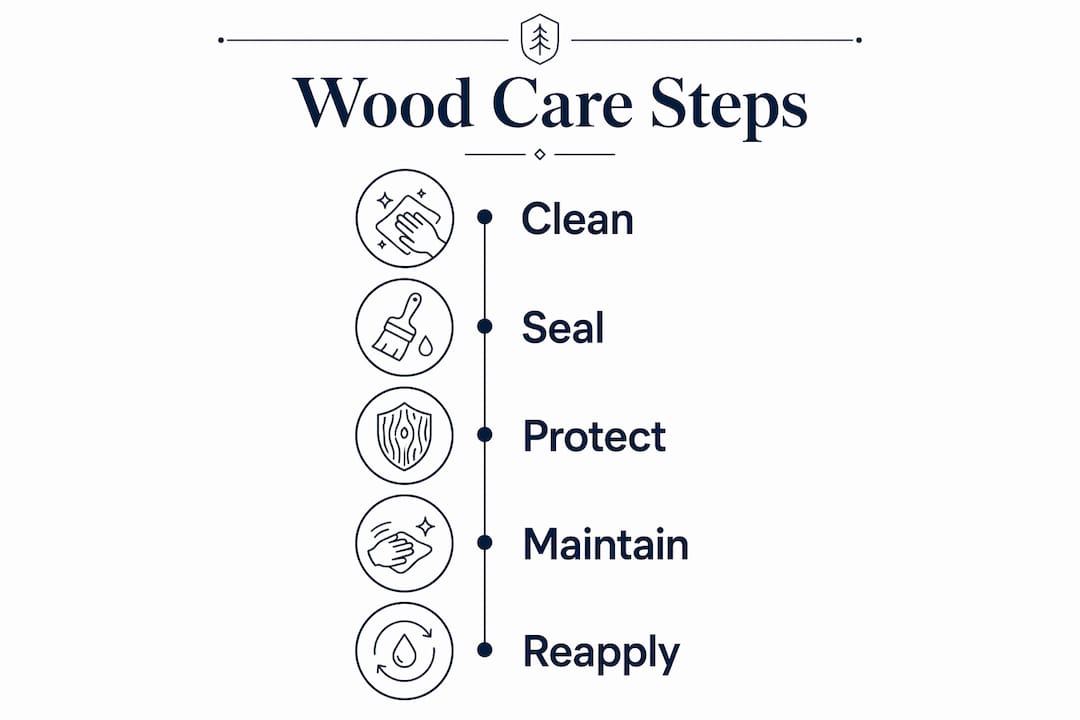
Varnish and lacquer offer the strongest protection for decorative items and display pieces. Wax, mineral oil, and beeswax blends work well for items that contact food, like cutting boards and serving trays. Food-safe finishes do not contain solvents that could leach into food surfaces. Mineral oil is the most widely used food-safe option because it penetrates the wood rather than sitting on top.
The single most important rule in finish application: multiple thin coats outperform one thick coat every time. A thick coat pools inside engraved grooves and obscures the fine lines that give the piece its character. Thin coats build up gradually, following the contours of the engraving without filling them in.
Pro Tip: Spray finishes reach fine engraved details far better than a brush. Hold the can at a consistent 8–12 inch distance from the surface and use light, even passes. Uneven distance creates buildup that buries engraved detail.
| Finish Type | Best For | Pros | Cons | Reapplication Interval |
|---|---|---|---|---|
| Varnish | Decorative pieces | Durable, clear | Long cure time | Every 12 months |
| Lacquer | Display items | Fast drying, hard | Less flexible | Every 12 months |
| Wax | Decorative wood | Easy to apply | Less water resistant | Every 6 months |
| Mineral oil | Kitchen items | Food-safe, penetrating | Needs frequent reapplication | Every 1–3 months |
| Beeswax blend | Kitchen and gifts | Natural, food-safe | Softer protection | Every 3–6 months |
One detail most people miss: finish feels dry to the touch within a few hours, but full curing takes 24–48 hours. Do not expose the piece to heavy use or moisture during that window. Rushing this step causes the finish to dent, peel, or cloud prematurely.
How do environmental conditions affect engraved wood?
Wood is hygroscopic. That means it absorbs and releases moisture from the surrounding air constantly. This movement causes wood to expand and contract, and over time, that stress cracks finishes and distorts engravings.
Maintaining indoor humidity at 40–50% is the single most effective way to prevent this. A basic digital hygrometer costs very little and tells you exactly where your home sits. If humidity runs high, a dehumidifier brings it down. If it runs low in winter, a humidifier protects the wood from drying out and cracking.
Direct sunlight is another threat. UV exposure bleaches wood and breaks down finishes over months. Keep engraved pieces away from windows that receive direct afternoon sun. Extreme temperature swings, like placing a wood piece near a heating vent or an air conditioning unit, accelerate the same expansion and contraction cycle that humidity causes.
Here is a practical do’s and don’ts list for ongoing care:
Do:
- Dust with a dry microfiber cloth weekly
- Reapply protective finishes every 6–12 months for heavily used items
- Store pieces flat or properly supported to prevent warping
- Use coasters or felt pads under items that sit on hard surfaces
Don’t:
- Submerge engraved wood in water or run it through a dishwasher
- Place pieces in direct sunlight for extended periods
- Use harsh chemical cleaners or spray polishes not designed for wood
- Ignore finish wear. A worn finish leaves bare wood exposed to damage
Troubleshooting common problems with engraved wood care
Even with good habits, problems come up. Knowing what causes them makes fixing them straightforward.
Burn marks and excess char: These appear when laser settings run too hot for the wood species. Light sanding with 220–320 grit sandpaper along the grain removes surface char without damaging the engraved lines beneath. Work slowly and check your progress frequently.
Sticky residue after cleaning: Soot that has been partially dissolved by a cleaner can leave a tacky film. Wipe the area again with isopropyl alcohol on a fresh cloth. Let it dry fully before applying any finish.
Cloudy or uneven finish: This usually means the finish was applied too thick, or the piece was moved before curing was complete. Sand the cloudy area lightly with 320 grit sandpaper, wipe away the dust, and reapply a thin coat. Let it cure the full 24–48 hours before touching it.
Cracked or distorted engravings: Humidity swings are almost always the cause. Once cracking occurs in the wood itself, the fix requires sanding back the surface, reapplying finish, and then controlling the environment going forward. Prevention is far easier than repair.
Pro Tip: Use masking tape before engraving and apply your first finish coat within 24 hours of engraving. This two-step habit prevents soot from setting deep into the grain and gives the wood a clean base for the protective layer.
Key Takeaways
Consistent cleaning, proper finish application, and stable humidity control are the three practices that keep laser engraved wood looking sharp and lasting for years.
| Point | Details |
|---|---|
| Clean gently and often | Use a dry microfiber cloth or soft brush for routine cleaning; avoid ammonia and abrasive pads. |
| Apply thin finish coats | Multiple thin coats preserve engraving detail far better than a single thick application. |
| Allow full cure time | Finish needs 24–48 hours to fully cure before the piece handles moisture or heavy use. |
| Control indoor humidity | Keep humidity at 40–50% to prevent wood expansion, cracking, and engraving distortion. |
| Reapply finishes regularly | Refresh protective finishes every 6–12 months to maintain the barrier against moisture and wear. |
What I’ve learned from years of watching engraved wood age
Most people focus on the engraving itself and forget that the wood around it needs just as much attention. I’ve seen beautiful custom pieces lose their contrast within a year because the owner never applied a finish after cleaning. The engraving looked fine at first. Then moisture got into the grain, the wood darkened unevenly, and the detail faded into the background.
The finish application step is where patience pays off more than anywhere else. Thin coats feel tedious. You apply one, wait, apply another, wait again. But that process is exactly what keeps the engraved lines crisp and readable five years later. One thick coat looks great on day one and causes problems by month six.
Environmental control is the part most people underestimate. A piece that lives in a climate-controlled room with stable humidity will outlast an identical piece stored in a garage or near a window by a wide margin. A $20 hygrometer and a small humidifier protect a $200 custom piece far better than any fancy cleaner.
My honest recommendation: treat your engraved wood the way you would treat a quality piece of furniture. Clean it gently, protect it with the right finish, and give it a stable home. The craftsmanship in laser engraving deserves that level of care, and the results speak for themselves.
— Gary
Custom engraved wood pieces worth protecting
At Signaturelaserdesigns, every piece starts with the kind of detail that makes proper care worthwhile. Our team works with a wide range of wood species and design options, from personal keepsakes to professional tools, each engraved with the clarity and depth that holds up beautifully when maintained correctly. We’ve seen customers keep their pieces looking perfect for years by following the same practices covered here. If you’re ready to start with a piece worth caring for, our custom engraving services cover everything from decorative gifts to functional items. You can also browse our engraved keepsakes collection for ideas that make lasting, meaningful gifts.
FAQ
What is the best way to clean laser engraved wood?
Use a dry microfiber cloth or soft-bristled brush for routine cleaning. For soot and residue, apply white vinegar or isopropyl alcohol on a soft cloth, and avoid ammonia-based products entirely.
How often should I reapply finish to engraved wood?
Reapply protective finishes every 6–12 months for items in regular use. Food-safe finishes like mineral oil on cutting boards need refreshing more frequently, roughly every 1–3 months.
Can I sand laser engraved wood without damaging the design?
Yes. Use fine-grit sandpaper in the 220–400 grit range and always sand with the wood grain. Sanding across the grain scratches the surface and can blur engraved edges.
Why does my finish look cloudy after applying it?
Cloudiness usually means the coat was applied too thick or the piece was disturbed before the finish cured fully. Sand the area lightly with 320 grit sandpaper and reapply a thin coat, allowing 24–48 hours for full curing.
Does humidity really affect laser engraved wood that much?
Yes. Wood expands and contracts with humidity changes, which cracks finishes and distorts engravings over time. Keeping indoor humidity at 40–50% prevents most of this damage and extends the life of both the wood and the engraving.