Why Glass Laser Engravings Look Fractured or Chipped
Why does glass engraving look fractured or chipped?
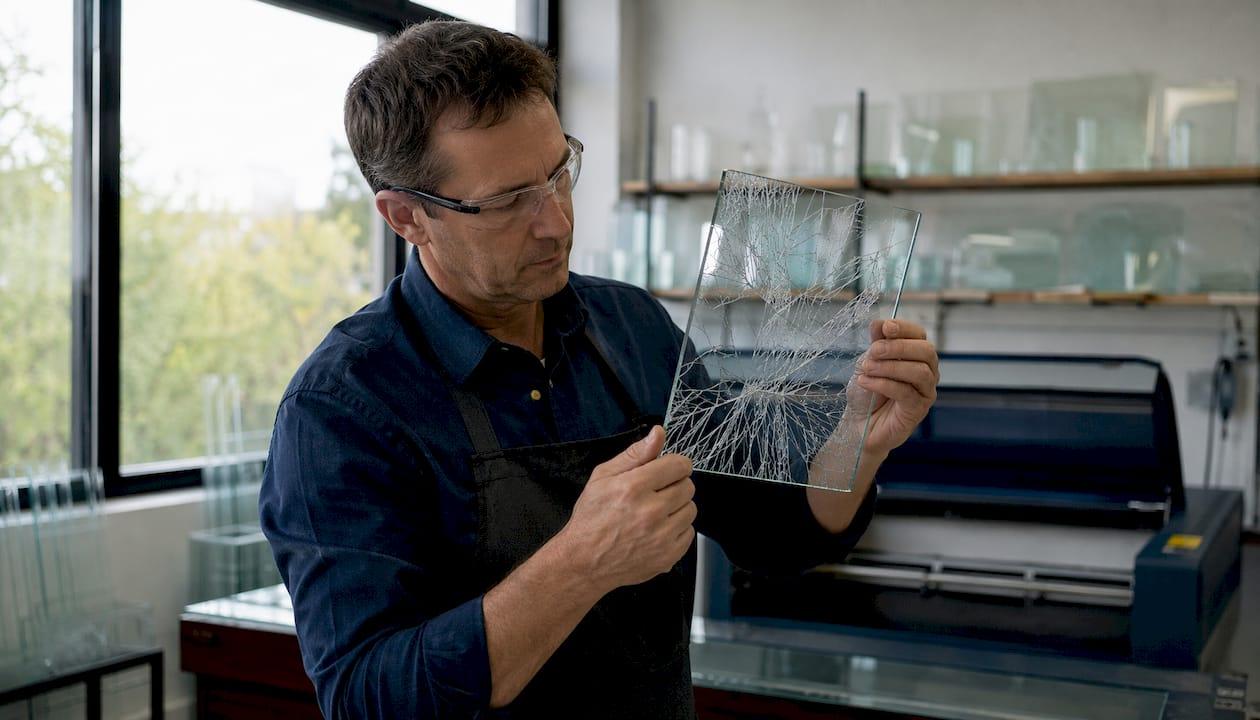
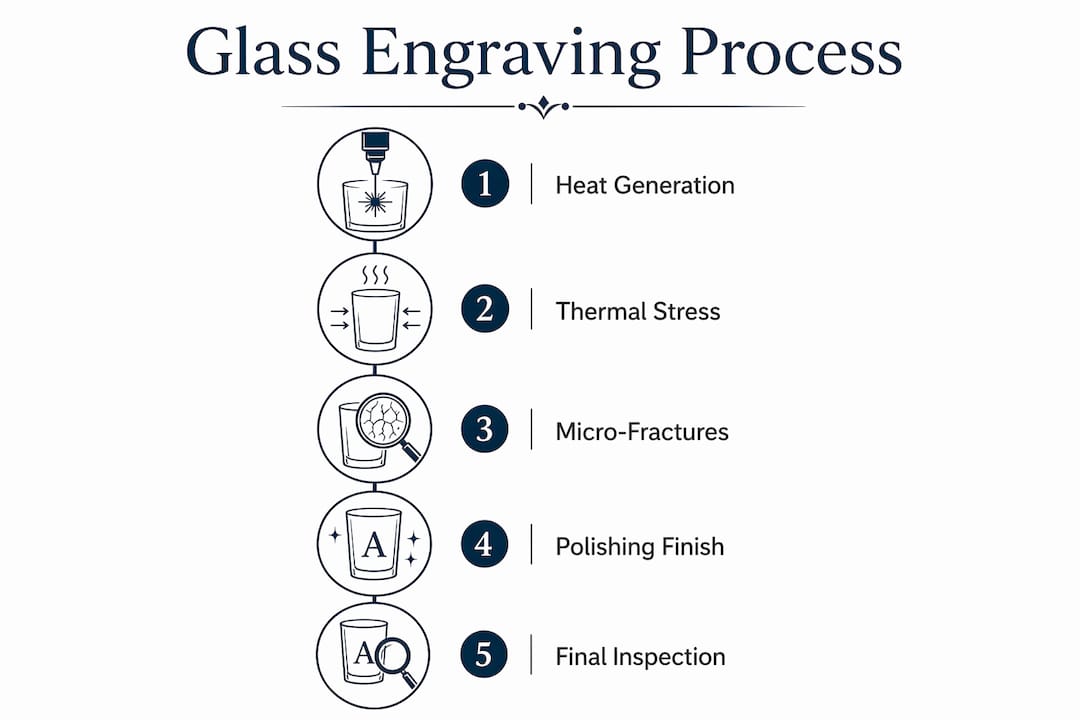
That frosted, cracked appearance on your glass piece is not a flaw in the laser itself. It is the natural result of how glass responds to heat. When a laser beam strikes glass, it heats trapped air and moisture between the silica elements, causing them to expand rapidly. Since glass cannot flex, that expansion creates microscopic fractures on the surface. Those fractures scatter light and produce the frosted look you want, but when they grow too large or cluster together, you get visible chipping and a rough, damaged appearance.
✦ Featured From Our Etsy Shop ✦
Handcrafted & Laser Engraved Just For You
Here are the core reasons glass engravings turn out fractured or chipped:
- Too much heat: High laser power or slow engraving speed concentrates thermal energy, causing excessive thermal stress that drives micro-fractures beyond the surface.
- Wrong focus: An improperly focused beam spreads energy unevenly, creating irregular fracture patterns and internal stress.
- Glass composition: Lead crystal and hand-blown glass are far more prone to cracking than inexpensive cast glass.
- Engraving near edges: Heat cannot escape at the edges, so stress concentrates and chips form more easily.
- Rapid cooling after engraving: Sudden temperature drops after the job can turn latent micro-cracks into full breaks.
- High air assist pressure: Forced airflow cools the surface unevenly, adding thermal stress rather than reducing it.
How the laser actually works on glass, and why fractures happen
Glass engraving is not the same as engraving wood or acrylic. The laser does not vaporize or remove glass material. Instead, it micro-fractures the surface, creating a frosted mark. Look closely at any engraved glass and you will see tiny shards still sitting on the surface, not a carved groove.
The fracturing happens because glass has a high coefficient of thermal expansion and very low flexibility. When the laser heats a tiny spot, that spot tries to expand while the surrounding glass stays cool and rigid. The resulting tension either creates controlled micro-fractures (the frosted look you want) or uncontrolled cracking and chipping (the problem you are trying to avoid). A study on CO2 laser thermal stress on soda-lime glass confirmed that tensile cracking begins at around 0.1 GPa, a threshold easily crossed when laser parameters are off.
Glass type matters a great deal here. Inexpensive cast glasses have a homogeneous structure and low lead content, so they handle laser heat reasonably well. Expensive hand-blown or lead crystal glass is far more vulnerable because the lead components expand at a different rate than the silica matrix, creating internal stress even before the laser adds more.
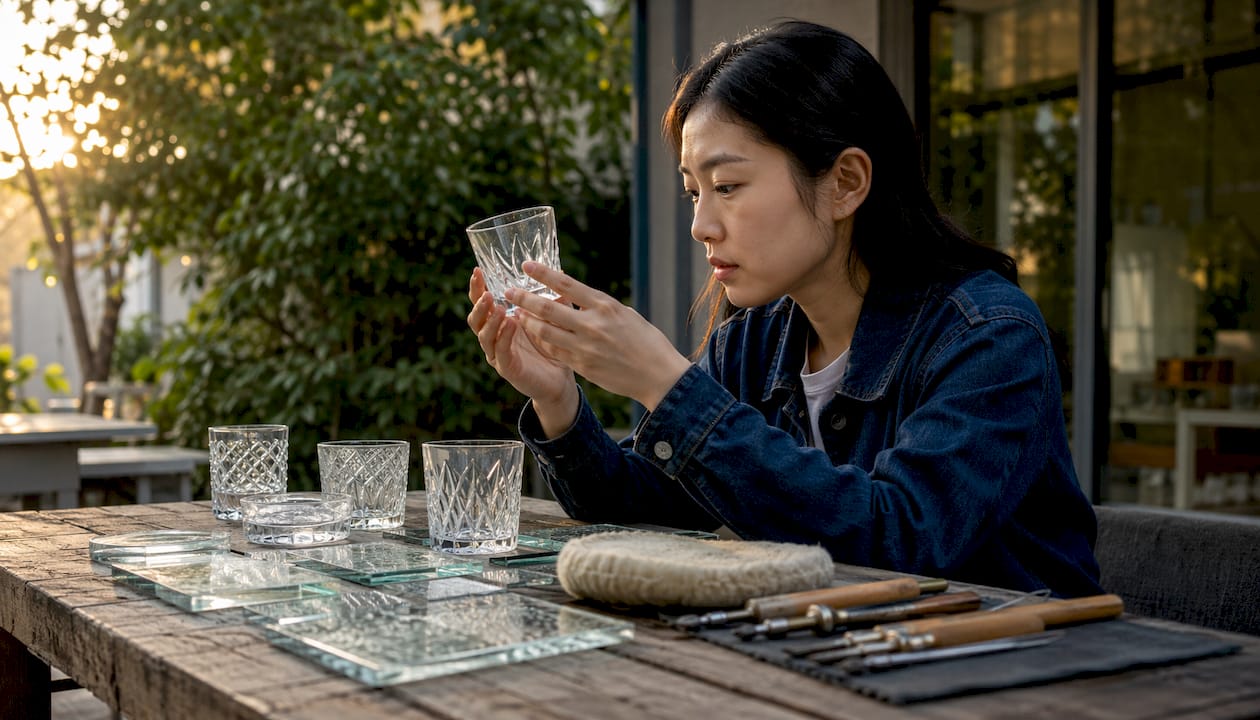
Practical settings and techniques that reduce chipping
The single most effective change you can make is lowering power and raising speed. Less heat per pass means smaller, more controlled micro-fractures and a smoother frosted finish. Here is what works:
- Lower power, higher speed: High speed with low power dramatically reduces heat concentration and chipping risk.
- Reduce black intensity: Change black to 70–80% grayscale in your graphic. Fewer fully fired dots means less localized heat.
- Use Jarvis dithering: This setting randomizes dot placement, spreading heat more evenly and producing a smoother engraved surface.
- Drop resolution to 300 DPI: Wider dot spacing means less overlapping thermal stress across the engraving area.
- Apply a heat sink layer: Cover the glass with a damp paper towel, a thin coat of liquid dish soap, or masking tape before engraving. Each absorbs excess heat and protects the surface.
- Keep air assist low or off: Strong airflow cools the glass unevenly, which adds stress rather than relieving it.
- Stay away from edges: Leave a margin between your design and the glass rim to allow heat to dissipate.
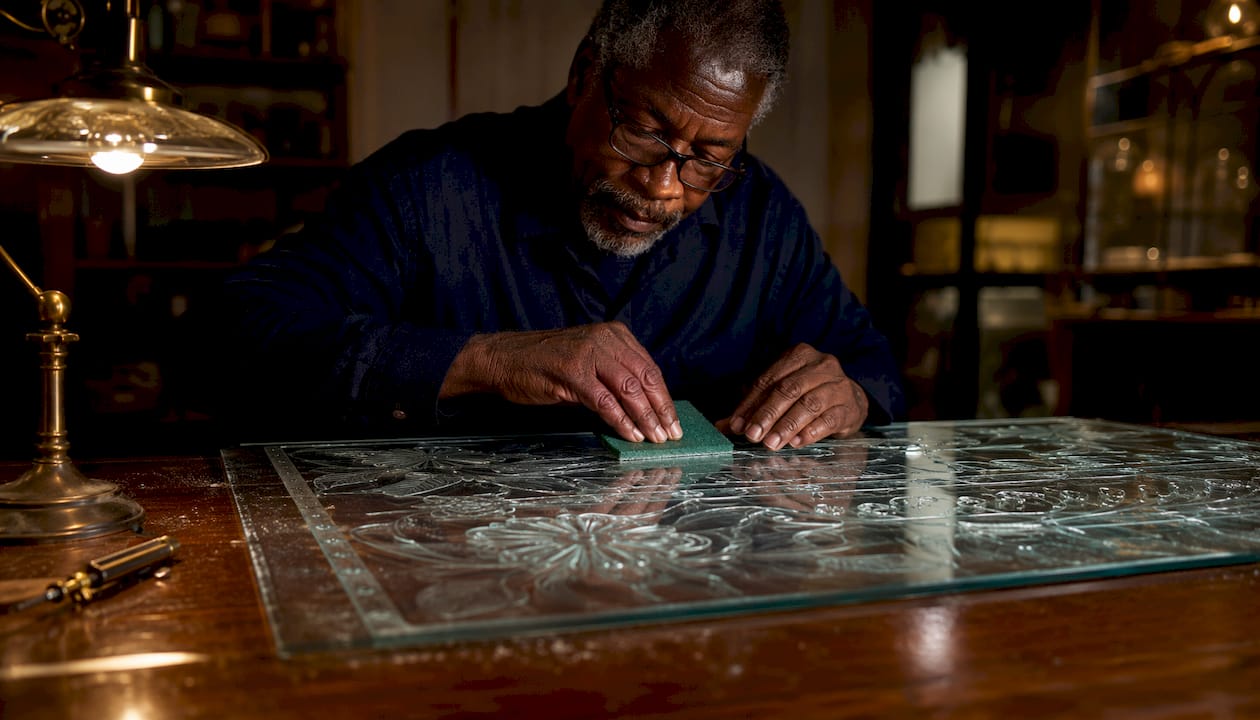
Pro Tip: After engraving, polish the surface gently with a Scotch-Brite pad to knock down any tiny glass shards. It takes about 30 seconds and makes a noticeable difference in how smooth and clean the finished piece feels.
What experts say about managing thermal stress in glass engraving
The most common mistake hobbyists make is trying to deepen the engraving by increasing laser power. It feels logical, but it makes things worse. More power does not deepen the mark on glass. It only widens the fracture zone and raises the risk of cracking.
“Crack formation usually arises from an imbalance in laser energy and poor thermal management, not a single parameter. Stable laser output and balanced micro-dot spacing are critical to preventing fracture propagation.” — Argus Laser, fracture mechanics guidance
Engraving too close to edges is another frequent cause of catastrophic chipping. The glass rim has nowhere to send the heat, so stress builds until something gives. Keeping your design centered and away from the rim is one of the simplest ways to protect a piece.
Post-engraving care also matters more than most people expect. Never rinse or cool engraved glass immediately after a job. The sudden temperature drop can turn hairline micro-cracks into full breaks. Let the glass cool naturally at room temperature before handling or cleaning it.
How glass thickness and annealing affect fracture risk
Thicker glass distributes heat across a larger mass, which generally reduces the risk of through-cracks during engraving. Thin-walled glasses, like champagne flutes, concentrate thermal stress in a very small cross-section, making them far more prone to fracturing. If you are working with delicate stemware, lower power settings and a heat-dissipating mask are not optional. They are the difference between a finished piece and a broken one.
Annealing is the controlled cooling process used during glass manufacturing to relieve internal stress. Well-annealed glass starts with fewer pre-existing stress points, so it handles the additional thermal load from laser engraving more gracefully. Hand-blown glass often has uneven annealing, which is one reason it cracks more unpredictably than factory-cast glass. You can check for internal stress in glass using a polariscope, though most hobbyists simply test on a sample piece first before committing to a full run.
CO2, fiber, and ultrafast lasers: which is best for glass integrity?
CO2 lasers operating at a 10.6 µm wavelength are the standard choice for glass engraving. Glass absorbs CO2 laser energy strongly at that wavelength, producing the controlled surface micro-fracturing that creates the frosted effect. The tradeoff is that CO2 lasers generate significant heat, so thermal management techniques matter a great deal.
Fiber lasers operate at shorter wavelengths (typically around 1,064 nm) that glass transmits rather than absorbs. This makes fiber lasers largely ineffective for direct glass engraving without a special coating or marking compound applied to the surface first. They are better suited to metals and plastics.
Ultrafast lasers, including picosecond and femtosecond systems, are the most precise option for glass. They deliver energy in pulses so short that the glass does not have time to build up significant heat, which means far less thermal stress and cleaner results. The tradeoff is cost. Ultrafast systems are professional-grade equipment well beyond the budget of most hobbyists. For home and small-studio use, a CO2 laser with good thermal management techniques produces excellent results on most glass types.
Finishing techniques that smooth and repair chipped edges
Once the engraving is done, a few finishing steps can meaningfully improve the result. Polishing with a Scotch-Brite pad or a fine abrasive pad removes the tiny glass shards that sit on the surface after engraving. It will not repair a large chip, but it eliminates the rough, scratchy feeling that makes an otherwise good engraving feel unfinished.
For a cleaner look overall, wiping the engraved area with a damp cloth after polishing removes loose particles and lets the frosted design show clearly. Some crafters apply a thin coat of clear lacquer or resin over the engraved area to seal the micro-fractures and give the design a slightly glossy, protected finish. This works especially well on decorative pieces that will not see heavy use.
If chipping is severe, the honest answer is that the piece may need to be redone with corrected settings. Large chips cannot be filled invisibly on glass. Prevention through proper settings and heat management, as covered in the techniques section above, is always easier than repair.
Key Takeaways
Laser engravings on glass look fractured or chipped because the laser creates thermal stress and micro-fractures rather than removing material, and controlling that heat is the key to clean results.
| Point | Details |
|---|---|
| Heat causes micro-fractures | The laser expands trapped air and moisture in glass, creating surface fractures rather than removing material. |
| Lower power improves results | Reducing black intensity to 70–80% and using Jarvis dithering spreads heat and reduces chipping. |
| Glass type changes the risk | Lead crystal and hand-blown glass fracture more easily than cast glass due to uneven thermal expansion. |
| Edges and cooling matter | Engraving near edges traps heat; rapid cooling after engraving can turn micro-cracks into full breaks. |
| CO2 lasers need heat management | CO2 lasers are the standard for glass, but damp paper towels, dish soap, or masking tape are needed to control thermal stress. |
At Signaturelaserdesigns, we work with glass and other delicate materials every day, and we know how much the details matter when you want a finished piece that looks truly polished. Whether you are personalizing a gift or working on a craft project, getting the engraving right the first time saves you time, material, and frustration. If you want to see what expert glass engraving looks like when every parameter is dialed in, we would love to show you what is possible.
Ready to create something memorable? Explore our custom engraving options and let our team handle the hard part for you.
Recommended
- The Art of Precision: Exploring Industrial Laser Engraving Services – Signature Laser Designs
- Craft Materials That Cannot Be Laser Engraved: Avoid These