Laser engraving for company equipment branding is defined as the permanent marking of custom logos, serial numbers, and identification tags onto industrial materials using focused laser beams calibrated to each substrate. Fiber lasers handle bare metals like stainless steel and aluminum, CO2 lasers excel on wood, acrylic, and plastics, and UV lasers cold-mark heat-sensitive surfaces without thermal damage. Software like LightBurn controls the process, and entry-level machines start around $400 while industrial fiber systems run $3,000 to $20,000 or more. Whether you run a small shop or a large manufacturing operation, understanding how to match laser technology to your materials is the single most important decision in any brand company equipment laser engraving project.
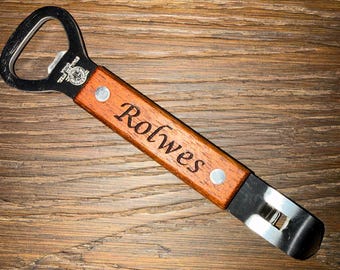
✦ Featured From Our Etsy Shop ✦
Handcrafted & Laser Engraved Just For You
How to choose the right laser engraving machine for your company equipment
The four main laser types each serve a distinct material category, and choosing the wrong one produces faded, damaged, or non-compliant marks. Getting this decision right before purchasing saves significant time and money.
Fiber lasers at approximately 1,064 nm are the best choice for engraving bare metals like stainless steel and aluminum, which are the most common substrates for industrial equipment branding. They deliver deep engraving, color marking through annealing, and high-speed marking suitable for industrial UIDs and logos. A mid-range fiber system from brands like xTool or JPT runs between $3,000 and $8,000 and handles production volumes comfortably.
![]()
CO2 lasers at approximately 10,600 nm excel for engraving non-metals such as wood, acrylic, leather, and most plastics used in equipment branding. They are the standard choice for plastic equipment tags, wooden plaques, and acrylic signage. Machines from Glowforge, OMTech, and Thunder Laser cover this category well, with prices ranging from $600 for desktop units to $15,000 for production-grade systems.
UV lasers at 355 nm perform cold marking on heat-sensitive materials like glass, crystal, and certain plastics without creating a heat-affected zone. They break molecular bonds photochemically, which means no burn marks or warping on delicate surfaces. UV systems are more expensive, typically $5,000 and up, but they are the only reliable option for precision marking on coated or fragile equipment components.
Diode lasers are the most affordable entry point, often under $500, and work well for wood and some coated metals. They lack the power and speed of fiber or CO2 systems for serious production work, but they serve small businesses testing laser engraving business ideas before committing to larger investments.
Pro Tip: Always match your laser to your primary material first. A fiber laser on acrylic produces poor results, and a CO2 laser on bare aluminum marks nothing at all. Material compatibility is not a preference. It is a technical requirement.
| Laser type | Best materials | Typical price range | Primary use case |
|---|---|---|---|
| Fiber (1,064 nm) | Stainless steel, aluminum, titanium | $3,000 to $20,000+ | Industrial UIDs, metal logos, serial numbers |
| CO2 (10,600 nm) | Wood, acrylic, leather, plastics | $600 to $15,000 | Equipment tags, plaques, plastic components |
| UV (355 nm) | Glass, crystal, coated plastics | $5,000 to $25,000 | Heat-sensitive surfaces, precision marking |
| Diode | Wood, coated metals, leather | $200 to $800 | Small business, prototyping, low-volume work |
What equipment and software do you need for laser branding workflows?
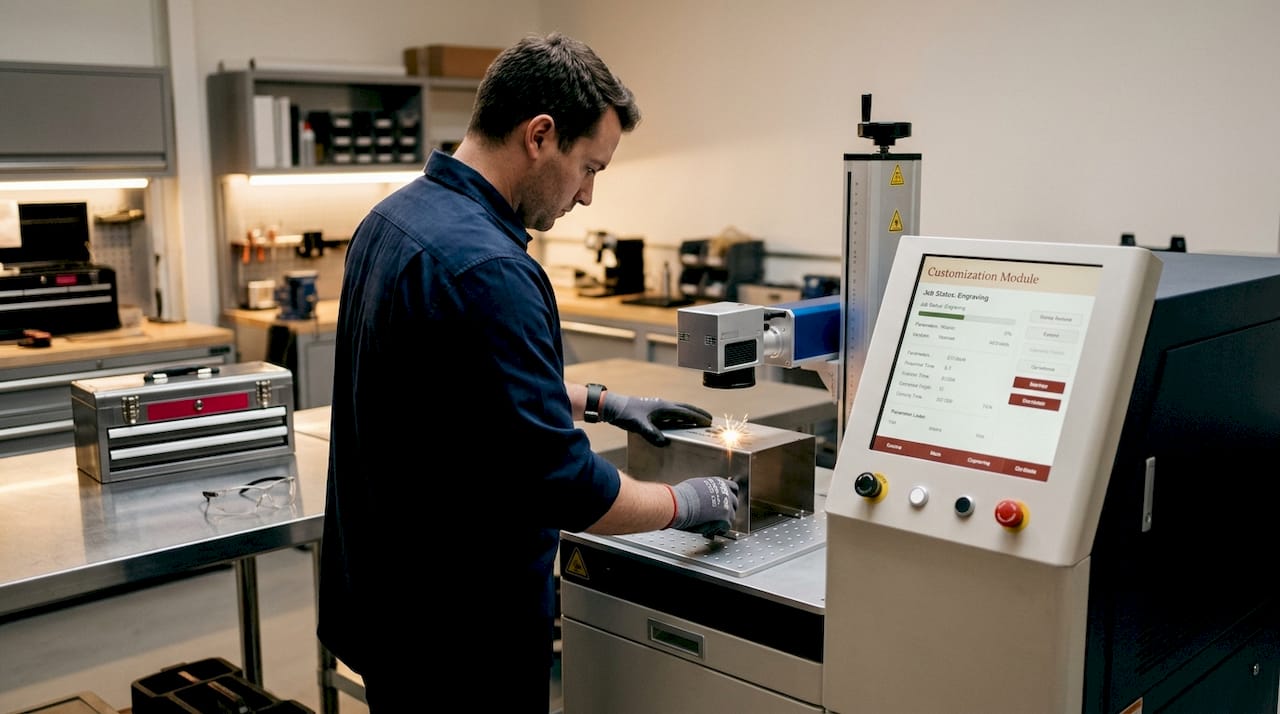
The machine itself is only part of the system. Effective laser branding for company equipment requires a supporting infrastructure that many buyers overlook until they are already operational.
Open-frame desktop lasers often lack safety enclosures and ventilation, which are critical for protecting operators and meeting workplace safety regulations. Adding a proper enclosure and a fume extractor is not optional for any professional environment. Brands like Cloudray and Wainlux offer aftermarket enclosures, and dedicated fume extractors from Bofa or Purex are widely used in production shops.
LightBurn is considered the industry standard for laser engraving control, offering a perpetual license model with yearly update renewals costing $40. This means you own the software outright and choose whether to renew updates for new features and compatibility patches. Treating it as a subscription inflates your perceived cost. Treating it as a one-time purchase with optional upgrades keeps your budget accurate.
Controller compatibility between your laser hardware and LightBurn is a frequent source of delays when not planned upfront. Ruida, GRBL, and Galvo controllers each require different LightBurn tiers, and purchasing the wrong tier means rework and downtime. Build a compatibility checklist before buying any machine.
Here are the core components every professional laser branding setup needs:
- A laser machine matched to your primary material (fiber, CO2, UV, or diode)
- A safety enclosure with interlocked lid and laser-rated viewing window
- A dedicated fume extractor rated for your material type (wood fumes differ from metal fumes)
- LightBurn software with the correct license tier for your controller
- A computer with sufficient RAM and a stable USB or Ethernet connection to the machine
- Calipers and a focus tool for precise Z-axis calibration
- A rotary attachment if you are marking cylindrical equipment components
Pro Tip: Buy your LightBurn license based on your controller type, not your machine brand. Check the LightBurn compatibility list before purchasing any laser system. This one step prevents the most common and expensive workflow bottleneck in new laser setups.
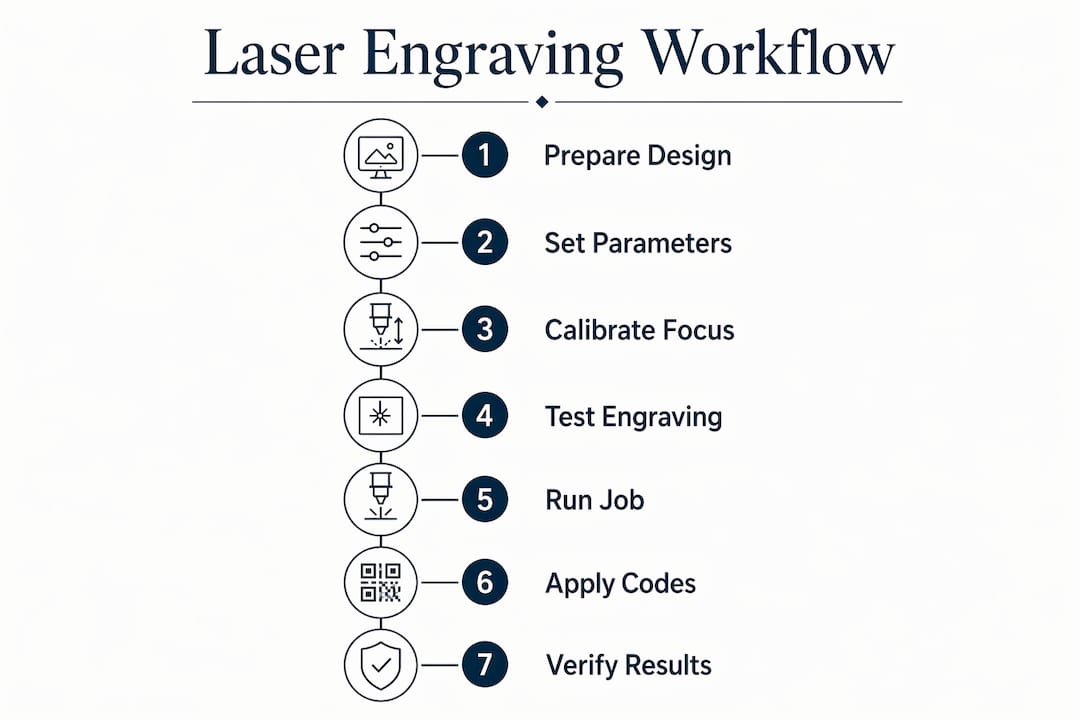
Step-by-step guide to executing laser engraving for equipment branding
Consistent, professional results come from a repeatable process. Here is how to set up and run a laser branding job correctly from start to finish.
Step 1: Prepare your design file. Use vector artwork in SVG or AI format for logos and text. Raster images work for photo engraving but produce less precise edges on logos. Set your canvas size in LightBurn to match your workpiece dimensions exactly.
Step 2: Set material parameters. Each material requires specific speed, power, and frequency settings. Stainless steel annealing on a fiber laser typically runs at 1,000 to 2,000 mm/s at 20 to 40% power. Acrylic on a CO2 laser runs slower, around 200 to 400 mm/s at 15 to 25% power. Always start with manufacturer-recommended settings and adjust from there.
Step 3: Calibrate your focus. Place your workpiece on the bed and set the focal distance using your machine’s focus tool or autofocus sensor. An out-of-focus beam produces blurry, weak marks that fail quality checks.
Step 4: Run a test engraving. Use a scrap piece of the same material and run a power/speed grid test. This takes five minutes and prevents wasted production parts. Photograph the result and record the winning parameters in a material settings library.
Step 5: Execute the production job. Load your final file, confirm alignment using LightBurn’s framing function, and run the job. Never leave the machine unattended during operation.
Step 6: Apply UID or DataMatrix codes where required. Industrial UID laser marking uses DataMatrix codes for permanent, compact, machine-readable identifiers that meet traceability and compliance standards. Aerospace applications show that UID codes under 4 mm² marked with fiber lasers survive corrosion, abrasion, and repeated scanning per MIL-STD-130N. If your equipment requires regulatory compliance, integrate DataMatrix generation directly into your LightBurn workflow.
Step 7: Verify and document. Scan all barcodes with a verification scanner. Photograph finished parts and log parameters for repeatability. This documentation becomes your quality record.
| Material | Laser type | Speed (mm/s) | Power (%) | Key consideration |
|---|---|---|---|---|
| Stainless steel | Fiber | 1,000 to 2,000 | 20 to 40 | Anneal for permanent color mark |
| Aluminum | Fiber | 800 to 1,500 | 30 to 50 | Ablation for deep engraving |
| Acrylic | CO2 | 200 to 400 | 15 to 25 | Slow speed for clean edges |
| Wood/MDF | CO2 | 400 to 800 | 20 to 40 | Ventilation critical for fumes |
| Coated glass | UV | 300 to 600 | 10 to 20 | Cold marking prevents cracking |
Common troubleshooting tips and mistakes to avoid
Even experienced operators run into problems. Knowing the most common failure points saves production time and protects your equipment.
Laser engraving durability depends on matching laser type with material and careful parameter tuning. Engraving over an oxide or finish layer rather than the base metal, or using annealing instead of ablation, produces marks that resist corrosion and remain scannable for years. Brute-force ablation on coated surfaces often removes the coating without marking the substrate, leaving a mark that fades within months.
“Branding and identification are systems where mark contrast, size, and placement must survive abrasion, cleaning, and scanning. Marks integrated with MES or ERP systems for traceability require controlled processes, not just a laser pointed at a part.” — UID marking and traceability
The most common mistakes in laser branding projects and how to fix them:
- Wrong laser for the material. A CO2 laser cannot mark bare aluminum. A fiber laser burns through thin acrylic. Always verify material compatibility before running a job.
- Skipping the test engraving. Production parts are expensive. A five-minute test on scrap material is always worth it.
- No enclosure or ventilation. Fumes from acrylic, wood, and coated metals are toxic. Experts advise adding enclosures when not supplied with the machine to protect operators and meet safety regulations.
- Controller and software mismatch. Purchasing a Galvo fiber laser and then discovering your LightBurn license does not support Galvo controllers is a costly and avoidable error.
- Ignoring scan readability for UIDs. A DataMatrix code that looks clean to the eye may fail a verification scanner if contrast or cell size is off. Always verify with a dedicated barcode scanner, not just a phone camera.
- Inconsistent focus across a batch. Warped or uneven workpieces shift the focal plane. Use fixtures or jigs to hold parts at a consistent height across production runs.
Key takeaways
Selecting the correct laser type for your specific material is the single most critical decision in any company equipment laser engraving project, and every other workflow choice flows from that match.
| Point | Details |
|---|---|
| Match laser to material | Fiber for metals, CO2 for non-metals, UV for heat-sensitive surfaces. No exceptions. |
| Plan software and controller together | Verify LightBurn tier compatibility with your controller before purchasing any machine. |
| Build safety infrastructure | Enclosures and fume extractors are required, not optional, for any professional setup. |
| Use test engravings every time | A five-minute power/speed grid test on scrap prevents wasted production parts. |
| Document parameters for repeatability | Logging speed, power, and frequency settings builds a material library that saves time on every future job. |
What I have learned from years of laser equipment branding
The biggest mistake I see businesses make is treating laser engraving as a standalone purchase rather than a system decision. You buy the machine, then discover the software does not support your controller, then realize you have no ventilation, then find out your marks are fading because you used the wrong laser for your material. Each of those problems was preventable with 30 minutes of planning upfront.
The trend I find most interesting right now is the move toward multi-laser systems that combine a fiber and CO2 source in a single enclosure. For businesses that brand both metal components and plastic tags, this eliminates the need for two separate machines and two separate workflows. The upfront cost is higher, but the operational simplicity pays back quickly.
I also want to push back on the idea that custom laser engraving is only for large manufacturers. A small business marking 50 pieces of equipment per month with a $3,000 fiber laser is building a traceability and brand identity system that protects its assets and communicates professionalism to every client who sees that equipment. The advantages for industrial parts go well beyond aesthetics. Durability, compliance, and resale value all improve with permanent marking.
The balance between upfront cost and long-term benefit is real, but it almost always favors investing in the right system from the start rather than buying cheap and upgrading later.
— Gary
How Signaturelaserdesigns can help with your equipment branding
If you want precision industrial laser engraving without the overhead of building your own setup, Signaturelaserdesigns delivers exactly that. Our team works with businesses across a range of industries to produce durable, high-contrast marks on metals, plastics, wood, and more. From custom logos and serial numbers to DataMatrix UID codes for compliance-sensitive equipment, we handle the full range of branding needs with care and craftsmanship.
Every project at Signaturelaserdesigns starts with understanding your material, your volume, and your compliance requirements. We offer clear pricing based on material type, design complexity, and quantity, so you always know what you are getting before work begins. Explore our industrial laser engraving services to see how we can support your equipment branding goals, or browse our custom engraving shop for smaller-scale and personalized projects.
FAQ
What laser is best for engraving metal company equipment?
Fiber lasers at 1,064 nm are the best choice for bare metals like stainless steel and aluminum, delivering deep, permanent marks suitable for industrial UIDs and logos. CO2 lasers cannot mark bare metal surfaces effectively.
How much does a laser engraving machine cost for business use?
Entry-level diode machines start under $500, CO2 desktop systems range from $600 to $15,000, and industrial fiber lasers run from $3,000 to $20,000 or more depending on power and features. Your material type determines which category you actually need.
What software do most businesses use for laser engraving?
LightBurn is the industry standard for laser engraving control, with a perpetual license and $40 annual update renewals. It supports Ruida, GRBL, and Galvo controllers, but you must purchase the correct tier for your specific hardware.
Can laser engraving meet industrial traceability requirements?
Yes. Fiber lasers can mark DataMatrix UID codes under 4 mm² that comply with MIL-STD-130N and similar standards. These marks survive corrosion and abrasion and remain machine-readable throughout the equipment lifecycle.
Do I need an enclosure for my laser engraving machine?
Any professional or production environment requires an enclosure and fume extraction. Open-frame lasers lack the safety features needed to protect operators from laser exposure and toxic fumes, and most workplace safety regulations require enclosed systems for commercial use.
Recommended
