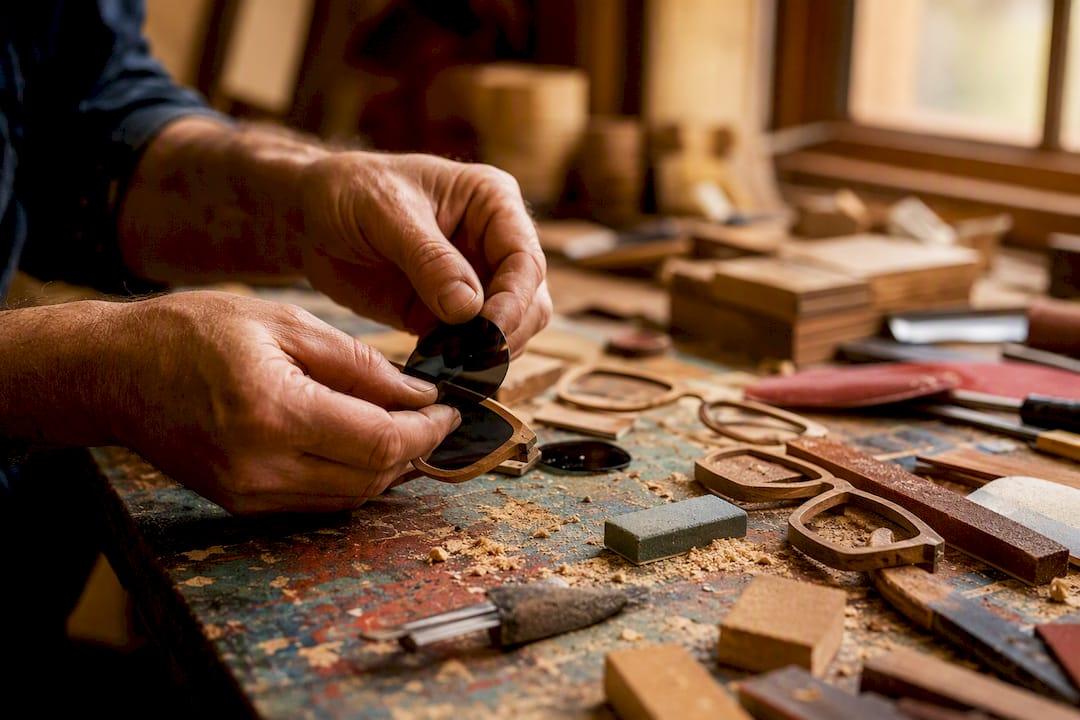
Laser cut sunglasses wood shapes turn into wearable frames, keychains, layered wall art, party props, ornaments, engraved gifts, and mini display signs faster than almost any other craft blank on the market. You get a finished, sellable piece in one to three crafting sessions, no carving skills required. Here’s the fast list, then we’ll walk through how to actually build each one.
✦ Featured From Our Etsy Shop ✦
Handcrafted & Laser Engraved Just For You
- Wearable sunglasses – lens inserts and hinges turn a flat blank into real, wearable eyewear.
- Pin or pendant conversions – small offcuts become jewelry with a jump ring and some resin.
- Keychains and charms – tiny sunglasses cutouts sell fast at craft fairs for a few dollars each.
- Layered wall decor – stacked cuts create dimensional art for beach houses and studios.
- Party props and festival eyewear – oversized, painted frames for photo booths and events.
- Ornaments and tiered-tray pieces – seasonal decor that reuses the same base template.
- Engraved gift sunglasses – a name or date turns a blank into a keepsake.
- Mini display signs – propped frames double as shelf decor or retail signage.
Key Takeaways
Laser cut wood sunglasses shapes work best when you match the right thickness and finish to the project, since a wearable frame and a display sign need different structural and finishing choices.
| Point | Details |
|---|---|
| Start with a fast project | Keychains and charms finish in under an hour and are the easiest entry point for beginners. |
| Match thickness to purpose | Use 3mm for lightweight wearables, 1/4 inch for decor and display pieces. |
| Engraving adds the most value | Personalized names or dates turn a basic blank into a higher-priced keepsake. |
| Seal wood before finishing | Prevents blotchy stain, resin bubbles, and color bleed on cut edges. |
| Order custom cuts at scale | Signaturelaserdesigns handles engraving and small-batch production once volume outgrows a home laser setup. |
Table of Contents
- What Can You Make With Laser Cut Sunglasses Wood Shapes?
- What Materials and Tools Do You Need?
- Which Finishes Turn a Blank Into a Sellable Craft?
- Where Do You Find Templates and Cutting Files?
- How Long Does Each Project Really Take, and Is It Safe?
- When Should You Order Custom Cuts Instead of DIY?
- How Can Signaturelaserdesigns Help With Your Sunglasses Project?
- Frequently Asked Questions
- Sources
What Can You Make With Laser Cut Sunglasses Wood Shapes?
The eight ideas above cover most of what crafters actually build and sell from this shape. However, the real value is in the details: which materials, how many steps, and what finish separates a $6 blank from a $30 finished piece.
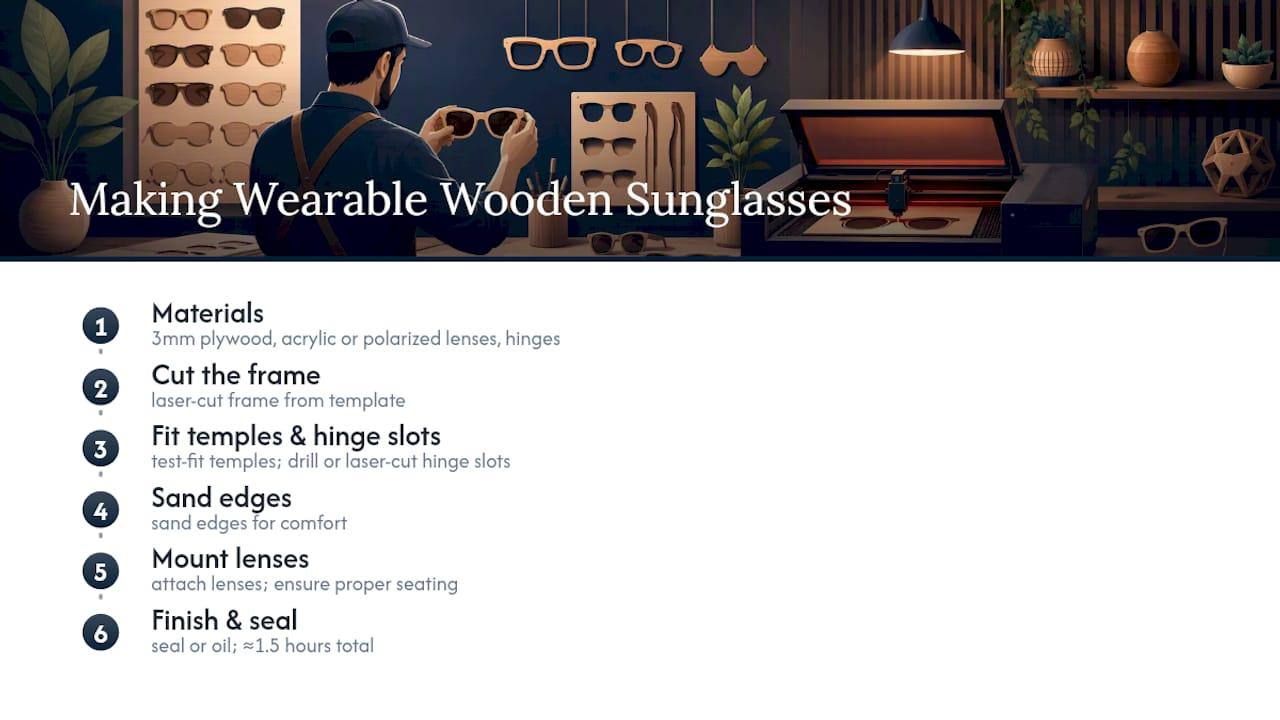
Wearable sunglasses. Materials: 3mm plywood, acrylic or polarized lens inserts, small hinges. Steps: cut the frame, test-fit temples, drill or laser-cut hinge slots, sand edges, attach lenses, finish. A full DIY build guide from Instructables walks through fitting temples and mounting lenses so they actually sit on a face comfortably. Estimated time: about an hour and a half total for prep, cutting, and finishing. Sell for a range starting around the mid-teens to mid-thirties depending on lens quality.
Pin and pendant conversions. Materials: thin plywood offcuts, jump rings, small resin kit. Steps: cut miniature sunglasses shapes, drill a mounting hole, seal the wood, pour a thin resin lens, add a pin back or bail. Estimated time: around an hour for prep, cutting, and finishing (excluding resin curing). Sell for a moderate price range for sets.
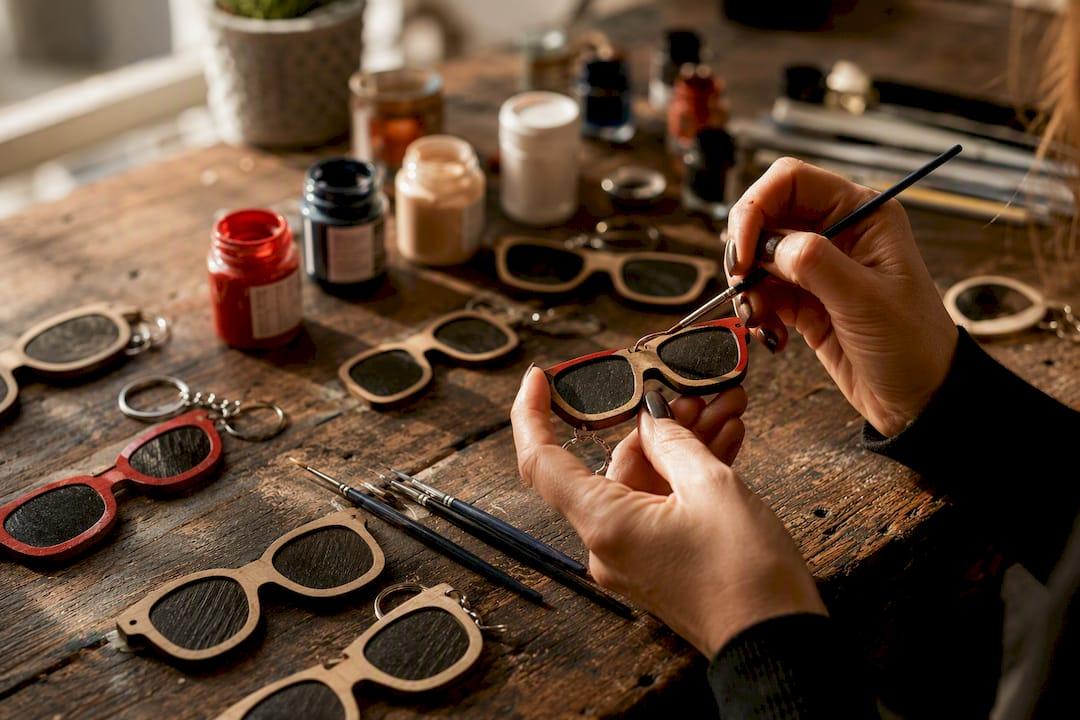
Keychains and charms. Materials: 3mm birch ply, split rings, mini lanyard clips. Steps: cut, sand, paint or stain, seal, attach hardware. This is the fastest project on the list and a strong bulk-order candidate. Estimated time: under an hour total for a batch of ten. Sell for a low to mid price range each.
Layered wall decor. Materials: two or three plywood thicknesses stacked with spacers. Steps: cut layers at slightly different scales, stain or paint each layer a different tone, glue with spacers between them for depth, mount a hanger on the back. The same nesting logic behind layered laser cut clock projects applies here: cut multiple layers from one file, then stack them for a shadow-box effect. Estimated time: roughly one and a half hours for prep, cutting, and assembly. Sell for a moderate to high price range.
Party props and festival eyewear. Materials: 1/4-inch plywood scaled up, bright acrylic paint, optional glitter or metallic paint. Steps: scale the template larger, cut, remove any interior lens material for open frames, paint boldly, seal. Estimated time: around one hour total for cutting, painting, and drying. Great for event vendors selling low price point novelty pieces.
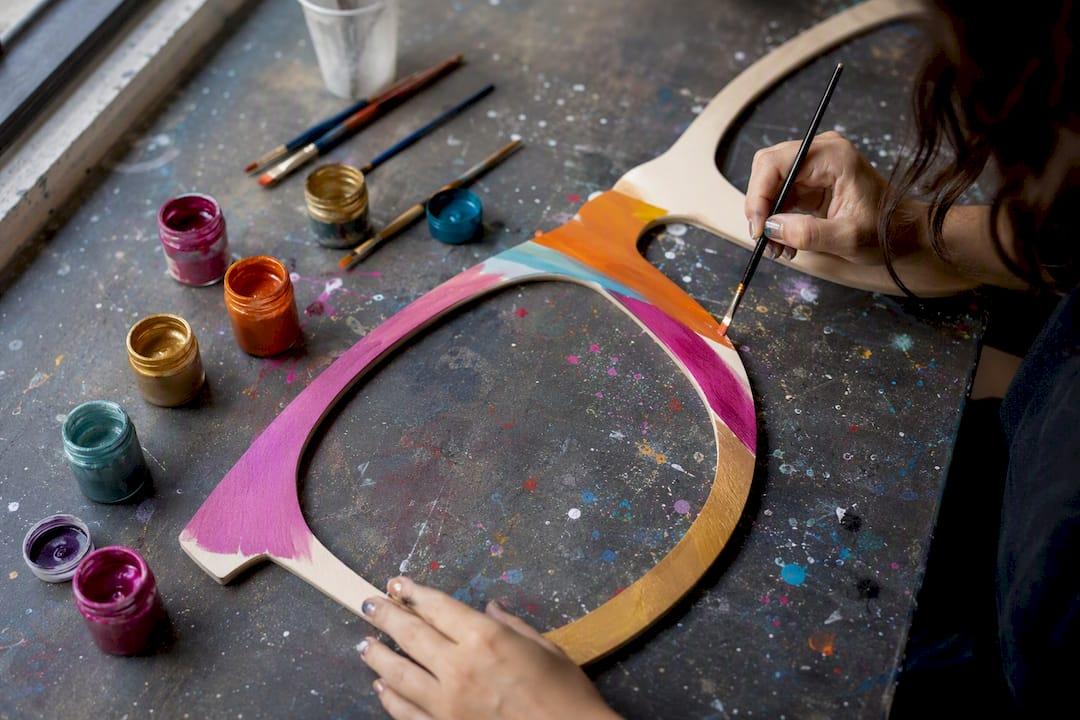
Ornaments and tiered-tray pieces. Materials: small plywood cutouts, twine or ribbon, seasonal paint colors. Steps: cut mini sunglasses shapes, drill a hanging hole, paint to match a season or holiday, seal, string. Estimated time: about half an hour for a small batch. Sell for a low price range each.
Engraved gift sunglasses. Materials: 1/8-inch hardwood veneer or plywood, engraving-ready laser settings. Steps: cut the frame, engrave a name or short message, sand lightly, oil or seal, add lenses if wearable. Personalized engraved wooden sunglasses show up repeatedly in maker tutorials on photo-on-wood engraving as a strong seller because the personalization does the selling for you. Estimated time: approximately an hour for engraving and finishing. Sell for a moderate to high price range.
Mini display signs. Materials: 1/4-inch plywood, small stand or easel base. Steps: cut the sunglasses shape, engrave or paint a shop name or quote across the lenses, seal, attach a stand. Estimated time: about forty minutes. Sell for a mid price range as retail signage.
Pro Tip: Pre-seal all cut edges with a thin coat of wood conditioner before staining or painting. Laser-cut edges char slightly and absorb finish unevenly if you skip this, which is the single most common reason a finished piece looks blotchy instead of polished.
Engraved and personalized pieces consistently rank among the best-selling small laser projects for makers running an Etsy shop or craft-fair table, so if you only have time for one upgrade, put it into engraving.
What Materials and Tools Do You Need?
Here’s your shopping list before you cut anything:
- Wood: birch plywood or poplar in 3mm (lightweight wearables, keychains), 1/8 inch (general blanks), or 1/4 inch (decor, signs, layered pieces).
- Lenses: pre-cut acrylic or polarized inserts, mirrored acrylic for a bold look, or clear resin poured directly into the frame.
- Adhesives: PVA wood glue for layered assembly, CA glue for hardware attachment, two-part epoxy resin for lens fills.
- Hardware: small hinges for wearables, jump rings and split rings for charms, easel stands for display pieces.
- Finishing supplies: 220 and 400 grit sandpaper, wood conditioner, acrylic paint or wood stain, clear sealant.
- Files: laser-ready SVG or DXF template matched to your material thickness.
Pre-sanded Baltic birch blanks save real prep time if you’re doing a production run rather than a one-off.
Which Finishes Turn a Blank Into a Sellable Craft?
Paint is the fastest route to a bold, opaque look: spray primer first, then two coats of acrylic, and use painter’s tape to mask a two-tone frame. Staining and a light oil finish work better for pieces meant to show the wood grain, especially gift items where a natural look reads as higher quality. Resin earns its place on lens fills and glossy overcoats. Pour a thin layer, let it self-level, and you get a glass-like lens without buying pre-cut acrylic.
Engraving is the fastest value-add on this whole list. A name, date, or small motif takes minutes and changes how a buyer perceives the piece. Keep engraving shallow and evenly spaced on wearable frames so it doesn’t weaken the temple or bridge; go deeper and bolder on flat display pieces where structural strength doesn’t matter.
Pro Tip: Always seal bare wood before pouring resin. Unsealed plywood pulls tiny air bubbles up from the grain as the resin cures, and it can bleed color into the resin if you’re using stain underneath.
Wearable sunglasses do best with oil finishes or thin sealant so the wood stays comfortable against skin. Display and prop pieces can handle heavier paint and glossier topcoats since nobody’s wearing them.
Where Do You Find Templates and Cutting Files?
SVG and DXF are the two formats you’ll use most. SVG is easier to hand-edit in free tools; DXF plays nicer with CAD software and most commercial laser services. AI and EPS show up occasionally for Adobe-based workflows.
A free flat sunglasses template works across plywood, acrylic, and thin metal, so one file covers several project types on this list. For file prep, Ponoko’s production guidelines recommend separate color layers for cut lines versus engraving lines. Skip this step and a shop may cut a line meant to be engraved.
- Test-cut at small scale first. Kerf (the material the laser burns away) can make hinge slots or lens pockets fit too tight.
- Scale templates down roughly 15 to 20% for kids’ sizes rather than guessing.
- When nesting multiple frames on one sheet, avoid bridges under 2mm wide and skip tiny interior islands that can warp or fall out during cutting.
How Long Does Each Project Really Take, and Is It Safe?
A simple keychain batch runs design-to-finish in under an hour; a layered wall piece or wearable frame with lens fitting takes closer to two to three hours across all stages, design, cut, sand, finish, assemble.
- Ventilation matters. Cutting plywood releases smoke and fine particulate, so run your laser exhaust and keep the room ventilated.
- Wear a mask or respirator when sanding painted or resin-coated pieces, and eye protection during any power-tool step.
- Handle resin carefully. Work in a ventilated space and wear gloves, since uncured resin can irritate skin.
- Batch your workflow. Cut ten blanks at once, sand them all together, then finish them all together. It cuts total production time noticeably compared to finishing one piece start to finish before starting the next.
When Should You Order Custom Cuts Instead of DIY?
Most hobbyists cut their own keychains and small batches at home, but they order custom engraving or larger production runs from a laser shop once quantities climb past what a desktop machine handles comfortably in a weekend. Small sellers usually keep design and sanding in-house and outsource the actual cutting when material costs or cut time start eating into margins.
Material choice, engraving complexity, and order size are the three levers that move a quote the most, and pricing this out is exactly where a clear breakdown helps. A hobbyist making five gift pairs can usually DIY the whole thing; a small shop fulfilling twenty engraved orders a week often saves time and material waste by ordering blanks pre-cut.
How Can Signaturelaserdesigns Help With Your Sunglasses Project?
Signaturelaserdesigns gives you a faster path to finished pieces than sourcing your own laser time. If you’d rather skip the equipment learning curve and material waste, our team handles custom cutting, engraving, and small-batch production with a transparent quote before you commit.
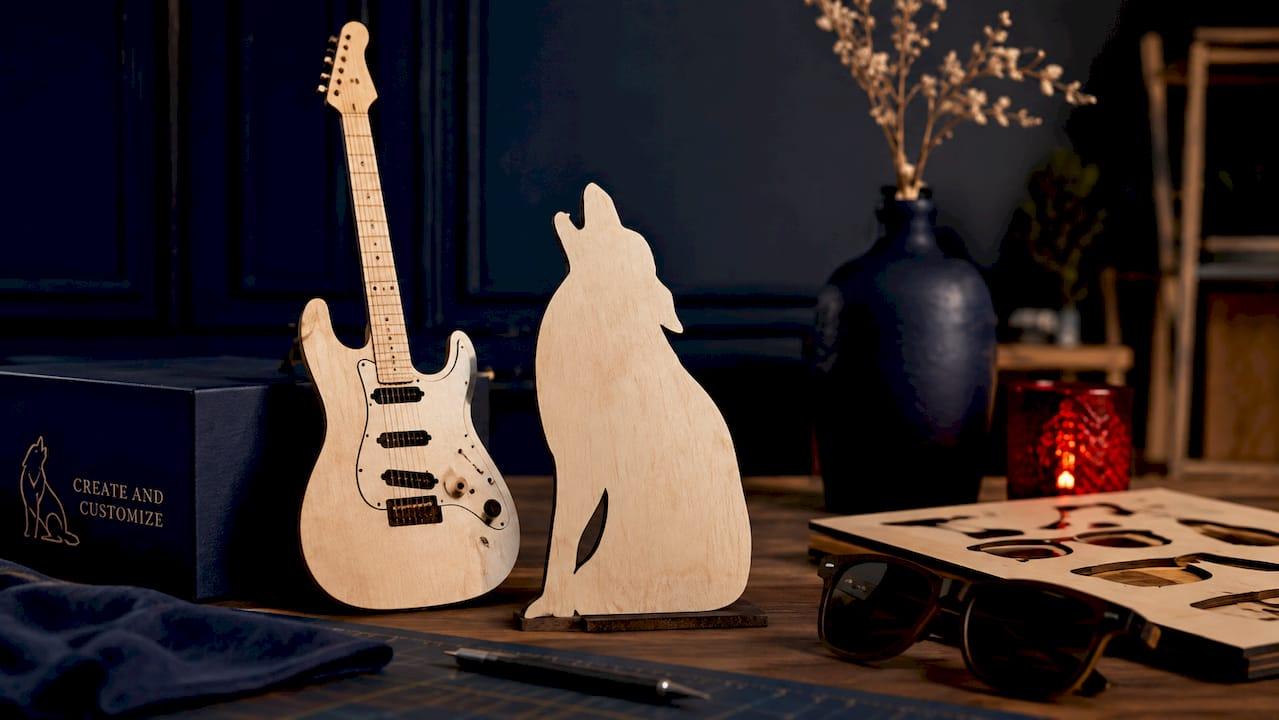
A few things typically shape your quote: the wood or material you choose, how much surface area gets engraved, and how many pieces you’re ordering. We also carry ready-to-order wood sunglasses cutout blanks if you want to skip straight to painting and finishing. Selling other wood decor alongside your sunglasses line? Our catalog includes pieces like a wooden guitar cutout sign and a howling wolf wood cutout that pair well at craft fairs and gift shops. Send us your file or ask us to adjust an existing template, and we’ll walk you through pricing before any order ships.
Frequently Asked Questions
What can you make with laser cut sunglasses wood shapes besides wearable frames?
Beyond wearable eyewear, crafters build keychains, pendants, layered wall decor, ornaments, party props, and engraved gift pieces from the same base template, often just by rescaling or swapping the finish.
What wood thickness works best for DIY wood sunglasses?
Most makers use 3mm plywood for lightweight wearable frames and 1/4-inch plywood for sturdier decor or display pieces that don’t need to sit comfortably on a face.
Do I need special lenses, or can I skip them?
You can use pre-cut acrylic or polarized inserts for wearable pairs, pour clear resin for a glossy lens effect, or leave the frame open entirely for decorative and display pieces.
What file format should I use for laser cutting sunglasses shapes?
SVG and DXF are the most common laser-ready formats; SVG is easier to hand-edit, while DXF integrates more smoothly with CAD-based cutting services.
How much can you sell handmade wooden sunglasses for?
Pricing varies by finish and personalization, but simple keychains often sell in the $5 to $10 range while engraved, wearable pairs command $20 to $40 depending on lens quality and material.
Sources
- 60,000+ Free Laser Cut & Engraving Files | Atomm
- Makers tutorial: photo-on-wood and engraved wooden projects | XTool
- Flat sunglasses template: laser cut pattern for wood & acrylic | FreeLaserCutFiles
- Free laser cutting files and templates | Ponoko
