Craft engraving design inspiration ideas are defined as the creative frameworks, project concepts, and technique strategies that guide crafters toward producing personalized, visually compelling engraved pieces. The best results come from combining practical project selection with proven artistic methods, whether you are using a rotary tool, a diode laser engraver, or design software like Adobe Illustrator. Trending styles in 2026 include tactile fills, organic scrollwork, and deeply personalized gift items that carry real emotional weight. This guide covers the top projects, techniques, and tools to help you move from blank material to finished craft with confidence.
1. Start with beginner-friendly engraving projects
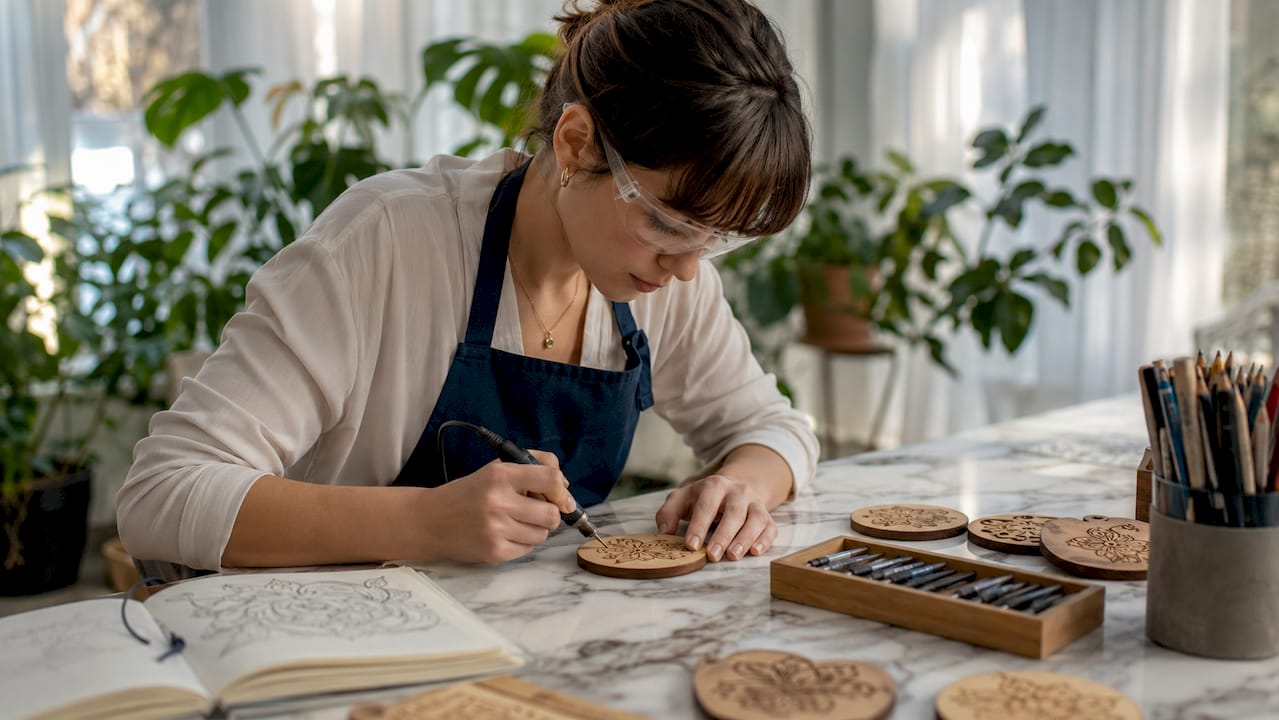
The fastest way to build skill is to start with 2–3 simple projects like slate coasters and leather keychains before moving to complex designs. These items are flat, forgiving, and easy to test repeatedly without wasting expensive material. Slate coasters have high market demand and give you immediate feedback on laser power and speed settings. Leather keychains let you practice layout, text sizing, and spacing on a small, low-cost surface.
Wooden ornaments and engraved journals are the next natural step. Ornaments teach you how to work within a defined shape, while journals require you to think about design placement across a larger, more visible surface. Both are popular personalized gift items that sell well at craft fairs and online shops.
Simple wood tags are another underrated starting point. They let you practice font choices, border designs, and logo placement without committing to a large blank. The repeatability of these small items builds muscle memory fast.
Pro Tip: Buy a batch of identical blanks from the same supplier for your first tests. Variations in material density between batches can change your laser results significantly, even at the same settings.
2. Master creative engraving design techniques
Cross-hatching, stippling, and textural fills are the core techniques designers use to create depth and visual interest on flat surfaces. Cross-hatching layers lines at opposing angles to simulate shadow and volume. Stippling uses dot density to build gradients that feel almost photographic. Both techniques produce professional results without requiring 3D carving equipment.
Power mapping and grayscale engraving take this further. Grayscale engraving creates dimensional depth by varying laser power and speed across a single design. Engraving backgrounds at lower power and foreground elements at higher power creates a clear visual hierarchy. The result looks three-dimensional on a completely flat surface.
Scrollwork patterns and organic shapes are trending strongly in 2026. These flowing, symmetrical designs work especially well on wood and leather, where the natural texture of the material adds to the visual effect. Tools like Inkscape and Adobe Illustrator both offer vector scrollwork libraries you can customize and drop directly into your engraving software.
Pro Tip: Convert all design files to high-contrast black and white before sending them to your engraver. Design prep accounts for 80% of success on any engraving project, and a clean digital file prevents blurry or broken lines on the final piece.
Here is a quick reference for matching technique to effect:
| Technique | Best for | Visual effect |
|---|---|---|
| Cross-hatching | Wood, leather | Shadow, volume, texture |
| Stippling | Acrylic, slate | Gradients, photographic depth |
| Grayscale engraving | Wood, coated metal | 3D illusion on flat surfaces |
| Scrollwork fills | Wood, leather | Decorative, ornamental detail |
| Negative space carving | Wood blocks | Bold contrast, graphic impact |
3. Choose the right tools and materials
Laser engravers cut production time by over 50% compared to hand tools, making them the preferred choice for crafters who want repeatable results at scale. Rotary tools, by contrast, are better suited for freehand artistry and one-of-a-kind pieces where organic imperfection is part of the appeal. The choice between them depends on whether you prioritize volume or uniqueness.
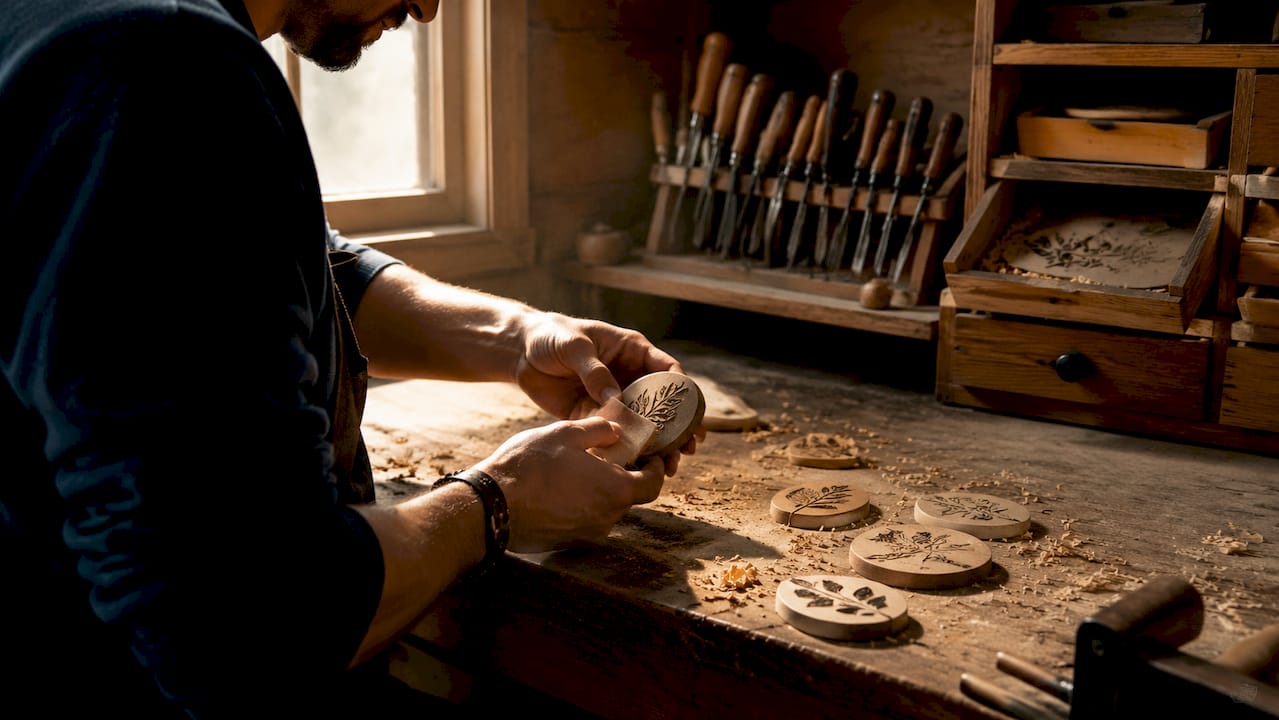
Material selection matters just as much as tool choice. Wood grain direction is critical. Engraving across the grain causes fiber tear-out, producing rough, uneven lines. Engraving with the grain, or better yet on end-grain wood, produces finer detail and cleaner results. Acrylic is forgiving and consistent, making it a great material for beginners who want predictable outcomes. Leather varies by tanning method, so vegetable-tanned leather engraves more cleanly than chrome-tanned alternatives.
Before committing to a full production run, always test your laser settings on a scrap piece from the exact same material batch. Even small variations in wood density or leather thickness between batches can shift your results. Knowing which craft materials to avoid is equally important. PVC, for example, releases toxic fumes when laser-engraved and should never be used.
For craft blanks, popular choices include basswood sheets, Baltic birch plywood, natural slate tiles, and full-grain leather strips. Each offers a clean surface that accepts engraving without excessive preparation. If you are exploring plastics, a guide to laser-cuttable plastics can help you identify safe, high-quality options.
4. Select and customize designs for personalized gifts
Functional engraved items like personalized cutting boards, coasters, and care tags have the strongest market appeal because buyers see them as both beautiful and useful. A cutting board with a family name and a simple botanical border is a gift that gets used daily. That daily visibility is what makes personalized engraving so powerful as a gift category.
Design software makes customization fast. Adobe Illustrator, Inkscape, and Canva all support vector file exports that translate cleanly to engraving machines. Start with a template, swap in the recipient’s name or a meaningful date, and adjust the border or fill pattern to match the occasion. This approach keeps quality consistent while allowing real personalization on every piece.
Batch producing event favors like wedding coasters or corporate gift tags builds repeatable workflows that save time and reduce errors. The key is locking in one design and running it across a full batch before moving to the next variation. Changing designs mid-run introduces alignment errors and inconsistent burn depth.
Designs that resonate most with buyers share two qualities: clarity and relevance. A name, a date, a meaningful symbol, or a short phrase tied to a shared memory. Avoid overcrowding the surface. White space is not wasted space. It makes the engraved elements stand out and gives the piece a polished, intentional look.
5. Apply negative space strategies for bold results
Negative space engraving is one of the most underused techniques in DIY craft work. Instead of engraving the design itself, you remove the background and leave the design raised and untouched. This approach, rooted in traditional wood engraving printmaking methods, creates striking contrast and a sense of depth that standard engraving cannot match.
The technique works best on basswood and Baltic birch, where the light wood color creates a strong visual contrast against the darker engraved background. Bold, graphic designs with clean outlines translate best. Avoid fine details or thin lines, as they can disappear when surrounded by a heavily engraved background.
This method also pairs well with paint fills. After engraving the background, you can brush a contrasting color into the recessed area, then wipe the surface clean. The paint stays in the engraved zone and creates a two-tone effect that looks far more complex than the process actually is.
6. Use design software to build a repeatable workflow
A repeatable design workflow is what separates crafters who produce consistently great results from those who get lucky occasionally. Adobe Illustrator and Inkscape are the two most widely used vector design tools in the engraving community. Both allow you to create scalable designs that resize without losing quality, which matters when you are adapting one design across multiple blank sizes.
LightBurn is the industry-standard software for controlling laser engravers. It accepts SVG, DXF, and AI files directly, and it lets you set power, speed, and pass count for each layer of a design. Learning LightBurn’s layer system is the single biggest productivity upgrade most crafters can make.
High-contrast, clean line designs translate best from screen to material. Before finalizing any design, zoom out to thumbnail size and check that the key elements are still readable. If the design looks muddy at small scale, it will engrave poorly. Simplify until the core message is clear at a glance.
7. Explore unique engraving inspiration sources
The best creative engraving designs come from unexpected places. Traditional printmaking, botanical illustration, vintage typography, and architectural ornament are all rich sources that most crafters overlook. The wood engraving tradition in fine art printmaking, for example, uses line density and direction to build tonal ranges that translate beautifully to laser work.
Pinterest and Etsy are useful for spotting trends, but they also create a feedback loop where everyone copies the same popular designs. Differentiate your work by pulling references from art history, natural science illustration, or folk art traditions. A design inspired by a 19th-century botanical print will stand out on any craft fair table.
Museums with open-access digital collections, like the Metropolitan Museum of Art and the Smithsonian, offer thousands of high-resolution historical images that are free to use as design references. These sources give your work a depth and originality that stock design libraries simply cannot match.
Key takeaways
The most effective craft engraving projects combine clean digital design preparation with the right material and technique for each specific project goal.
| Point | Details |
|---|---|
| Start simple | Begin with slate coasters and leather keychains to build skill without wasting material. |
| Prep your design file | Convert designs to high-contrast black and white before engraving for the cleanest results. |
| Match tool to goal | Use laser engravers for repeatable volume work and rotary tools for freehand artistry. |
| Engrave with the grain | Always check wood grain direction to avoid fiber tear-out and uneven lines. |
| Personalize for function | Functional items like cutting boards and coasters have the strongest gift market appeal. |
What I have learned from years of engraving projects
I have made every beginner mistake in the book. I once ran a full batch of 50 wooden coasters at the wrong power setting because I tested on a different wood lot than the one I used for production. The results were inconsistent, and I had to sand and re-engrave half of them. That experience taught me that material testing is not optional. It is the foundation of every good result.
The advice I give most often is this: start with the simplest version of your idea. Not because simple is better, but because simple reveals the problems faster. A clean name on a plain coaster will show you exactly where your alignment, font sizing, and burn depth need work. Once those fundamentals are solid, adding scrollwork or grayscale fills becomes much easier.
My personal favorite underrated project is the engraved leather journal cover. It combines texture, personalization, and daily utility in one piece. Buyers keep them for years. That longevity is what makes engraved crafts genuinely meaningful, not just pretty.
— Gary
How Signaturelaserdesigns can help with your next project
Looking for something genuinely unique? Signaturelaserdesigns brings professional craftsmanship and personalized service to every custom engraving order, whether you need a single keepsake or a full batch of event gifts.
Our team works with you on design, material selection, and sizing to make sure every piece turns out exactly right. From precision engraving services for detailed custom work to ready-to-order personalized gifts, we cover the full range of craft engraving needs. You can also browse our personalized gift guide for ideas that are proven to resonate with recipients. If you are ready to place a custom order, explore our industrial engraving catalog for a full look at what we offer.
FAQ
What are the best beginner engraving projects?
Slate coasters, leather keychains, and wooden ornaments are the best starting points. These flat, simple items let you refine laser settings and design layout without wasting expensive material.
How do I create depth in a flat engraving?
Use grayscale engraving or power mapping to vary laser intensity across the design. Engraving backgrounds at lower power and foreground elements at higher power creates a convincing three-dimensional effect on a flat surface.
What design software works best for laser engraving?
Adobe Illustrator and Inkscape are the top choices for creating vector design files. LightBurn is the standard software for controlling the laser engraver itself and managing layer settings.
Does wood grain direction affect engraving quality?
Yes. Engraving across the grain causes fiber tear-out and rough lines. Engraving with the grain or on end-grain wood produces finer detail and cleaner results.
What makes a personalized engraved gift sell well?
Functional items with clear, relevant personalization sell best. Cutting boards, coasters, and tags with names, dates, or short meaningful phrases consistently outperform purely decorative pieces at craft fairs and online.