Wolf Head Silhouette Wood Cutouts: Choosing and Finishing
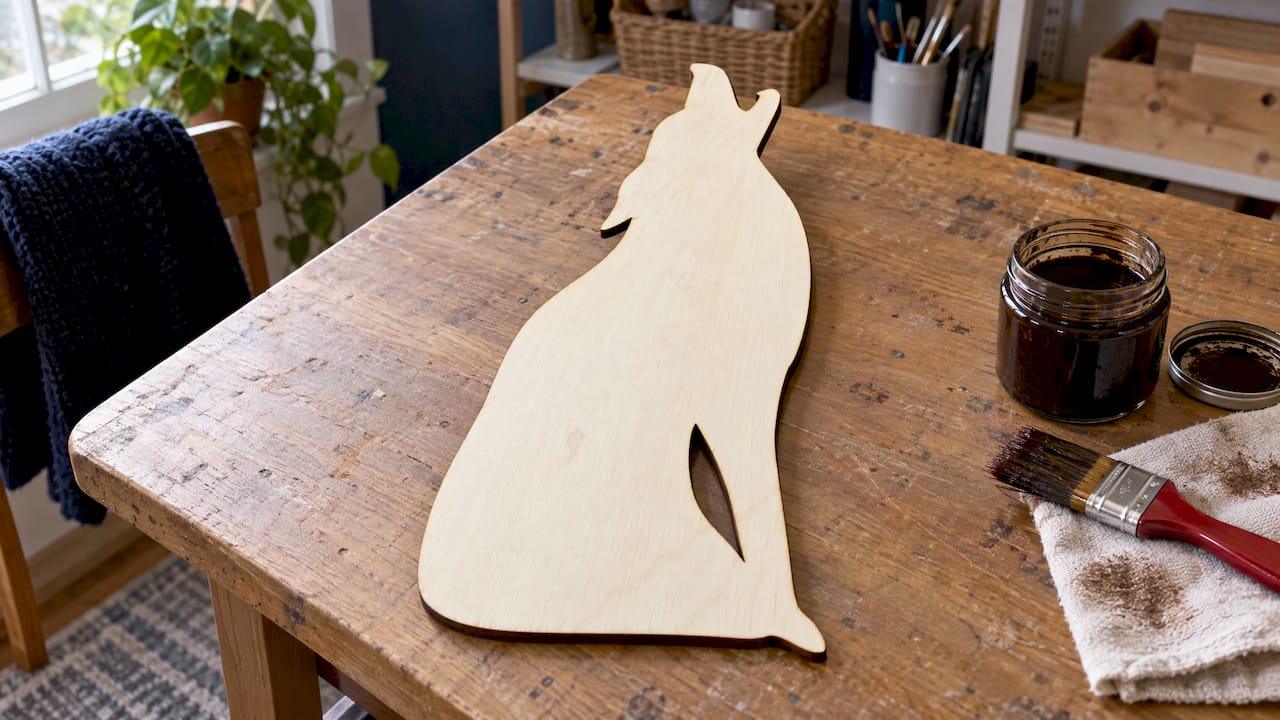
A wolf head silhouette wood cutout is a flat, laser cut wood shape of a wolf’s head in profile, sold unfinished so you can paint, stain, engrave or decorate it yourself. Pick a side-profile head for a bold, simple sign. Pick a howling wolf if you want a longer, more dramatic outline. Either way, quarter-inch plywood is a sturdy starting point, and a little sanding makes the finish look great.
✦ Featured From Our Shop ✦
Personalized & laser engraved in Georgia, just for you
We laser cut and engrave in our small Georgia shop, and wolf shapes are a favorite with crafters who want a rustic piece for a cabin wall, a man cave, a classroom or a gift. This guide walks you through the shapes, the wood, the sizes and the finishing steps, so your blank turns into something you are proud to hang.
TL;DR
- A side-profile wolf head gives you a clean, graphic outline. A howling wolf gives you a taller, more dramatic one.
- Plywood is the usual choice for laser cut shapes, and thicker stock such as 1/4 inch feels sturdier on a wall.
- Sand first, clean any burnt edges, then stain or paint. Seal when you are done.
- Stain and engraving behave differently on charred areas, so plan your look before you start.
- Our howling wolf wood cutout in 1/4 inch plywood (on Etsy) is an unfinished blank ready for your project.
Table of Contents
- Side-profile wolf head or howling wolf: which shape fits?
- Which wood and thickness should you choose?
- Sizing your wolf for the space
- Preparing the blank: sanding and cleaning
- Staining a wolf cutout
- Painting a wolf cutout
- Project ideas for a wolf head or howling wolf
- Our perspective
- Hanging and displaying your finished wolf
- Ready to start your wolf project?
- FAQ
- Sources
Side-profile wolf head or howling wolf: which shape fits?
These two shapes look similar in a thumbnail, but they behave very differently once they are on your workbench.
A side-profile wolf head is a compact shape: snout, ear, a bit of neck and mane. It reads clearly from across a room, it fits neatly on a shelf or door, and it works well for ornaments, magnets and small signs. Because the outline is chunky, there are few fragile points to break while you sand and paint.
A howling wolf points the nose to the sky. The shape is taller and has more flowing lines, so it makes a stronger focal point for a wall. It also suits layered projects, such as a moon behind the wolf or a tree line along the bottom.
The difference matters for strength as well as looks. One free cut-file library that offers a solid one-piece wolf silhouette, a howling wolf and a howling wolf head notes that the wolf silhouette’s narrowest part is a leg, a little over 5 mm wide at 100 mm, which is why simple solid shapes are a safe choice for thin plywood. The takeaway for you: the fewer thin points and inside cuts a shape has, the easier it is to handle, paint and hang.
A quick way to decide:
- Small ornament, magnet or gift tag: side-profile head.
- Statement piece over a couch, bed or desk: howling wolf.
- Painting with kids or a class: side-profile head, since the broad shape is forgiving.
- Engraved or stained detail work: either one, as long as you choose a size with enough surface to show off your design.
Which wood and thickness should you choose?
Most laser cut craft shapes are made from plywood, and for good reason. One 2026 material guide calls Baltic birch the gold standard in the laser cutting community, because its many layers and void-free core produce clean cuts. Another 2026 guide describes it as the most production-reliable wood for CO2 laser cutting, with clean edges across a range of thicknesses.
What does that mean when you are buying a wolf cutout?
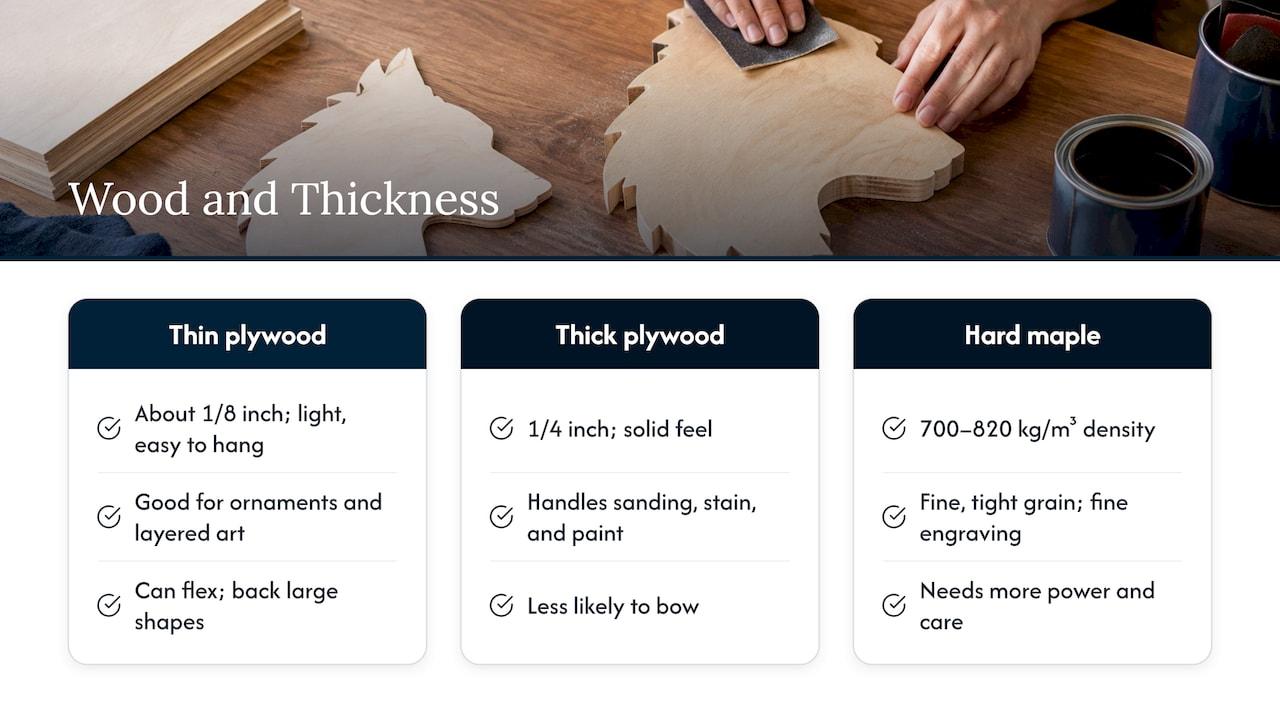
Thinner plywood (around 1/8 inch) is light, easy to hang and good for ornaments and layered art. It can flex, so mount it on a backing if the shape is large.
Thicker plywood (1/4 inch) has a more solid feel. It stands up to sanding, stain and several coats of paint without bowing as easily, and it looks substantial on the wall. Our howling wolf blank is cut from 1/4 inch plywood. If you want to understand how thickness affects what a laser can do, our guide to 1/4 inch plywood craft blanks goes into it, and our maker’s guide to laser cutting wood types compares the common species.
Hardwood such as maple is denser and has a fine, tight grain. The same Kasulaser guide says hard maple runs 700 to 820 kg/m³ and captures very fine engraving detail, though it takes more power and care to cut. For a painted wolf, plywood is plenty. If you want a natural, grain-forward piece, ask us about options through our shop.
What do those laser-cut edges look like?
Laser cutting leaves a dark, toasted edge. One post-processing guide explains that the process burns wood at temperatures over 500°F, which chars the edge and seals the fibers. Many makers like that look for rustic signs and decorative pieces, and the same guide says it can look great as is. If you prefer a clean light edge, a light sanding does the job. If you want to paint, you will want to deal with the char first, as covered below.
Sizing your wolf for the space
Size is the choice people most often regret, so measure first. Cut a piece of paper or cardboard to the size you are considering and tape it where the wolf will hang. Stand back a few feet and look at it.
Some rules of thumb we share with customers:
- Under about 8 inches: ornaments, magnets, shelf accents, desk décor.
- Around 10 to 14 inches: good for a door, a hallway or a gallery wall with other pieces.
- Large sizes: a single focal point over a mantel, headboard or desk.
Detail matters too. One cut-file guide says its wolf-in-a-pine-forest design works in plywood at 200 mm wide or more, a reminder that busy scenes need room while a simple head works almost anywhere. For a simple wolf head, you can go small. For a scene with trees, moons or lettering, go bigger.
If you are ordering for a team, club or classroom and need matching sizes, our bulk and corporate orders page is the place to ask for a quote and volume pricing.
Preparing the blank: sanding and cleaning
A good finish starts before the first coat. Three quick steps make a big difference.
- Sand the faces and edges. Work through grits from medium to fine, always moving with the grain. Our five step grit progression for painting unfinished wood cutouts shows exactly how to move from one grit to the next.
- Remove the char you do not want. For painting, one finishing guide suggests cleaning burn marks with a damp cloth or fine steel wool and denatured alcohol. Test in a hidden spot first, and keep the room ventilated.
- Wipe off the dust. A tack cloth or slightly damp rag clears sanding dust so paint and stain go on evenly.
If you like the toasted edge, skip the edge cleaning and sand only the flat faces. That contrast of dark edge and painted face is a popular rustic look.
Staining a wolf cutout
Stain shows off wood grain, and wolves look wonderful in deep brown, gray or black tones. A few things are worth knowing.
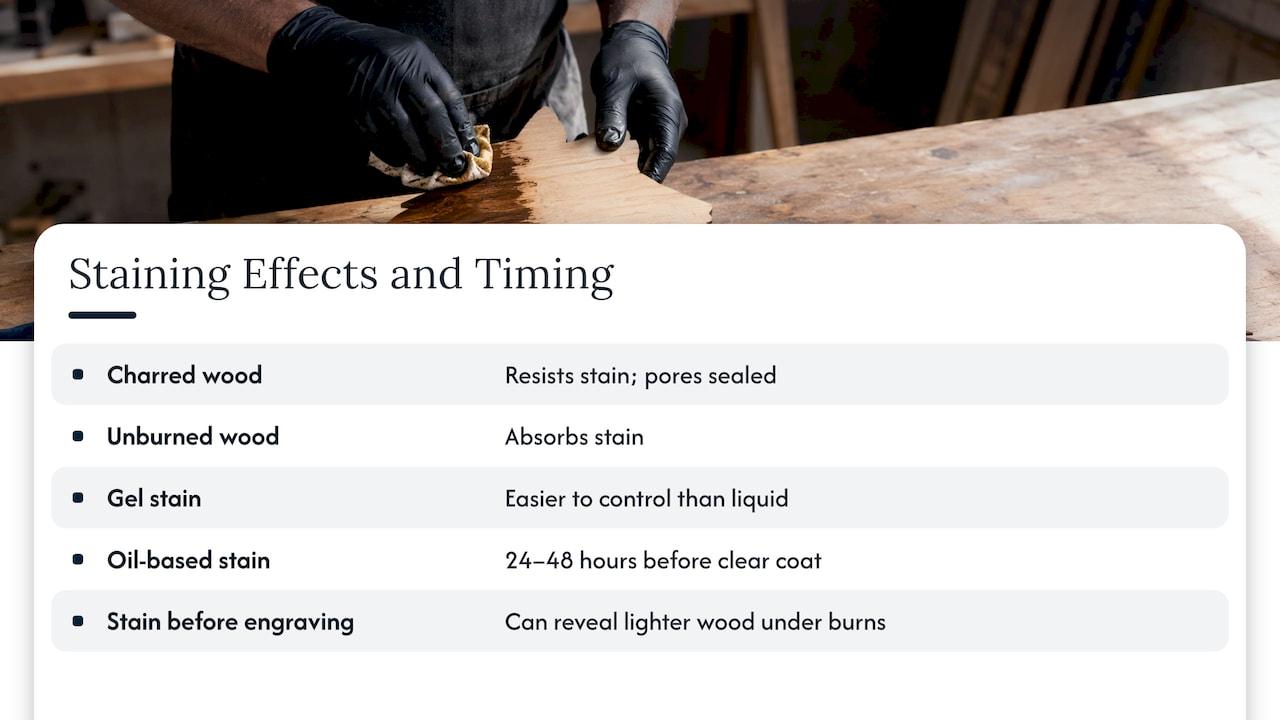
A laser chars the wood where it engraves. According to one finishing guide, charred wood resists stain because heat has sealed its pores, while unburned wood absorbs it. That creates natural contrast, with engraved lines staying dark against a stained surface. The same guide says gel stain is easier to control than liquid stain, and that oil-based stains need 24 to 48 hours to cure before a clear coat.
It also describes a trick for light-on-dark designs: on some woods, staining before engraving can reveal lighter wood under the laser burns. If you are buying a blank from us and want an engraved detail on a finished piece, tell us what you have in mind.
For a step-by-step walkthrough built around this exact shape, see our guide to staining a wolf silhouette on 1/4 inch laser cut plywood.
Painting a wolf cutout
Paint opens up every look you can imagine: a classic gray timber wolf, a night-sky wolf in blues and purples, a team-color mascot or a simple matte black silhouette.
Here is a reliable order of work:
- Sand and clean as above.
- Apply a thin coat of water-based primer. One crafter’s guide says to let it dry for one to two hours before a light sanding.
- Paint with acrylic, using a stencil brush or sponge for even coverage. Several thin coats beat one thick one.
- Let it dry fully, then protect it with a clear coat. A water-based polyurethane is a clear protective coat that does not yellow over time, which matters on light colors.
Painting more than one? Our guide on the best paint for laser cut plywood covers finishing a single piece or a batch of twenty.
Easy ways to add a custom touch
- Paint the wolf solid black and add a moon or stars on the wall behind it.
- Stain the face and leave the laser-cut edge dark for a rustic frame.
- Add the family name or a last name in vinyl letters or paint pen beneath the wolf.
- Wrap the shape with string or nails for a string art look. Our guide to prepping unfinished wood cutouts for string art covers the fixes that help.
Project ideas for a wolf head or howling wolf
A blank wolf is more versatile than it first appears. Here are projects customers and crafters commonly take on:
- Wall sign. A single large wolf, stained or painted, with a short phrase or family name.
- Ornament or gift tag. A small side-profile head with a hole for ribbon. Our shop also carries finished Christmas ornaments if you would rather give one ready-made.
- Team or club mascot. Painted in school colors for a classroom, a booster club or a sports team room.
- Layered scene. A wolf over a moon, with a tree line cut from another blank.
- Clock face accent. A wolf-themed scroll saw pattern from one pattern seller, for example, pairs a howling wolf with a clock insert, which shows how well the shape suits a functional decorating project.
- Gift for an outdoorsy friend. Pair a painted wolf with a piece from our Camping & Outdoors collection.
Our perspective
We cut and engrave every piece in our small Georgia shop, and wolf shapes are some of the ones we enjoy most. A wolf has a recognizable outline, so even a first-time painter gets a result that looks intentional.
Our advice is to start with the shape that matches your space, choose 1/4 inch plywood when you want a piece with some presence, and spend your time on sanding. Nine times out of ten, a smooth surface is what separates a craft project from something that looks like it came from a gallery shop.
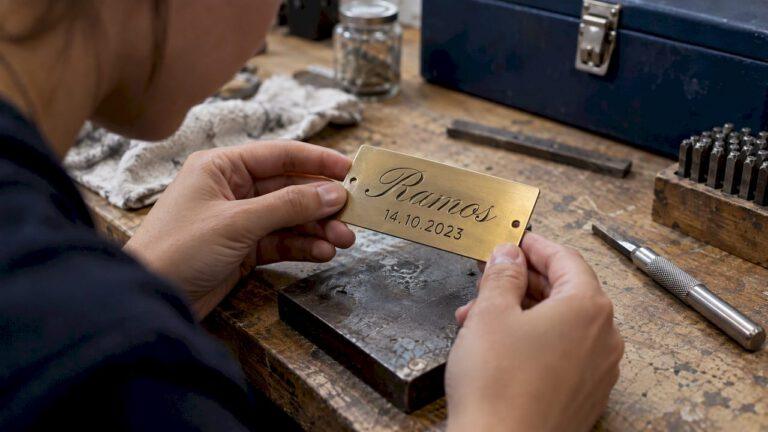
We also like to point out that a blank is only half of a gift. If you love the wolf look but do not want to paint, our shop has custom engraved pieces that are made to order with your names, dates or message, and personalization is included.
Gary
Hanging and displaying your finished wolf
A finished wolf deserves a secure mount. Plywood is light, so most walls need very little.
- Sawtooth hanger or picture-hanging strip on the back for small and medium shapes.
- Two hangers for large shapes, which keeps them level.
- Standoff mount: a thin spacer behind the wolf lets it cast a soft shadow on the wall, which makes the outline pop.
- Shelf or mantel display: a small block glued behind the wolf’s base lets it stand on its own.
If you stained with an oil-based product, give it the full cure time before hanging, and let paint and sealer dry completely before stacking or wrapping the piece. Keep finished wood out of damp spaces such as bathrooms unless you have sealed every face and edge.
Ready to start your wolf project?
We offer a howling wolf blank in 1/4 inch plywood, laser cut and ready for your own style: see the howling wolf wood cutout (on Etsy). It is a good fit for signs, silhouette projects, ornaments and more.
Want something personalized instead? Browse our online shop for custom engraved gifts, including Dog Lover Gifts and Gifts for Him. Looking at craft supplies? Our Supplies & Blanks page is the place to start. For an order of many pieces, such as awards or team gifts, request a quote on our bulk orders page.
FAQ
What is the difference between a wolf head silhouette and a howling wolf cutout?
A wolf head silhouette shows the head in side profile, a compact shape with a clear outline. A howling wolf points the nose upward and is usually taller, with more flowing lines. Choose the head for small, forgiving projects and the howling wolf for a statement piece.
What thickness should I choose for a wolf wood cutout?
For ornaments and layered art, thinner plywood is light and easy to hang. For a wall sign you will sand, stain or paint, 1/4 inch plywood has a sturdier feel. Our howling wolf blank is cut from 1/4 inch plywood.
Do I need to sand a laser cut wolf before painting?
Yes, a light sanding gives the smoothest result. Clean any burnt edges you want to paint over with a damp cloth or fine steel wool, then prime and paint in thin coats. If you like the dark edge, you can leave it and sand only the faces.
Can I stain a wolf cutout?
Yes. Unburned wood takes stain, while charred areas resist it, so engraved lines and edges stay dark. Gel stain is easier to control than liquid stain, and oil-based stains need a day or two to cure before sealing.
Can you engrave a wolf cutout with a name or date?
Our shop makes custom engraved gifts to order with personalization included, and you can browse them in our online store. If you have a specific idea for a wolf piece, tell us about it before you order.
Sources
- Wolf SVG: 15 free cut files, with PNG and DXF
- Best Wood for Laser Cutting: Complete Material Guide 2026
- Best Wood for Laser Cutting: Types, Thickness & Settings
- Post-Processing Guide for Laser Cut Wood Projects
- 7 Pro Tips for Painting Laser Cut Wood Projects
- How to Finish Laser Engraved and CNC Projects
- How To Decorate Wooden Craft Shapes
- Wolf Howl Scroll Saw Pattern
Recommended
- Skip Sanding: Laser Shop Buy & Finish Unfinished Deer Cutouts
- Stain a Wolf Silhouette on ¼-Inch Laser Cut Plywood