Custom Logo Engraving Process Explained for Results
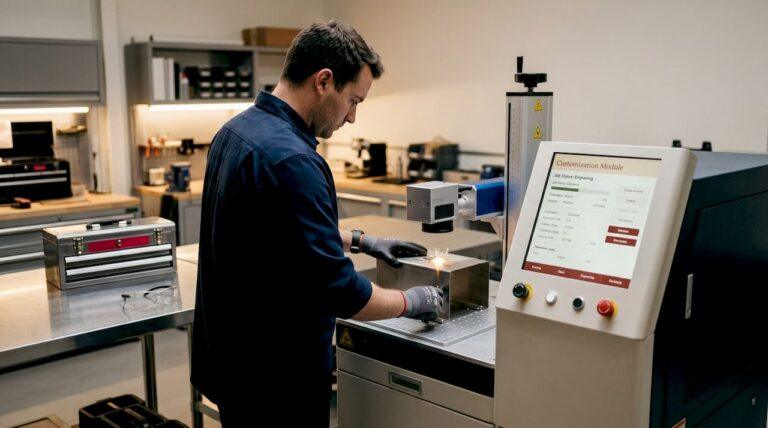
Custom logo engraving is defined as a subtractive manufacturing process where a focused, high-energy laser beam vaporizes surface material locally to create a permanent, recessed mark without any physical contact. The beam reaches vaporization temperature within milliseconds, producing a clean, precise impression that neither fades nor peels. This makes it the preferred method for everything from personalized gifts and corporate awards to industrial parts and medical devices. Whether you are a small business owner branding promotional products or an individual creating a one-of-a-kind keepsake, understanding the custom logo engraving process explained here will help you get the results you want the first time.
✦ Featured From Our Shop ✦
Handcrafted & laser engraved in Georgia, just for you
What are the key steps in the custom logo engraving workflow?
The engraving workflow follows a clear, sequential path from digital file to finished product. Skipping any step introduces errors that are difficult or impossible to correct after the laser fires.
Step 1: Prepare your vector file. Your logo must be saved in a vector format such as DXF, SVG, or Adobe Illustrator AI. These formats store geometry as mathematical paths rather than pixels, so the laser software can interpret every line and curve with precision. Paths must be clean and closed, with no stray anchor points or overlapping shapes.
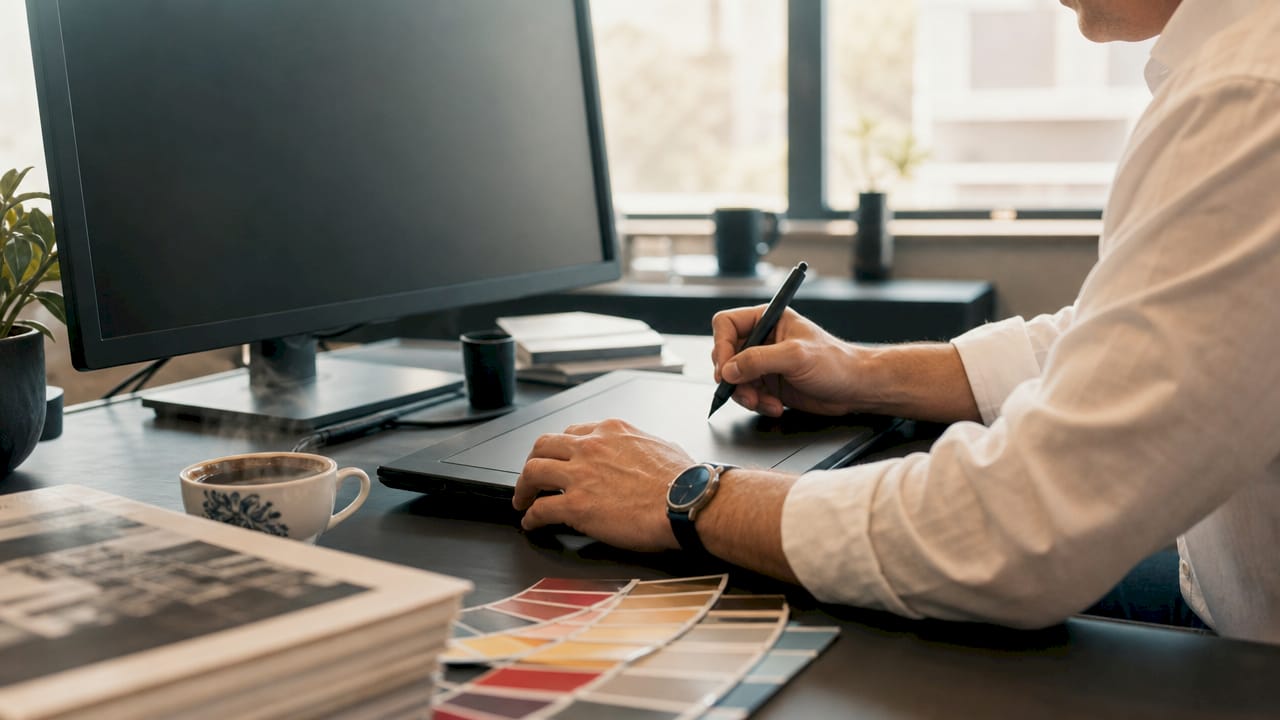
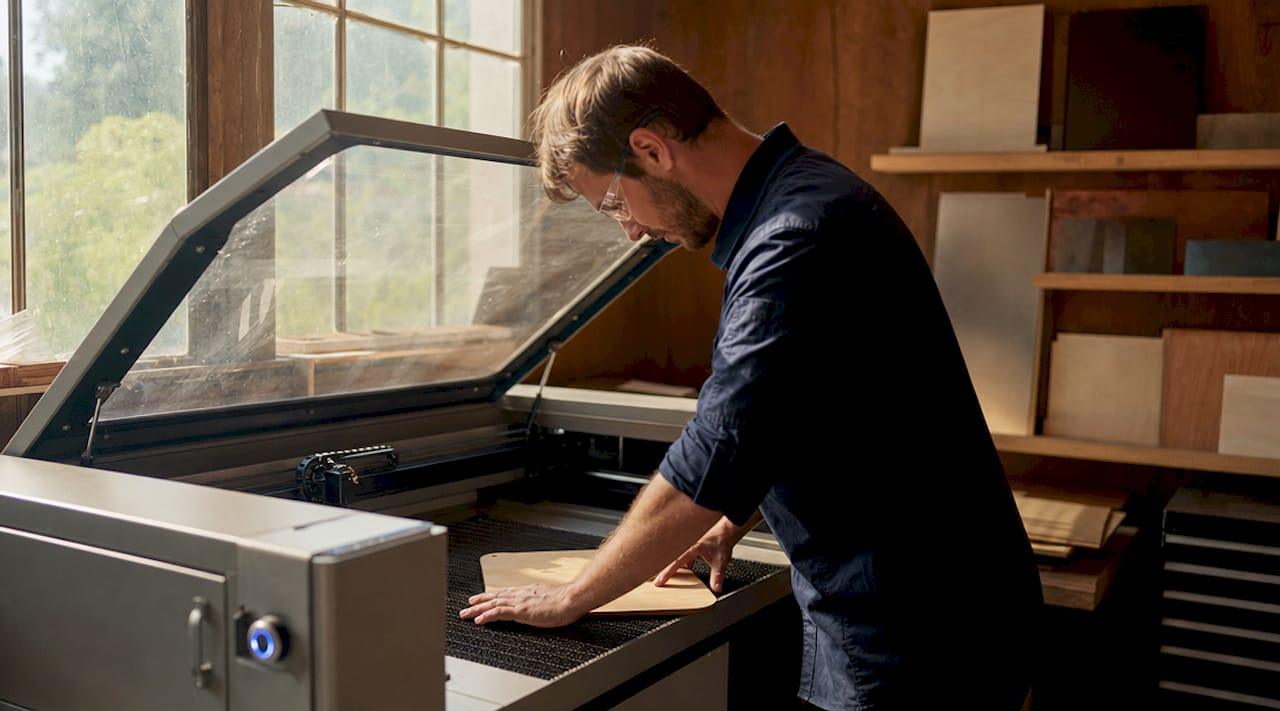
Step 2: Secure the material. Place your workpiece flat on the laser bed and fix it with clamps, tape, or a jig. Any movement during engraving causes blurred edges and misaligned passes. For irregular surfaces like curved tumblers or cylindrical pens, a rotary attachment holds the piece and rotates it in sync with the laser head.
Step 3: Set laser parameters. Power, speed, and frequency must be dialed in for the specific material you are engraving. Aluminum, wood, acrylic, and leather each respond differently to the same watt output. Refer to the machine manufacturer’s material library as a starting point, then adjust from there.
Step 4: Run a test engraving. Always test on a scrap piece of the same material before committing to the final workpiece. A test run reveals whether your depth, contrast, and edge sharpness are on target. This step saves both time and material cost.
Step 5: Execute the production run. Once settings are confirmed, run the full job. Monitor the first piece closely and compare it against your approved sample before continuing with a batch.
Pro Tip: Save your confirmed parameter settings as a named preset in your laser software. This creates a repeatable process and eliminates guesswork on future orders using the same material.
How do vector and raster engraving techniques differ for logo work?
Raster and vector engraving are two distinct operating modes, and choosing the wrong one for your logo type produces poor results. Understanding the difference is one of the most practical parts of any personalized logo engraving guide.
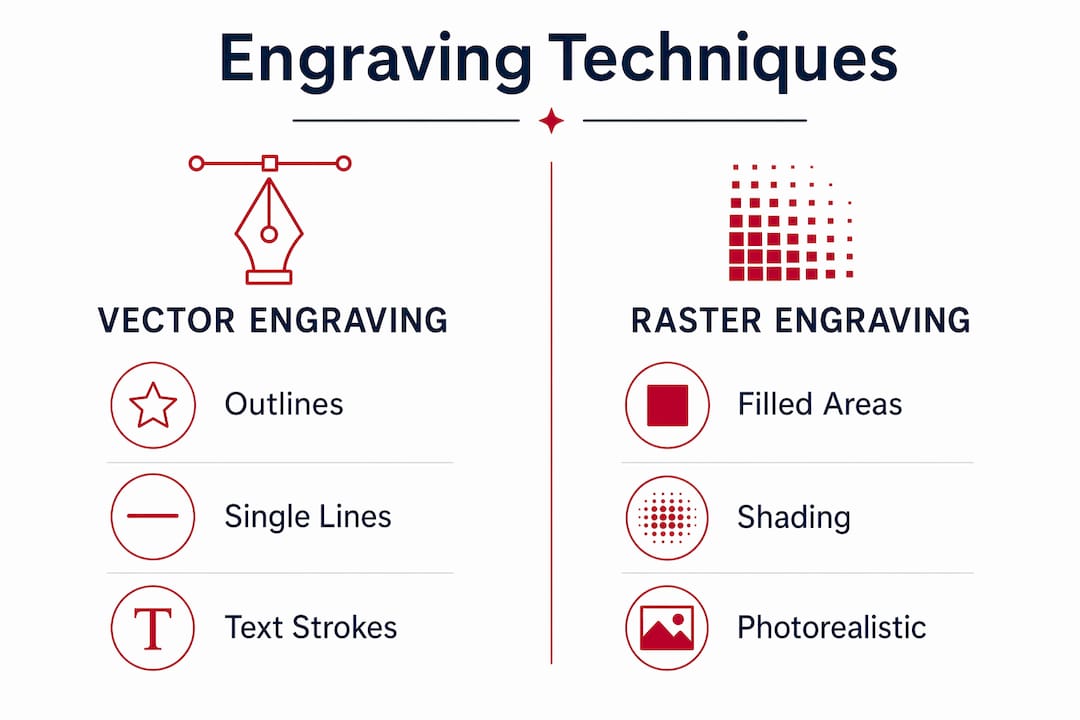
Vector engraving traces the actual paths of your design. The laser follows each line or outline exactly as drawn, making it fast and ideal for logos built from strokes, outlines, or single-line text. Think of a company name in a clean sans-serif font or a simple geometric mark. The laser draws each stroke the way a pen would.
Raster engraving works like a printer. The laser sweeps back and forth across the material in horizontal lines, firing on and off to fill in solid areas. This mode is required for logos with filled shapes, gradients, or photographic detail. A logo with a solid filled circle or a detailed crest must be raster engraved to reproduce the filled areas correctly.
The file setup determines which mode your software uses. A vector file with only strokes triggers vector mode. A file with solid fills or a rasterized image triggers raster mode. Many logos require both modes in a single job, with the software handling each element appropriately.
| Feature | Vector engraving | Raster engraving |
|---|---|---|
| Best for | Outlines, single lines, text strokes | Filled shapes, photos, detailed logos |
| Speed | Faster for line-based designs | Slower due to back-and-forth scanning |
| File requirement | Stroke paths, no fills | Solid fills or rasterized image |
| Typical use case | Corporate monograms, simple marks | Detailed crests, photographic logos |
Pro Tip: If your logo uses both outlines and filled areas, set up two separate layers in your design file. Assign one layer to vector mode and one to raster mode so the software processes each element correctly.
What laser parameters critically affect engraving quality?
Laser power, speed, frequency, and focus are the four variables that determine whether your engraved logo looks sharp and professional or muddy and inconsistent. Each one interacts with the others, so adjusting a single setting without considering the rest leads to unpredictable results.
Power controls how much energy the beam delivers to the material surface. Higher power removes more material per pass, creating a deeper, darker mark. Too much power on a thin material like anodized aluminum burns through the coating entirely and destroys the contrast.
Speed determines how long the beam dwells on any given point. Slower speed means more energy delivered per millimeter, producing deeper marks. Faster speed reduces depth and is used for light surface marking on delicate materials like leather or coated wood.
Frequency (measured in pulses per second, or Hz) affects edge quality and surface texture. Higher frequency produces smoother edges on curves and fine detail. Lower frequency creates a more textured, matte appearance that some applications prefer.
Focus distance is the most underestimated variable. Focus errors as small as 0.3mm weaken marks and blur fine detail. This means that manual height estimation is not reliable enough for professional work. Use an autofocus probe or a calibrated focus gauge every time you set up a new job.
Focal length selection also matters. Shorter focal length lenses concentrate the beam into a finer spot, which suits intricate logo details. Longer focal length lenses work better on thicker or uneven materials where depth of field is more important than spot size.
For deeper effects or three-dimensional logos, multiple passes stack material removal layer by layer. Each pass removes a micro-layer without overheating the surrounding area, maintaining clean edges and repeatable depth control.
What practical considerations ensure durability and compliance?
Not every engraved logo faces the same environment. A personalized gift sits on a desk. An industrial part may face salt spray, chemical exposure, or repeated sterilization. The logo engraving techniques you choose must match the demands of the end use.
Standard surface engraving depths are less than 0.001 inches, which means shallow marks rely heavily on oxidation contrast for visibility. Under harsh conditions, that contrast can degrade. For military or medical applications governed by DFARS 252.211-7003 or FDA UDI requirements, surface engraving alone often fails durability testing.
“For compliant traceability marks, visible appearance isn’t enough. Marks must pass standardized contrast and durability tests over their service life.” — DFARS traceability standard analysis
For regulated industries, three marking approaches are worth knowing. Deep etching removes significantly more material, creating a mark that survives aggressive surface treatments. Laser annealing heats the metal surface without removing material, producing a color change that is flush with the surface and highly resistant to wear. Chemical etching combined with laser masking creates deep, chemically resistant marks on stainless steel.
FDA-regulated medical device marking requires validated processes with documented settings. Validation tests include sterilization resistance and barcode readability checks before production release. Any change to the process, including a new material batch or machine service, triggers revalidation.
For everyday commercial and gift applications, the focus shifts to contrast and aesthetics. Wood engraving produces warm, natural contrast. Anodized aluminum produces crisp, color-contrasted marks. Acrylic frosting creates a frosted, backlit effect. Matching the technique to the material and the end use is what separates a professional result from a disappointing one.
How to prepare your logo artwork and material for best results
Artwork preparation is where most engraving problems start. Vector artwork with outlines only often results in unexpected cut lines instead of filled areas. Preparing your file correctly before sending it to the laser saves time and prevents wasted material.
Use vector formats with closed paths and solid fills for any area you want engraved. Remove all color, gradients, and drop shadows from the file. The laser software reads geometry, not color values. A red fill and a blue fill look identical to the machine unless you use color layers to assign different parameter sets.
Material selection shapes the entire outcome. Wood engraves beautifully with a CO2 laser and produces warm, high-contrast results. Metals like stainless steel and aluminum require a fiber laser or a CO2 laser with a metal marking spray such as Cermark or Brilliance. Acrylic produces a frosted, polished edge effect. Leather engraves cleanly at low power and creates a distinctive branded look for wallets, journals, and accessories.
Before running any job, clean the focus lens with a lint-free optical wipe. A contaminated lens scatters the beam and reduces mark quality. Proper ventilation is equally non-negotiable. Multi-stage filtration systems can remove up to 99.97% of airborne contaminants produced during engraving, protecting both the operator and the machine optics.
Secure every workpiece firmly. Even a slight shift mid-job misaligns the logo and ruins the piece. For production batches, build a simple jig from scrap acrylic or MDF that positions each piece identically every time.
Pro Tip: Convert all text in your logo to outlines or paths before importing into laser software. This eliminates font substitution errors and guarantees the design looks exactly as intended.
Key takeaways
The custom logo engraving process requires precise file preparation, correct technique selection, and material-matched laser parameters to produce durable, professional results every time.
| Point | Details |
|---|---|
| File format matters | Use DXF, SVG, or AI vector files with closed paths and solid fills for clean engraving. |
| Technique selection | Choose vector mode for outlines and raster mode for filled logos or detailed designs. |
| Focus is critical | A focus error of just 0.3mm degrades mark sharpness; always use a calibrated focus gauge. |
| Test before production | Run a test engraving on scrap material to confirm depth, contrast, and edge quality. |
| Compliance needs deep marks | Regulated industries require deep etching or annealing, not standard surface engraving. |
Why I think most engraving problems start long before the laser fires
After years of working with custom engraving projects at Signaturelaserdesigns, I can tell you that the majority of quality complaints trace back to two things: focus errors and file problems. Not machine failures. Not bad materials. Focus and files.
Most people assume that if the artwork looks good on screen, the engraving will look good on the part. That is not how it works. A logo with outlines but no fills will produce a wireframe outline instead of a solid mark. A file with embedded raster images inside a vector container will engrave at low resolution. These are fixable problems, but only if you catch them before the job runs.
The focus issue is even more common. I have seen operators estimate the focal distance by eye for years and wonder why their marks look inconsistent from batch to batch. Stable, repeatable focus positioning is not optional for professional work. It is the single biggest variable you can control.
My honest recommendation is to treat every new material and every new logo file as its own qualification run. Document the settings that work. Lock them in. When a job comes back six months later, you want to reproduce it exactly, not start from scratch. That discipline is what separates a professional engraving operation from a hobbyist setup.
— Gary
Bring your logo to life with Signaturelaserdesigns
Signaturelaserdesigns offers precision custom laser engraving services for businesses and individuals who need results they can count on. Our team works with wood, metal, acrylic, leather, and more, handling everything from single personalized gifts to large production runs. We support clients through file preparation, material selection, and parameter setup so every piece meets your exact standard. Whether you need branded corporate equipment, personalized keepsakes, or compliance-grade industrial marking, we are ready to help. Explore our full range of engraving and customization services or reach out to our team to discuss your project today.
FAQ
What is custom logo engraving?
Custom logo engraving is a process where a focused laser beam vaporizes surface material to create a permanent, recessed mark of your logo without physical contact. It works on wood, metal, acrylic, leather, and many other materials.
What file format should I use for logo engraving?
Vector formats such as SVG, DXF, or Adobe Illustrator AI are the standard for laser engraving. Files must have clean, closed paths and solid fills for any areas you want engraved as solid marks.
What is the difference between vector and raster engraving for logos?
Vector engraving traces the paths of your design and suits outlines and single-line text, while raster engraving sweeps back and forth to fill solid areas and suits detailed or filled logos.
How deep does laser engraving go?
Standard surface laser engraving produces marks less than 0.001 inches deep. For applications requiring durability under harsh conditions, deep etching or laser annealing creates more resistant marks.
Why does focus distance matter so much in logo engraving?
A focus error of just 0.3mm weakens the mark and blurs fine detail. Consistent, calibrated focus positioning is the single most important variable for achieving sharp, repeatable engraving results.
Recommended