How to Customize a Wooden Baby Feet Cutout for a Guestbook
Use sanded plywood or birch baby feet cutouts sized for comfortable signing, prep them with light sanding, hand guests fine-point permanent markers or paint pens, and seal every message after the ink fully cures. That combination solves most of the common questions hosts have about turning wooden baby feet into a guestbook keepsake. If a polished, personalized set matters more than a weekend of sanding, ordering pre-cut or laser-engraved feet from Signaturelaserdesigns gets you the same keepsake without the workshop mess.
✦ Featured From Our Shop ✦
Handcrafted & laser engraved in Georgia, just for you
Quick plan to follow right now:
- Buy 3 to 6 inch unfinished plywood or birch feet, one per expected guest plus a few extras.
- Grab fine-point Sharpies (black works on light wood) and a paint pen for darker stain finishes.
- Seal only after 24 to 72 hours of ink cure time, never before guests sign.
- If your shower is under two weeks away, order pre-cut or engraved pieces instead of starting from raw wood.
Key Takeaways
Signing works best on 3 to 6 inch sanded plywood or birch feet prepped with fine-point markers, sealed only after the ink fully cures.
| Point | Details |
|---|---|
| Pick the right size | Use 3 to 6 inch cutouts for signing; save 0.9 inch or 12+ inch sizes for accents or display pieces. |
| Sand and test first | Light 220 grit sanding plus a pen test on scrap wood prevents bleeding and smudged messages. |
| Wait to seal | Let ink cure 24 to 72 hours before applying a child-safe clear coat, never sooner. |
| Prep the signing station | Post a short prompt, display a sample signature, and stock backup pens and blank feet. |
| Order when time is tight | Signaturelaserdesigns delivers pre-cut or engraved feet with proofing built into a 2 to 3 week lead time. |
Table of Contents
- How to Customize a Wooden Baby Feet Cutout for a Baby Shower Guestbook
- What’s the Best Way to Prep Cutouts Before Guests Sign?
- Which Decoration Method Fits Your Shower Theme?
- Setting Up a Signing Station Guests Will Actually Use
- How Do You Seal and Display the Finished Keepsake?
- Ordering Custom-Cut or Engraved Feet Instead of DIY
- Why the DIY Advice Everyone Repeats Misses the Point
- [Get a Personalized Keepsake Without the Sanding and Guesswork](#get-a-personalized-keepsake-without-the-sanding-and-guessworkhttpsprintcafeusacomposters)
- Sources
How to Customize a Wooden Baby Feet Cutout for a Baby Shower Guestbook
Size drives everything else you’ll decide. Custom wooden baby feet cutouts run from tiny 0.9 inch craft embellishments all the way up to 39 inch statement pieces meant for a nursery wall, and where you land on that scale determines how much room a guest actually has to write.
A 3 to 6 inch foot gives you enough surface for a name, a date, and a short wish, which is the sweet spot for most guestbook setups. Anything smaller than 3 inches works fine as a decorative accent but crowds a signature fast. Anything past 12 inches shifts from “guest signs a foot” to “guest signs a family display piece,” which is a different project entirely.
Wood choice matters just as much as size:
- 1/4 inch sanded plywood is the budget-friendly, widely available option and takes permanent marker well once lightly sanded.
- Birch has a tighter, smoother grain that resists ink bleed better than plywood, worth the small upcharge if guests will use paint pens.
- Basswood carves and engraves cleanly but costs more and isn’t necessary unless you’re doing detailed hand-lettering.
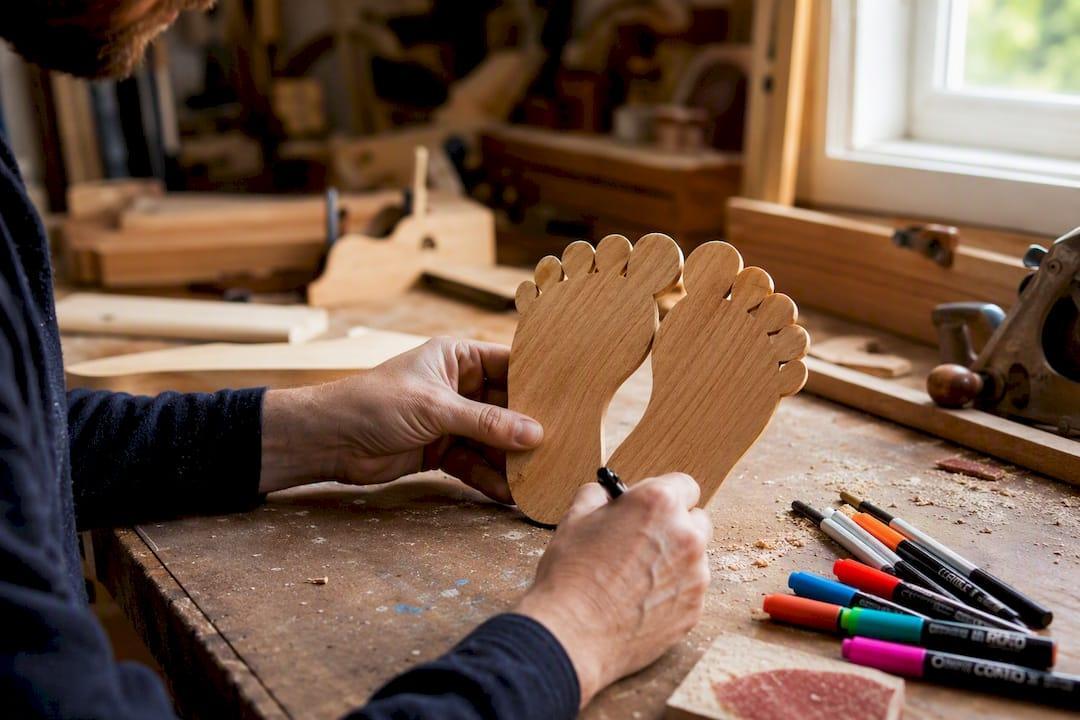
For markers, stick with fine-point permanent markers for names and short messages, and reserve paint pens for anyone writing on a stained or dark surface. Test every pen on a scrap piece first. Some inks bleed into raw wood grain within seconds. Round out your supply list with 220 grit sandpaper for smoothing, a tack cloth to lift dust, painter’s tape for clean stenciled sections, small foam brushes, and a clear sealant rated for handling. Bulk packs of small 0.9 by 0.7 inch wooden baby feet embellishments are widely sold if you’re mixing tiny accent pieces into a larger display alongside your signing-size cutouts.
What’s the Best Way to Prep Cutouts Before Guests Sign?
A rushed prep job is the number one reason signatures look muddy in photos later. Follow this order and you’ll avoid it entirely.
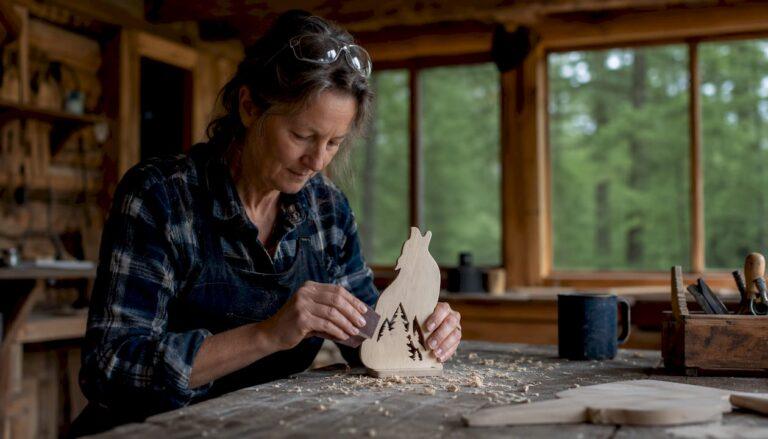
- Sand lightly with 220 grit paper, working with the grain, then wipe with a tack cloth to remove dust. This takes about five minutes per cutout.
- Test your chosen pen on a spare piece from the same wood batch, since grain density varies even within one order. Two minutes, non-negotiable.
- Plan your layout before anyone picks up a pen: decide whether the full foot is open for a message or whether you’re reserving a toe or heel section for the baby’s name and birth date once it’s known.
- Let test ink dry for a few minutes to confirm it doesn’t feather before setting cutouts out at the party.
Budget roughly 20 to 30 minutes total prep time per batch of ten feet once you’ve got a rhythm going, not per individual piece.
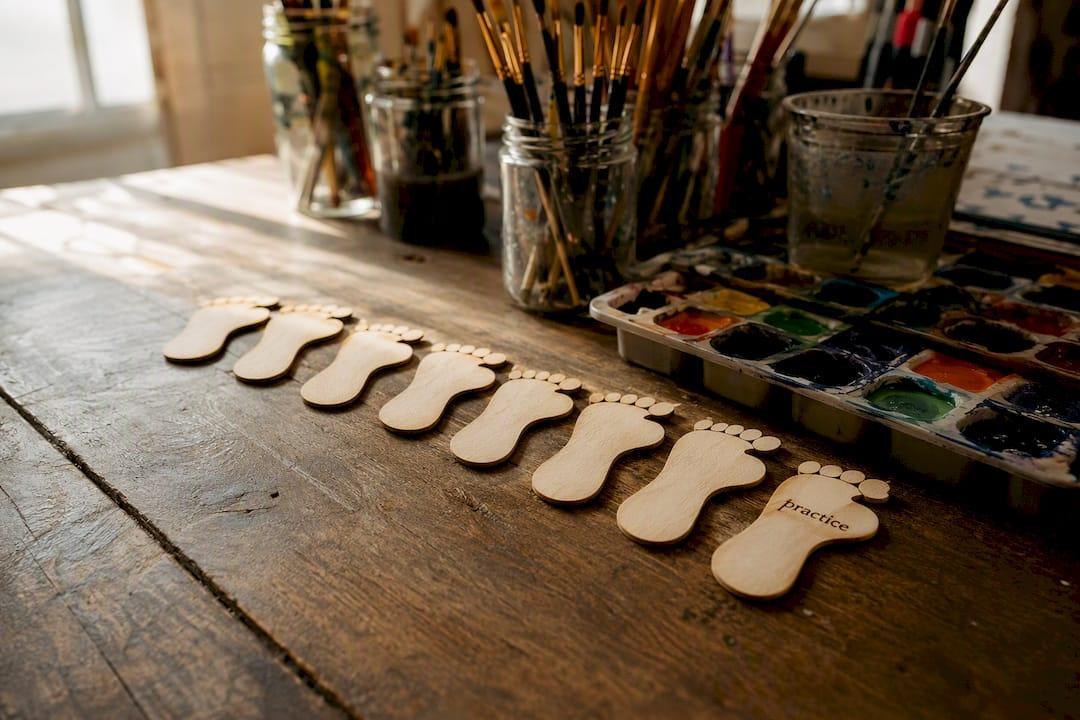
Pro Tip: Cut one extra foot per ten guests and label it “practice” at the signing station. It stops nervous first-time signers from ruining a keeper piece while they figure out their pen pressure.
Which Decoration Method Fits Your Shower Theme?
The decoration approach you choose has to work around one constraint: guests still need to write on it. Get the sequencing wrong and you’ll end up with gorgeous feet nobody can sign legibly.
- Paint or stain first, sign after if you want a colored or stained background. Let the base coat cure fully (check the can, usually 24 hours) before handing out markers, and use a paint pen instead of Sharpie on darker stains for contrast.
- Leave natural for the best ink adherence. Raw sanded wood takes permanent marker more predictably than any painted surface, which is why most hosts skip color entirely on the signing area and add it only around the border.
- Decoupage or vinyl accents work well for themed borders (safari animals, florals, a jungle motif) as long as you keep the center signing zone clear and apply a light sealant coat over the decoupage edges before guests arrive, so wet glue doesn’t smear onto messages.
- Stenciled name or date sections give a consistent, professional look if you’re pre-labeling a spot for the baby’s name once it’s chosen. A cheap plastic stencil and a fine foam brush is all you need.
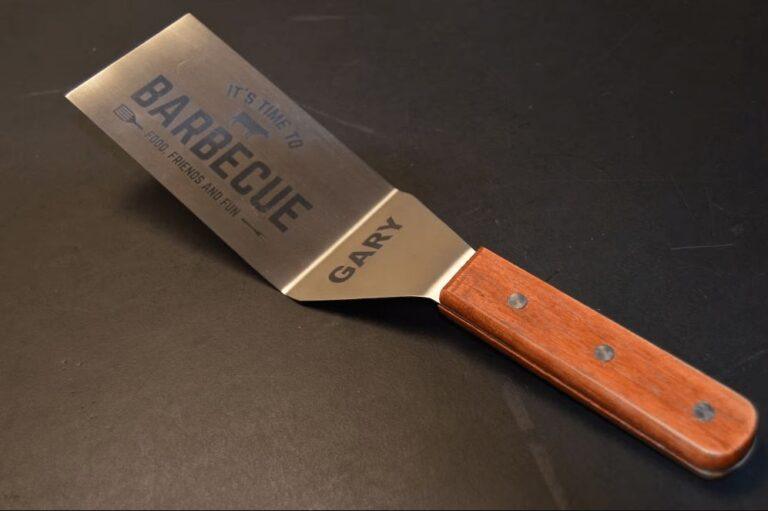
- Laser engraving is the option for permanent, professional lettering that no marker can match for crispness, and it’s the route to take when you want the piece framed or displayed long after the shower ends rather than tucked in a keepsake box.
Setting Up a Signing Station Guests Will Actually Use
Participation drops fast when guests don’t know what to write or where to sit. A visible sample and a short prompt fix both problems, and creative guestbook alternatives like wooden cutouts work best when hosts keep the ask small.
- Set up a dedicated table with a small sign reading something like “Sign a foot, leave your wish!” alongside a short prompt list: “Advice for baby,” “Wishes in five words,” or “One word for the parents.”
- Display one already-signed sample foot so guests see exactly how much space to use and how neat it should look.
- Stock backups: extra pens (at least two working markers per ten guests), a handful of blank spare feet for mistakes, and ideally one family member stationed nearby to guide first-timers.
- Place the station indoors or under cover if there’s any wind or humidity risk. Damp air slows ink drying and outdoor gusts scatter loose cutouts before they’re even signed.
How Do You Seal and Display the Finished Keepsake?
Sealing too early is the single most common mistake hosts make, and it’s an easy one to avoid. Permanent marker typically needs 24 to 72 hours to fully cure depending on humidity and the sealant you’re using, so resist the urge to spray a clear coat the same night as the party.
- Wait for full ink cure, then apply a child-safe, non-toxic clear coat in light, even layers rather than one heavy pass that risks smearing.
- Choose your display format based on space: a shadow box works for smaller collections, a garland strung across a nursery wall suits larger feet, and a framed grid layout gives the most polished, gallery-style presentation.
- Mount without piercing signed areas. Use small adhesive picture hooks or a discreet back-mounted hanger rather than nails through the signature zone.
- Store flat or upright in a low-humidity space if you’re not displaying immediately, and keep a cotton swab with a touch of matching sealant on hand for minor smudge touch-ups down the road.
Pro Tip: Photograph every signed foot before sealing. If a smudge does happen mid-coat, you’ll have a clean reference to touch it up accurately.
Ordering Custom-Cut or Engraved Feet Instead of DIY
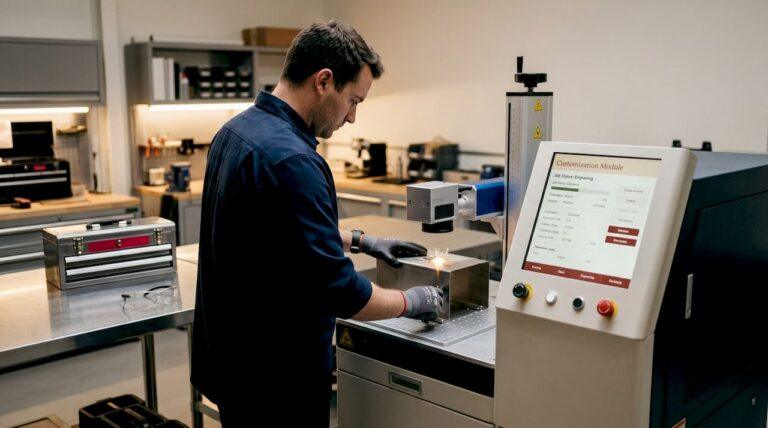
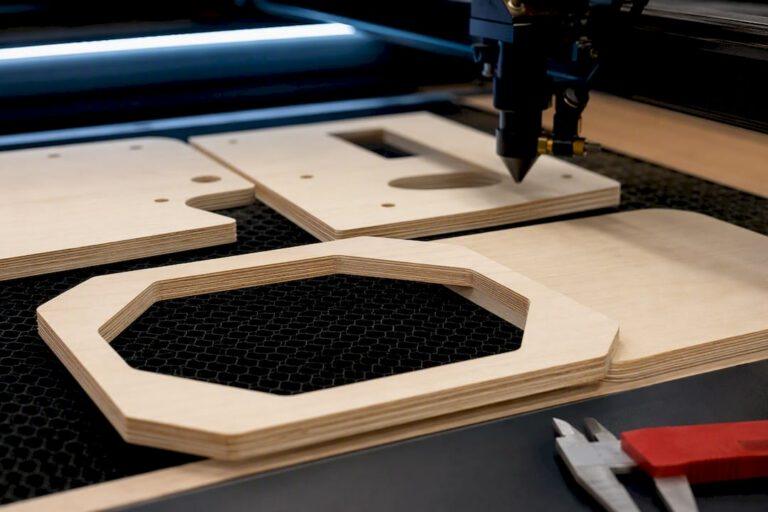
If the sanding, testing, and sealing timeline above sounds like more evenings than you have before the shower, ordering pre-cut or engraved pieces solves the same problem with none of the workshop time. Signaturelaserdesigns specializes in custom laser-cut and engraved wood pieces, and a laser-cut baby feet design gives you a permanently personalized keepsake that’s ready for guests to sign the day it arrives, no sanding required.
Here’s what to expect when you order:
- Pricing is based on three factors: the wood material, how intricate the cut shape is, and any added personalization like engraved names or dates, so a simple set costs less than a detailed engraved display piece.
- Request a proof before production starts so you can confirm size and font choices match your shower theme.
- Build in lead time, ideally two to three weeks before your shower date, to allow for proofing, cutting, and shipping without a last-minute scramble.
| Consideration | What to expect |
|---|---|
| Turnaround | Plan orders 2 to 3 weeks ahead of the shower date |
| Pricing factors | Material choice, cut intricacy, and personalization level |
| Best use case | Hosts short on prep time who still want a polished keepsake |
Why the DIY Advice Everyone Repeats Misses the Point
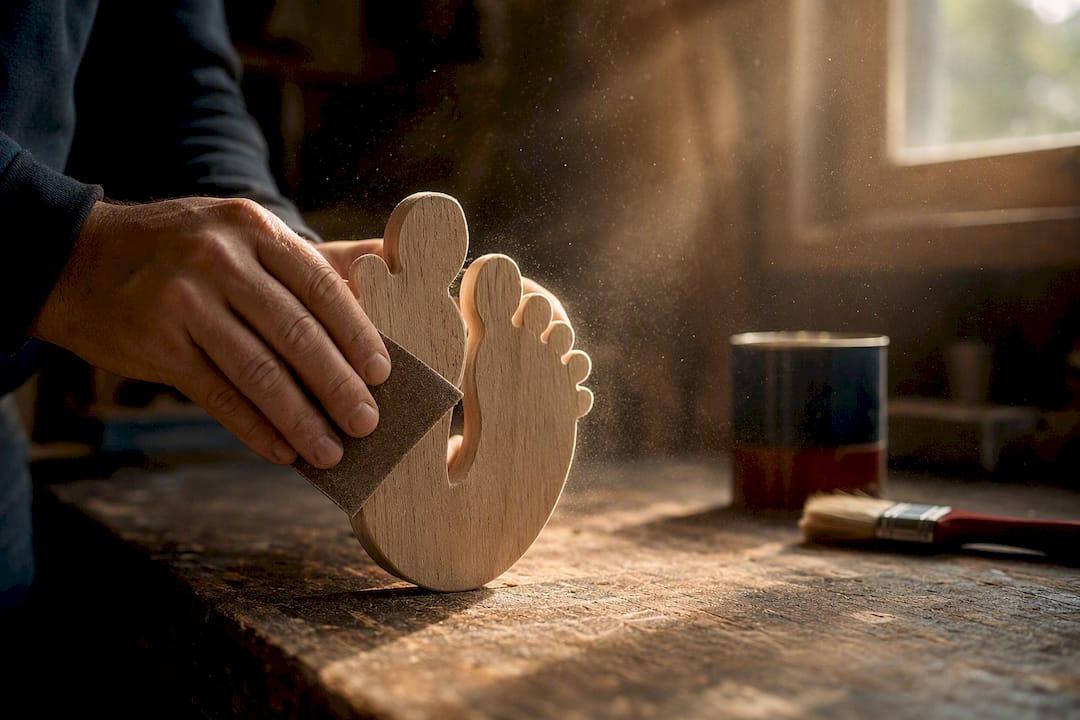
Most guestbook tutorials treat sanding and sealing as an afterthought, a quick footnote at the bottom of a longer post about party themes. That’s backward. The prep work is the entire project. A beautifully painted foot with bleeding ink or a smudged signature isn’t a keepsake, it’s a coaster with regrets.
The conventional advice also underestimates how little time hosts actually have during the two weeks before a shower. Between the invitations, the food order, and the venue walkthrough, “sand and seal forty wooden feet” quietly falls off the list, and hosts end up buying whatever’s on the shelf the day before the party. That’s exactly the gap a pre-cut or engraved order fills, not as a shortcut for people who don’t care about craftsmanship, but as the realistic choice for people who care about the result more than the process.
If you’re doing this yourself, prioritize the pen test and the cure time above everything else. Every other decision, from color to font to display style, is reversible or fixable. A bled signature or a smeared clear coat is not.
— Gary
Get a Personalized Keepsake Without the Sanding and Guesswork
Signaturelaserdesigns turns the DIY workflow above into a done-for-you order: send us your size, wood, and personalization preferences, and we handle the cutting and engraving so your guestbook pieces arrive ready for signing, not sanding. Where a craft-store cutout leaves you guessing at bleed tests and cure times, an engraved keepsake gives you permanent, consistent lettering that no marker mishap can undo.
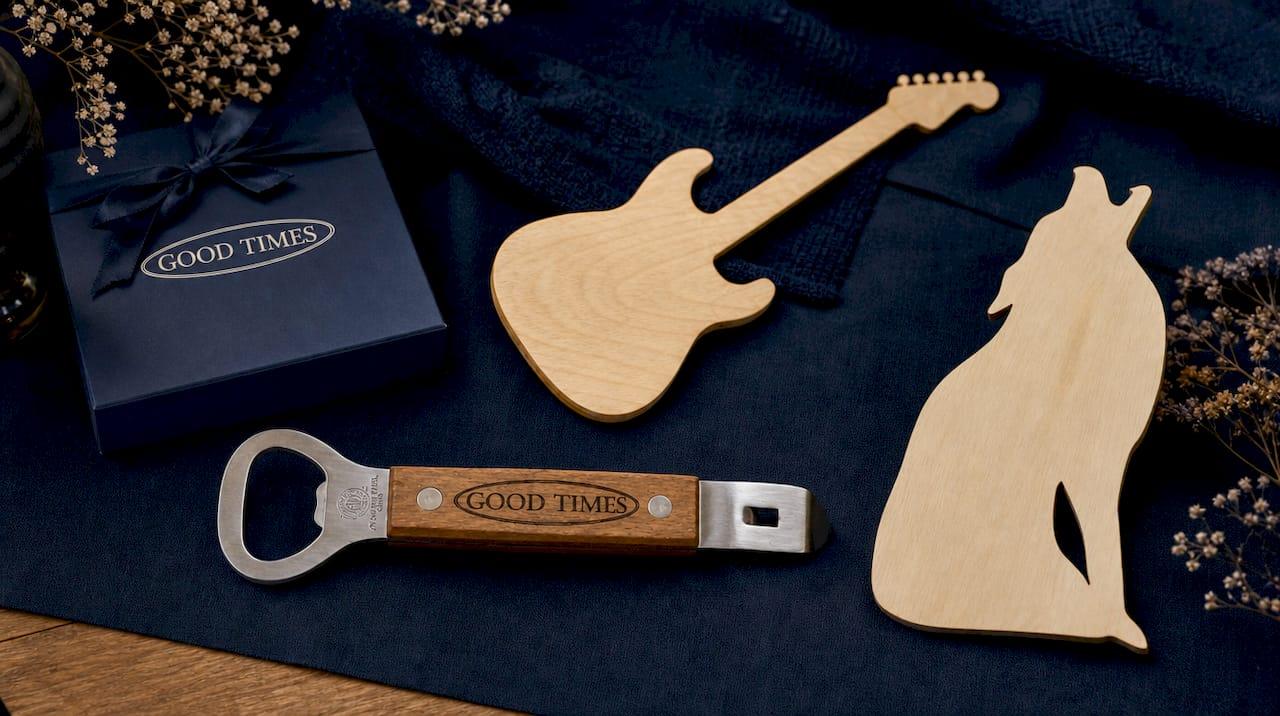
The same laser process behind our baby feet pieces also produces other personalized gifts worth a look for the shower itself, including a
Sources
- Baby shower sign & guest book ideas
- Baby Shower Guestbook Ideas
- 100Pcs Natural Wooden Baby Feet Cut Craft Embellishments Wedding Favor for Crafting and Scrapbooking, Ideal for Baby Shower Guestbook, etc.
Recommended