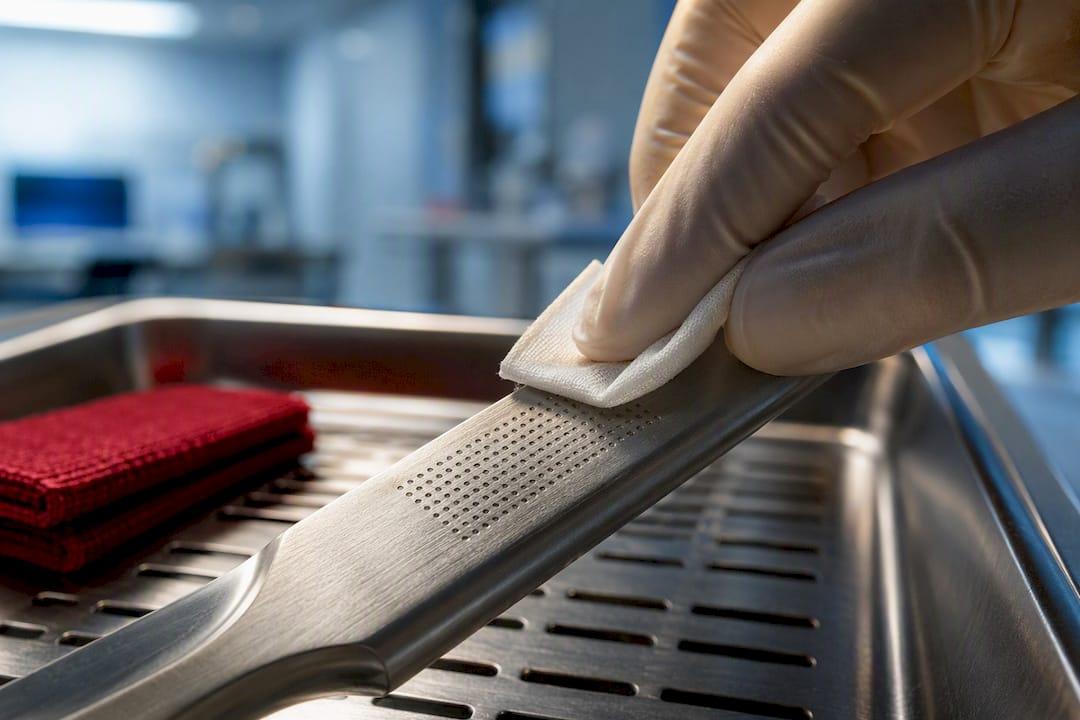
The safest way to clean industrial laser-marked medical instruments is to remove gross soil at the point of use, then run a validated cleaning cycle with a mild alkaline detergent (pH 8.0 to 10.8) or enzyme cleaner before sterilization. Every step needs to protect both the substrate and the mark. A rinse, a visual inspection of the engraved area, and facility-level validation confirm the mark and metal survive the process intact.
✦ Featured From Our Etsy Shop ✦
Handcrafted & Laser Engraved Just For You
TL;DR:
- Regularly run validated cleaning cycles with appropriate alkaline or enzyme cleaners to prevent mark degradation during sterilization.
- Use soft brushes and gentle ultrasonic cycles to avoid surface stress and thinning of laser marks during manual cleaning.
- Conduct pre-production coupon testing of marking and cleaning methods to ensure long-term durability and resistance to repeated sterilization cycles.
- Avoid harsh chemicals like chlorine bleach and oxidizing agents that can pit the metal or diminish mark contrast over time.
- Consider surface-level interventions such as electropolishing or plasma cleaning only for stubborn residues or oxide buildup, not routine cleaning.
Table of Contents
- How Do You Clean Industrial Laser-Marked Medical Instruments Safely, Step by Step?
- What’s the Safest Way to Manually Clean a Laser-Marked Mark?
- Which Cleaning Chemicals Are Safe for Laser-Marked Metal?
- When Should You Use Electropolishing or Plasma Cleaning?
- What PPE and Rinsing Steps Protect Staff and Marks?
- How Do You Validate That Marks Survive Sterilization?
- What Does Signaturelaserdesigns Recommend Before Production?
- A Note on Designing Marks for Cleanability
- Get Test Coupons and Production Marking From Signaturelaserdesigns
- Sources
How Do You Clean Industrial Laser-Marked Medical Instruments Safely, Step by Step?
The workflow matters more than any single product. A cleaning cycle that skips a step, or rushes one, is where mark degradation and corrosion usually start.
- Contain and transport immediately. Move instruments to the decontamination area right after use, ideally in a closed, leak-proof container, before soil has a chance to dry onto the mark.
- Remove gross soil fast. Wipe or pre-rinse within minutes of use. Dried blood and tissue bond to laser-textured surfaces more stubbornly than to smooth metal, and they’re harder to lift once set.
- Run the validated cleaning step. Use your facility’s approved manual or automated process with an appropriate detergent or enzyme cleaner, matched to the instrument’s material and mark type.
- Rinse, inspect, document. Rinse thoroughly, check the mark under good light or magnification, log the result, and stage the instrument for sterilization.
This mirrors CDC guidance that cleaning has to happen before high-level disinfection or sterilization, not alongside it.
Pro Tip: Keep a dedicated log for laser-marked instruments separate from your general instrument tracking. Mark legibility issues tend to surface gradually, and a pattern is easier to catch when you’re not hunting through unrelated records.
What’s the Safest Way to Manually Clean a Laser-Marked Mark?
Manual cleaning is where most avoidable mark damage happens, usually from a well-meaning technician scrubbing harder than the surface can take. Laser marks sit in a thermally altered zone of the metal, and aggressive abrasion there does more than remove soil. It can thin the mark and expose the surface to oxidation.
- Use soft nylon brushes or microfiber cloths, never wire brushes or abrasive pads, directly on or near the mark.
- Keep ultrasonic cycles short and at moderate power. Extended high-intensity cavitation can erode fine engraving lines over repeated cycles.
- Scrub with even, light pressure. Concentrated scrubbing at one spot is what creates a localized corrosion ring, not the cleaner itself.
- Wear gloves and eye protection rated for the detergent in use, since enzymatic solutions can irritate skin during extended manual work.
Pro Tip: If a mark looks dull or slightly frosted after a cleaning cycle, stop and inspect before running it again. That change often signals surface stress building up, not just normal wear.
Which Cleaning Chemicals Are Safe for Laser-Marked Metal?
Chemistry choice is where compliance and mark longevity intersect. CDC guidance points to mild alkaline detergents with a pH between 8.0 and 10.8 as the standard for manual cleaning, with enzyme cleaners layered in afterward to break down protein residue that alkaline detergents alone won’t fully lift.
- Choose mild alkaline detergents formulated for surgical instruments, not general industrial degreasers.
- Add enzymatic cleaners after gross soil removal, since enzymes work best on residue that’s already loosened.
- Avoid chlorine bleach, strong solvents, and oxidizing agents. These are the chemistries most likely to strip contrast from a mark or pit the surrounding metal.
- Run a coupon test before adopting any new cleaner: mark a sample piece with production parameters, clean it through several cycles, and inspect for contrast loss or corrosion.
A pH range covering mild alkaline detergents fits most validated surgical detergents, but a chemical that falls outside that band on a new product isn’t automatically unsafe. It just needs its own compatibility test before it touches a production instrument.
When Should You Use Electropolishing or Plasma Cleaning?
Manual and chemical cleaning handle most day-to-day soil, but stubborn residues, oxide buildup, or a finish that’s lost its original luster call for something closer to a surface-level intervention. Electropolishing and plasma etch both work without physical abrasion, which makes them appealing for instruments where scrubbing has already left visible wear.
- Electropolishing removes a thin oxide layer electrochemically, restoring corrosion resistance and a smoother finish across the whole part.
- Plasma cleaning strips organic residues at a molecular level, useful for hard-to-reach features like engraved recesses that brushes can’t fully access.
- Both methods, per industry coverage of post-laser processing, carry trade-offs: electropolishing in particular can soften mark contrast, so a legibility check afterward is worth building into the process.
- Expect higher per-unit cost and longer turnaround than standard cleaning, which usually limits these methods to specific problem batches rather than routine cycles.
What PPE and Rinsing Steps Protect Staff and Marks?
Getting the chemistry right doesn’t help much if rinsing or PPE practices are inconsistent. CDC recommendations on equipment disinfection note that residues left behind from enzymatic cleaners can interfere with sterilants downstream, which makes rinsing a compliance step, not just a cosmetic one.
- Wear chemical-resistant gloves rated for the specific detergent, plus eye protection during manual scrubbing or ultrasonic loading.
- Rinse with clean, ideally filtered, water until no visible residue or foam remains.
- Dry instruments fully before inspection. Trapped moisture can mask early signs of corrosion around a mark.
- Log the cleaning cycle, technician, and any visible mark changes at the same time you record the batch.
How Do You Validate That Marks Survive Sterilization?
Validation isn’t a one-time check. It’s an ongoing requirement tied to a specific alloy and marking combination, and CDC guidance on infection control recommendations frames cleaning and sterilization compatibility as something manufacturers need to demonstrate before release, not assume.
- Run repeated autoclave cycles on test coupons marked with actual production parameters, not just a lab sample.
- Check for a corrosion ring around the mark. Practitioner observations suggest sensitized zones can fail within a small number of autoclave cycles when heat exposure during marking was too aggressive.
- Use microscopy or contrast measurement to catch legibility loss before it becomes a scanning or readability failure in the field.
- Document every test cycle, result, and corrective action for your quality system.
| Validation check | What it reveals |
|---|---|
| Repeated autoclave cycling | Whether the mark and substrate hold up over realistic use |
| Corrosion ring inspection | Early sign of heat-induced sensitization at the mark edge |
| Contrast/microscopy check | Gradual legibility loss invisible to the naked eye |
| Cycle documentation | Traceability for regulatory and quality audits |
A coupon testing protocol that combines all four checks is the most practical way to confirm a mark and cleaning regimen will hold up in real production, not just on paper.
What Does Signaturelaserdesigns Recommend Before Production?
We treat cleaning compatibility as part of the marking decision, not something to solve after the fact. A mark laid down with excessive heat input creates the sensitized zone that shows up later as a corrosion ring, so the marking parameters chosen upfront directly shape how forgiving that instrument will be through repeated cleaning and sterilization.
- Run a pre-production coupon test that pairs your actual marking parameters with your facility’s cleaning and sterilization cycle count.
- Compare mark methods early. Choices covered in our guide to laser etching, engraving, and marking differences affect how deep the thermally altered zone runs, which changes downstream cleaning risk.
- Review durability expectations for your specific alloy in our breakdown of precision and durability advantages for industrial parts.
A Note on Designing Marks for Cleanability
We think about cleanability at the marking stage, not as an afterthought. Controlled pulse settings keep heat input low, which limits the sensitized zone that leads to corrosion rings later. When a sterilization team wants to validate a new alloy or cleaning regimen, we can supply sample coupons marked with production settings so they can run their own autoclave and cleaning cycles before committing to a full order. That collaboration tends to catch problems long before they reach a hospital tray.
— Gary
Get Test Coupons and Production Marking From Signaturelaserdesigns
Some providers offer sample coupons marked with your exact parameters first, so your team can run its own cleaning and autoclave cycles before a single production part ships.
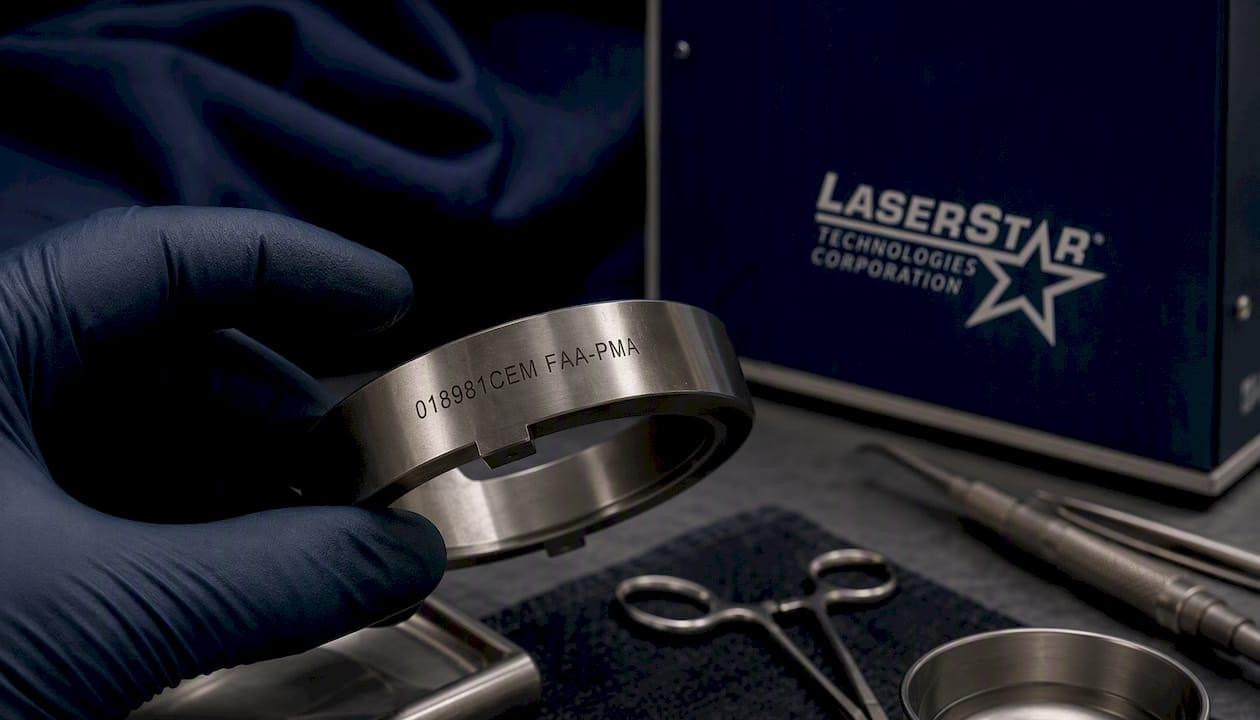
Our industrial laser engraving services cover precision marking on medical-grade metals, test coupon runs for validation, and full production orders once your team signs off on durability. If your facility needs traceable part marking that holds up through repeated sterilization cycles, request a quote and ask about sample coupon testing before your next production batch.
Sources
- CDC — Summary of Infection Prevention Practices in Dental Settings: Sterilization and Disinfection
- Post-Laser Processing Cleaning Techniques — Laser Focus World (2008)
Recommended
- Laser Etching, Engraving, and Marking: Key Differences
- Serial Number Engraving: Permanent Marks for Metal and Firearms
- Fix a Laser Engraving That’s Too Light on Wood
