Precision Laser Cutting 14 Inch Plywood: Hobbyist Guide
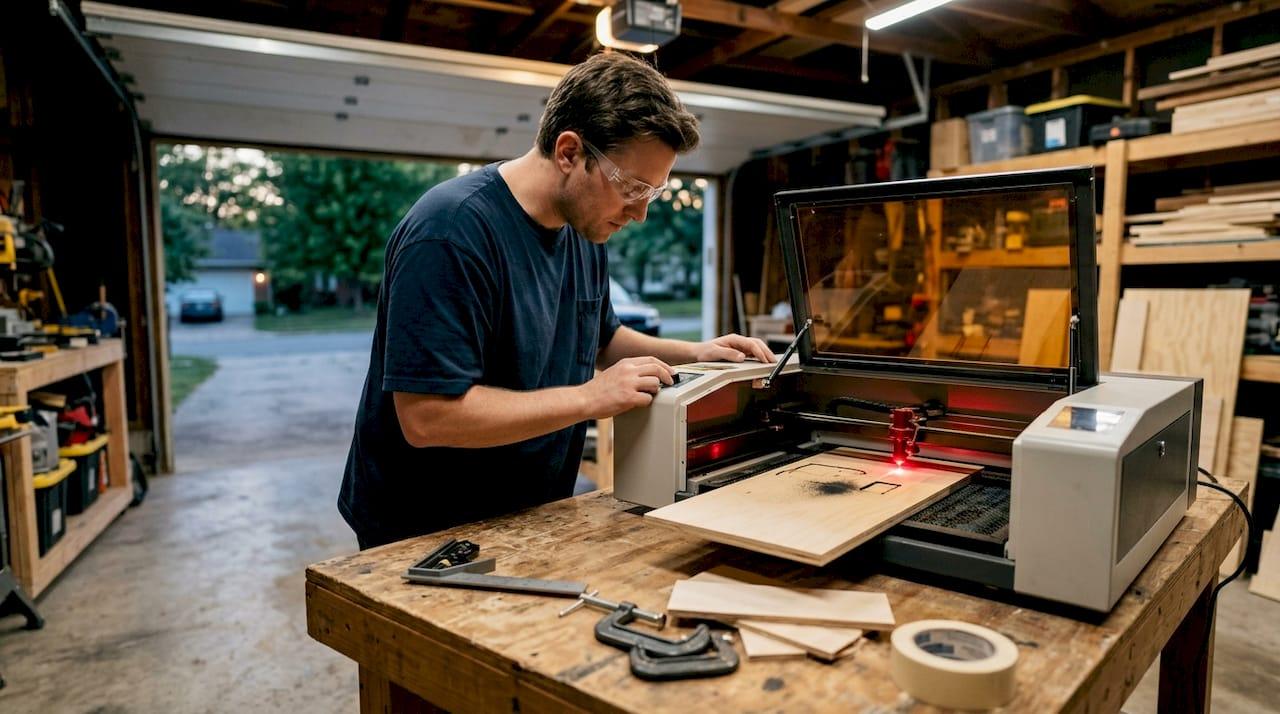
Precision laser cutting of 14-inch, 1/4-inch plywood is completely achievable for hobbyists, and the results can be stunning. The key is pairing the right laser power with dialed-in settings, a quality sheet of Baltic Birch, and consistent air assist. Here is what you need to get clean, crisp cuts every time:
✦ Featured From Our Etsy Shop ✦
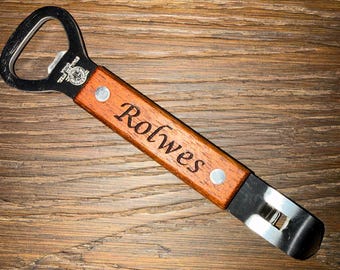
Handcrafted & Laser Engraved Just For You
- Use a laser with sufficient optical power to achieve single-pass cuts through 1/4-inch plywood
- Set power to 80–90%, speed to 20–30 IPM, frequency to 20–30 kHz, and air assist to 30–50 PSI for a 44W diode laser to optimize cutting performance
- Run air assist at 30–50 PSI, as this pressure range delivers noticeably cleaner edges, reduces charring, and lowers fire risk during plywood cutting.
- Always do a test cut on scrap from the same plywood batch before committing to your final design
- Choose plywood made with low-formaldehyde adhesives such as E0 or E1 grades to minimize toxic fumes and ensure even burns
- Secure the sheet flat on the bed to prevent any movement during the cut
- Ventilate your workspace or use an air filtration system throughout the session
How precision laser cutting works on plywood
Laser cutting plywood works by focusing a high-energy beam directly onto the wood surface, where it vaporizes material along a programmed path. The beam does not saw or scrape. It thermally decomposes the wood fibers, leaving a narrow channel called a kerf. On 1/4-inch plywood, that kerf is typically very tight, which is exactly what makes laser cutting so well-suited for detailed custom designs.
Plywood’s layered structure adds a wrinkle worth knowing about. Adjacent plies have their grain rotated 90 degrees from one another, which means the laser encounters alternating grain directions as it cuts through the thickness. This can cause subtle variations in cut quality depending on the direction of travel, so laying out your design with grain orientation in mind pays off on intricate pieces.
Air assist is not optional. Blowing compressed air across the cut zone clears smoke and debris before it can re-deposit on the lens or char the wood edges. Without air assist, residue accumulates at the laser head, increasing maintenance frequency and degrading cut quality over time. Keep it running throughout every session.
Test cuts matter more than most hobbyists expect. Wood density and glue content vary even within the same species, so scrap from the exact plywood batch you plan to cut is the only reliable baseline. A two-minute test cut saves a ruined sheet.
Pro Tip: Adjust your laser focus manually for 1/4-inch plywood by centering the focal point at the material’s midpoint rather than the surface. This approach consistently produces cleaner edges than relying on auto-focus alone, especially when the sheet has slight surface irregularities.
Diode vs. CO2: which laser type cuts 1/4-inch plywood better?
The two laser types hobbyists work with are diode lasers and CO2 lasers, and they behave very differently on 1/4-inch plywood.
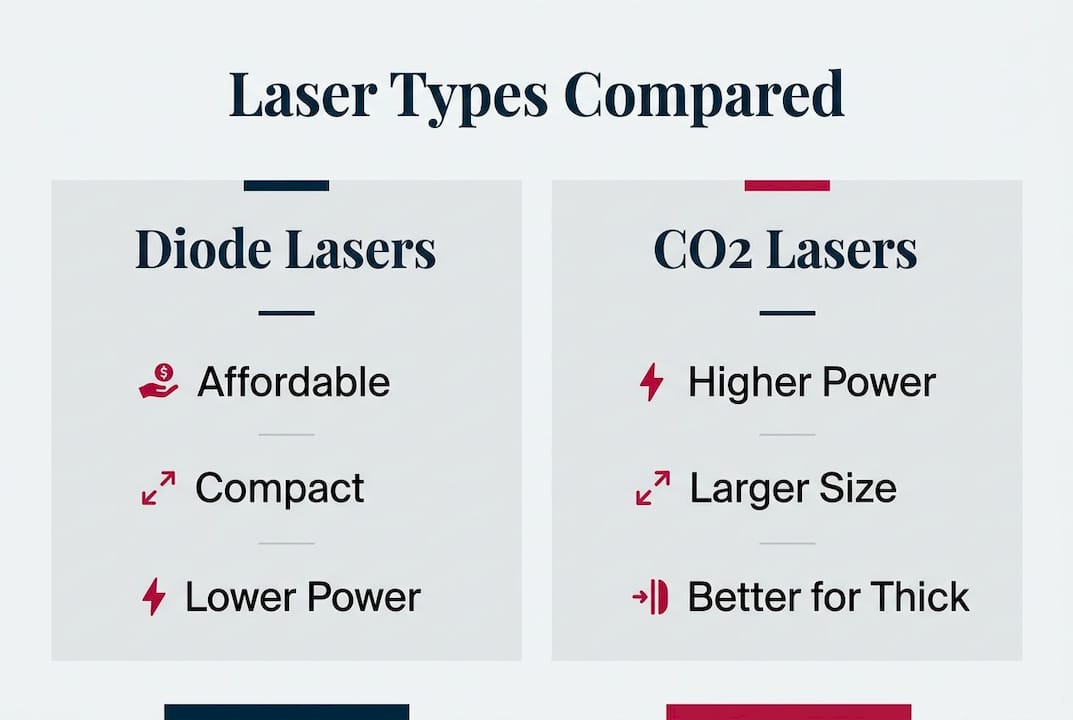
Diode lasers are affordable and compact, making them a natural starting point. A 40W diode can handle 1/4-inch plywood, though it often requires slower speeds or multiple passes to cut cleanly all the way through. CO2 lasers absorb into wood far more efficiently because of their longer wavelength. A 55W CO2 laser cuts 1/4-inch plywood in a single pass and can handle sheets up to 18mm thick. That absorption advantage translates to roughly 500% faster cutting compared to a 40W diode on the same material.
Multi-pass cutting with a diode laser works, but it introduces more heat cycles, which increases the risk of charring on the edges. Single-pass CO2 cutting produces a cleaner, lighter edge with less post-cut sanding needed.
Here is a quick comparison to help you choose:
- Diode laser (20–40W): Affordable, compact, great for thin plywood and hobby budgets; may need multiple passes on 1/4-inch material
- CO2 laser (40–55W+): Higher upfront cost, faster single-pass cuts, cleaner edges on 1/4-inch and thicker sheets
- Absorption efficiency: CO2 wavelengths absorb into wood far more completely than blue diode wavelengths
- Best for hobbyists on a budget: A 40W diode with good air assist handles 1/4-inch plywood reliably with patience
- Best for speed and finish: A 40W+ CO2 laser is the clear choice for frequent or production-level plywood cutting
Laser cutter models that handle 14-inch plywood well
Three machines stand out for hobbyists working with 14-inch, 1/4-inch plywood sheets: the xTool S1, xTool M2, and xTool P2.

The xTool S1 runs a 40W diode module and is currently one of the most powerful enclosed diode laser cutters available. Its bed measures 23.93 by 15.93 inches, which comfortably fits a 14-inch sheet with room to spare. It also features an automated passthrough slot, so you can feed longer plywood panels through without repositioning.
The xTool M2 sits in the mid-range and offers a versatile diode setup well-suited to hobbyists who want flexibility across different materials, including 1/4-inch plywood. Its enclosed design helps manage fumes, which matters when you are cutting glued plywood for extended sessions.
The xTool P2 is the CO2 option of the three, running 55W of optical power. It handles 1/4-inch plywood in a single pass without hesitation and supports sheets up to 18mm thick. Its bed is 26 by 14 inches, and like the S1, it includes a passthrough slot for longer work. For precise design placement, the P2 uses a dual camera setup that gives you a real-time preview of your material, plus LIDAR technology for exact distance measurement. That combination makes it particularly strong for custom plywood cutting where design alignment is critical.
Pro Tip: If you are working with 14-inch sheets regularly, prioritize a machine with a bed that exceeds 14 inches in at least one dimension. A tight fit leaves no margin for clamping or alignment, and even a small shift mid-cut can ruin a detailed design.
- xTool S1: 40W diode, 23.93 x 15.93-inch bed, passthrough slot, enclosed design
- xTool M2: Mid-range diode, enclosed, good for mixed-material hobbyist use
- xTool P2: 55W CO2, 26 x 14-inch bed, dual cameras, LIDAR, passthrough slot, single-pass on 1/4-inch plywood
Why Baltic Birch is the best plywood for laser cutting
Not all plywood cuts the same way under a laser, and the difference between a great sheet and a frustrating one comes down to what is inside. Baltic Birch is the gold standard for laser cutting because of its uniform grain, void-free core, and consistent layer thickness. Those qualities translate directly to cleaner cuts, less charring, and crisper engraved detail.
Construction-grade plywood is a different story. It often contains phenolic or melamine-based glues that release toxic fumes when burned and cause uneven cuts as the laser hits pockets of adhesive. Always choose E0 or E1 grade adhesives when selecting plywood for laser work. These low-formaldehyde glue grades burn more evenly and protect both your lungs and your laser optics.
Beyond Baltic Birch, several other species work well depending on your project:
- Baltic Birch: Best overall. Uniform layers, minimal voids, clean cuts, excellent engraving contrast
- Maple: Fine grain, no knots, great for detailed engraving and precision cuts
- Poplar: Smooth surface, lightweight, good for engraving fine detail
- Basswood: Softest of the group, easiest to cut with lower-power lasers, very budget-friendly
- Avoid: Construction-grade plywood, any sheet with phenolic or melamine glue, or boards with visible voids or warping
For 14-inch sheet projects, look for plywood sold in 12-by-18-inch or 12-by-24-inch formats, which pair well with most hobby laser beds. Sheets with E0-grade glue and FSC certification give you both safety and consistency in one package.
Creative projects you can make with 14-inch plywood sheets
A 14-inch plywood sheet fits neatly within the working area of most hobby laser cutters, and that size opens up a wide range of personalized laser cut plywood projects. The 1/4-inch thickness adds enough structural strength to make finished pieces feel solid and gift-worthy, not flimsy.
Custom coasters are one of the fastest projects to produce and one of the most popular to give. A single 14-inch sheet yields multiple coasters with room for detailed engraving on each one. Layered signs are another strong choice. You cut two or three layers of 1/4-inch plywood with slightly different designs, stack them, and the depth creates a dimensional look that flat printing simply cannot replicate.
Here are project ideas that work particularly well with 14-inch, 1/4-inch sheets:
- Personalized ornaments: Holiday or year-round shapes with names, dates, or custom artwork engraved in
- Layered wall art: Multi-piece compositions that assemble into a single framed display
- Custom coasters: Sets of four or six with coordinated engraving, great for gifts
- Decorative signs: Name signs, welcome signs, or quote boards with clean laser-cut lettering
- Puzzle pieces: Interlocking custom puzzles with engraved imagery, a crowd favorite for personalized gifts
- Jewelry display trays: Shallow trays with engraved compartment labels, cut and assembled from a single sheet
- Craft blanks: Simple shapes like stars, hearts, or frames that others can paint or decorate further
For workflow, design your files in vector format (SVG or AI) before you load the sheet. Post-cut, a light sanding with 220-grit paper smooths any minor char on the edges, and a coat of clear finish or wood wax brings out the natural grain beautifully.
Expert tips for getting the best cuts on 1/4-inch plywood
Getting great results on 1/4-inch plywood consistently comes down to a handful of habits that experienced hobbyists treat as non-negotiable.
Start every new plywood batch with a test cut. No universal setting exists for plywood cutting because wood density and glue content vary between sheets, even from the same supplier. Run a small grid of test cuts at slightly different power and speed combinations, then pick the one that cuts cleanly through without excessive charring. Two minutes of testing can save an entire sheet.
Air assist at 30–50 PSI is the single biggest quality upgrade you can make if you are not already using it. At that pressure range, it clears debris from the cut zone, reduces the chance of flare-ups, and keeps your lens clean between sessions. Lower pressure still helps, but 30 PSI is where the improvement becomes clearly visible in the finished edge.
Manual focus calibration beats auto-focus for 1/4-inch material. Center the focal point at the midpoint of the plywood thickness rather than the top surface. This distributes the beam’s energy more evenly through the cut and reduces burn marks on the bottom face.
There is also a hard physical limit to how deep a laser can cut. Beyond a certain thickness, the beam loses focus and the risk of charring or fire increases sharply with each additional pass. Stick within your machine’s rated cutting depth and do not push it with extra passes hoping for a breakthrough.
Pro Tip: After each plywood session, wipe down your laser lens with an approved optical cleaning cloth. Plywood smoke leaves a fine residue that builds up quickly and reduces effective laser power without any visible warning.
- Always test on scrap from the same batch before cutting your final design
- Run air assist at an effective pressure range throughout every cut
- Focus manually at the material’s midpoint for cleaner edges on 1/4-inch sheets
- Never exceed your machine’s rated cutting depth; extra passes past that point risk fire
- Use E0 or E1 grade plywood to protect your optics and your air quality
- Clean your lens after every plywood session to maintain consistent laser output
- Keep a fire extinguisher within reach whenever you are cutting wood materials
How to prepare and handle 14-inch plywood sheets before cutting
Preparation before the first laser pulse is just as important as the settings you dial in. A sheet that is warped, dirty, or poorly secured will produce inconsistent cuts no matter how well-calibrated your machine is.
Start by inspecting the sheet for flatness. Even a slight bow can lift part of the plywood off the bed, shifting the focal distance mid-cut and producing a ragged edge on that section. If the sheet is not lying flat, use hold-down pins or weighted clamps at the corners and along the edges to press it firmly against the cutting surface.
Clean the surface before loading. Dust, sawdust, or fingerprint oils on the plywood face can cause small flare-ups or uneven engraving. A dry microfiber cloth is usually enough. For particularly resinous sheets, a quick wipe with isopropyl alcohol removes surface oils without raising the grain.
Masking tape applied to the top face of the plywood before cutting is a technique many hobbyists swear by. It reduces surface charring and smoke staining around the cut lines, which means less cleanup and a cleaner finished look. Peel the tape off after cutting and the surface underneath is typically much cleaner than an unmasked sheet.
Finally, store your plywood flat in a dry environment. Plywood that has absorbed moisture warps more easily and cuts less predictably. If you are working with sheets you have had stored for a while, let them acclimate to your workspace temperature for at least an hour before cutting. A flat, dry, clean sheet is the foundation every great laser cut plywood project starts from.
Turn your plywood projects into something truly special
At Signaturelaserdesigns, we love seeing hobbyists take their craft to the next level with custom laser engraving and precision wood cutting. Whether you are creating personalized gifts, decorative signs, or one-of-a-kind keepsakes, our team is here to help you bring those ideas to life with care and craftsmanship. Explore our laser engraving services to see how we approach every project with the same attention to detail you put into your own work. And if you are looking for creative inspiration for your next plywood project, our guide on personalizing gifts is a great place to start.
Key Takeaways
Precision laser cutting of 14-inch, 1/4-inch plywood requires the right laser power, E0-grade plywood, consistent air assist, and a test cut before every new batch.
| Point | Details |
|---|---|
| Laser power for 1/4-inch plywood | A 55W CO2 laser cuts 1/4-inch plywood in a single pass; diode lasers at similar wattage may need multiple passes. |
| Optimal settings for a 44W laser | Set power to 80–90%, speed to 20–30 IPM, frequency to 20–30 kHz, and air assist to 20–30 PSI. |
| Air assist pressure | Running air assist at 30–50 PSI clears debris, reduces charring, and lowers fire risk during plywood cutting. |
| Best plywood choice | Baltic Birch with E0 or E1 grade glue delivers the cleanest cuts and safest fumes for laser work. |
| Preparation before cutting | Flatten the sheet, clean the surface, apply masking tape, and run a test cut on scrap from the same batch. |
Recommended