Serial Number Engraving: Permanent Marks for Metal and Firearms
For most metal and firearm serial-number work, fiber laser engraving gives the best balance of permanence, speed, and legal compliance. If you’re working with a firearm, a regulated part, or a production run of more than a handful of pieces, hire a qualified professional shop rather than attempting it yourself.
✦ Featured From Our Shop ✦
Handcrafted & laser engraved in Georgia, just for you
Here’s why that recommendation holds up:
- Permanence. A fiber laser cuts a trench into the metal surface rather than sitting on top of it, so the mark survives heat, chemicals, and abrasion that destroy labels or ink stamps.
- Readability. Laser-engraved characters hold tight tolerances on stroke width and spacing, keeping marks scannable and legible even on small receivers or engine components.
- Legal compliance. Federal regulations under 27 CFR 478.92 require that firearm serial numbers be engraved, cast, or stamped in a manner that is not susceptible to being obliterated. A professional shop documents the process and meets that standard.
- Speed. Modern fiber lasers mark a single part in seconds and run sequential batches automatically.
Ready to get started? Send Signaturelaserdesigns a photo of your part, the material spec, the exact text you need, and your quantity. We’ll quote you fast.
Key Takeaways
Fiber laser engraving is the most reliable method for permanent, compliant serial-number marks on metal, and a professional shop with documented QC is the right choice for firearms and regulated parts.
| Point | Details |
|---|---|
| Best method for metal | Fiber laser engraving gives the best permanence, readability, and compliance for most metal and firearm serial-number work. |
| Legal compliance is non-negotiable | Federal law requires firearm serials to be engraved so they cannot be obliterated; always document the process and chain of custody. |
| Specify depth and character height | Target 0.003–0.005 in. depth on steel and a minimum 1.5 mm character height; confirm these specs in writing before production. |
| Test before production | Always run a test mark on a scrap piece of the same material and lot before committing to a full batch. |
| Signaturelaserdesigns | Handles industrial and firearm serial-number engraving with compliance documentation, QC photography, and transparent quoting. |
Table of Contents
- What are the main serial number engraving methods?
- What specs should you demand for a readable, durable mark?
- What equipment does a shop use for serial number marking?
- What does serial number engraving typically cost, and how long does it take?
- How does a professional engraving job actually run?
- How do shops automate sequential serial numbers for production?
- What are the legal rules for firearm serial number engraving?
- Why hire a professional engraving service?
- What I’ve learned from running serial-number jobs
- Signaturelaserdesigns handles serial-number engraving the right way
- Sources
What are the main serial number engraving methods?
Serial number engraving is the industry-standard term for permanently marking an identification number onto a part. Shops and manufacturers also call it identification number marking or product marking. Five methods cover the vast majority of real-world jobs.
Fiber/pulse laser engraving
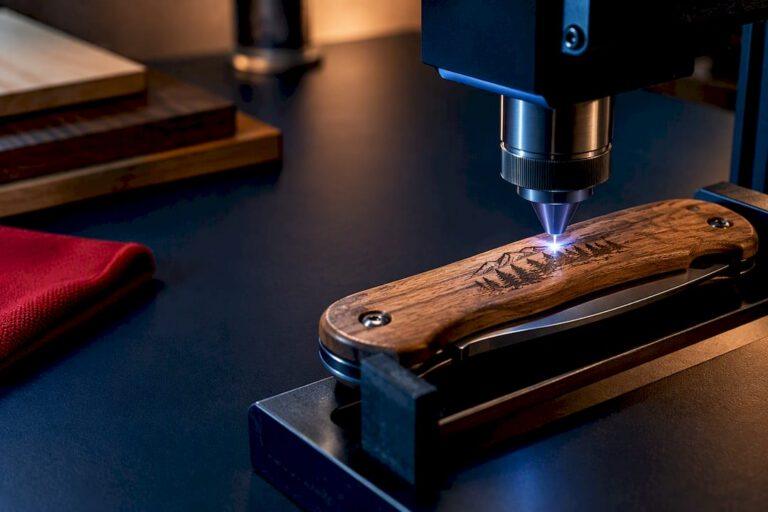
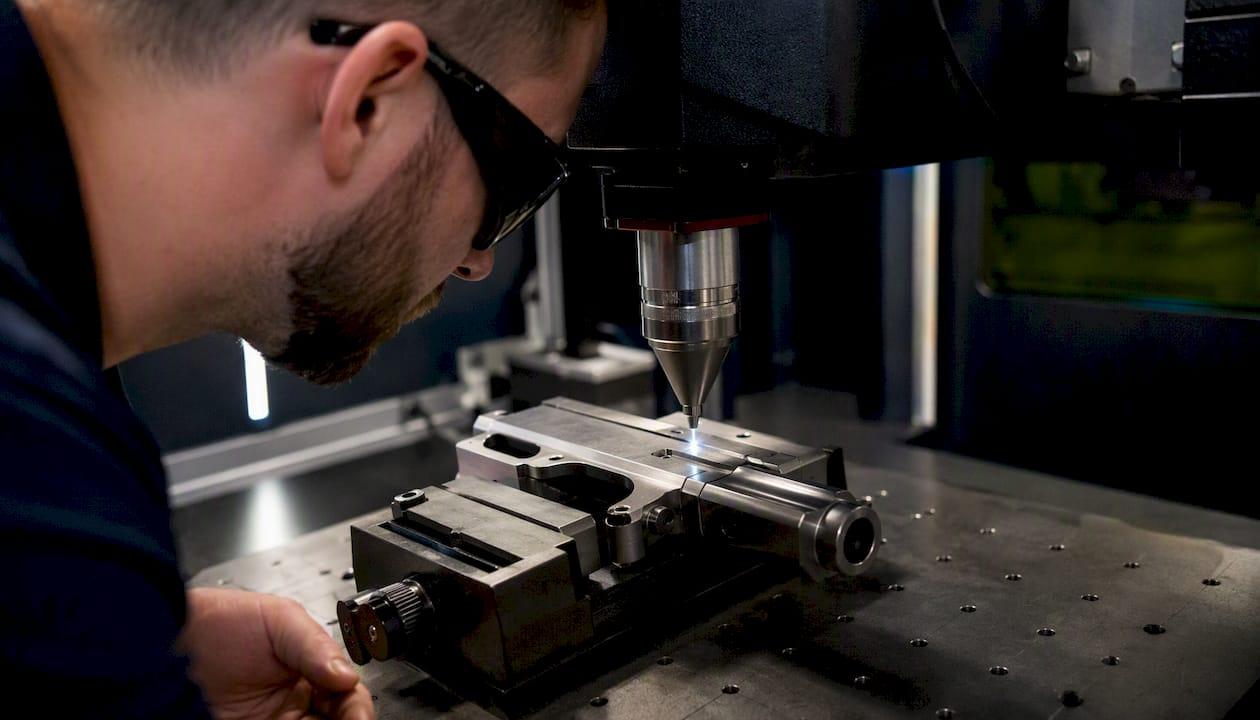
A fiber laser focuses a high-energy beam onto the metal surface, ablating material to create a precise, permanent trench. Laser ablation produces high-contrast marks that survive aggressive manufacturing processes, including thermal cycling and chemical baths that destroy adhesive labels. This is the go-to method for steel, stainless, aluminum, titanium, and anodized finishes.
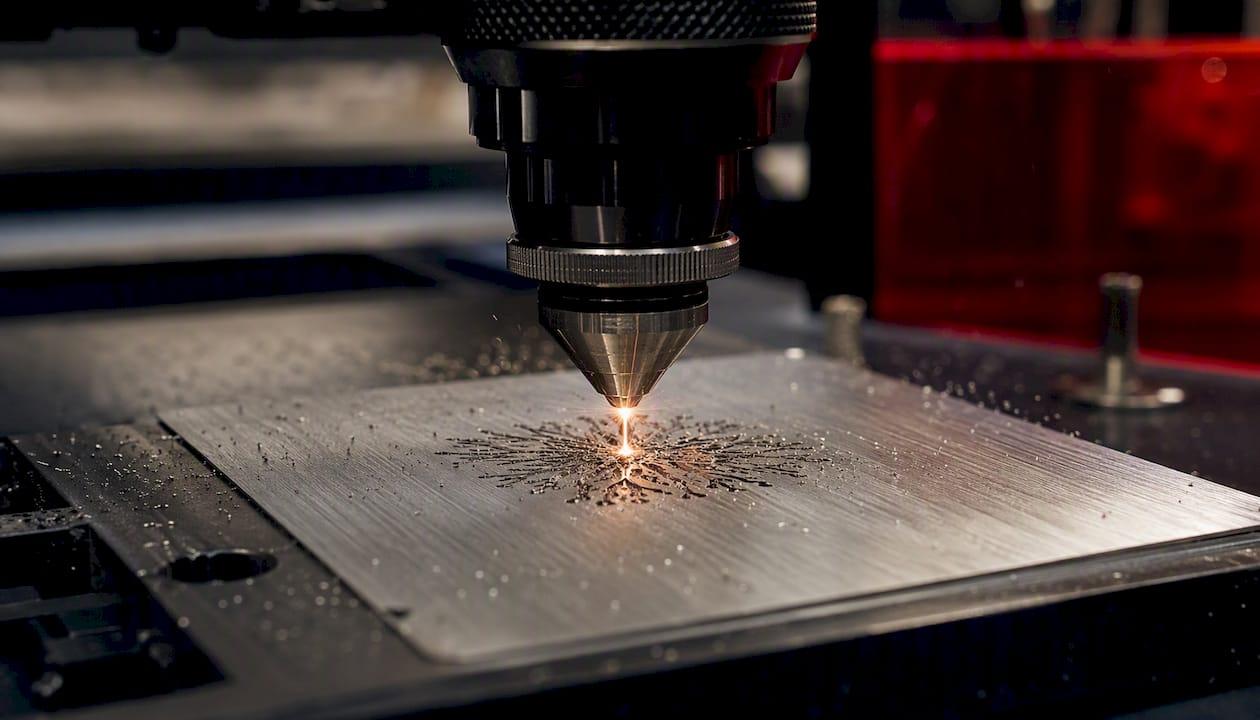
Best for: Firearms, aerospace parts, medical devices, and any application requiring tamper-resistant, scannable marks.
Dot-peen (impact) marking
A carbide or diamond-tipped stylus pneumatically strikes the surface in a grid of dots to form characters. The marks are deep and permanent, though the surface finish is rougher than a laser mark. Dot-peen excels on hardened steel where laser power would need to be very high.
Best for: High-volume traceability on heavy industrial parts, VIN plates, and castings.
CNC/rotary (milling) engraving
A spinning end mill cuts characters into the surface. Depth is highly controllable, and the method works on virtually any machinable material. It’s slower per part than laser or dot-peen, but produces clean, wide characters that are easy to read without magnification.
Best for: Plaques, identification plates, and parts where character width matters more than throughput.
Electrochemical/electro-etching
An electrolyte solution and a low-voltage current etch the surface through a stencil. The process is gentle enough for hardened or thin-walled parts where impact or heat would cause distortion. Marks are shallower than laser or dot-peen, which limits tamper resistance.
Best for: Hardened tool steel, thin-walled tubing, and parts where heat or vibration from other methods is a concern.
Stamping/press marking
Steel stamps are driven into the surface with a press or hammer. The result is a deep, permanent impression that requires no power source in the field. It’s the oldest method and still common for low-tech environments and field marking.
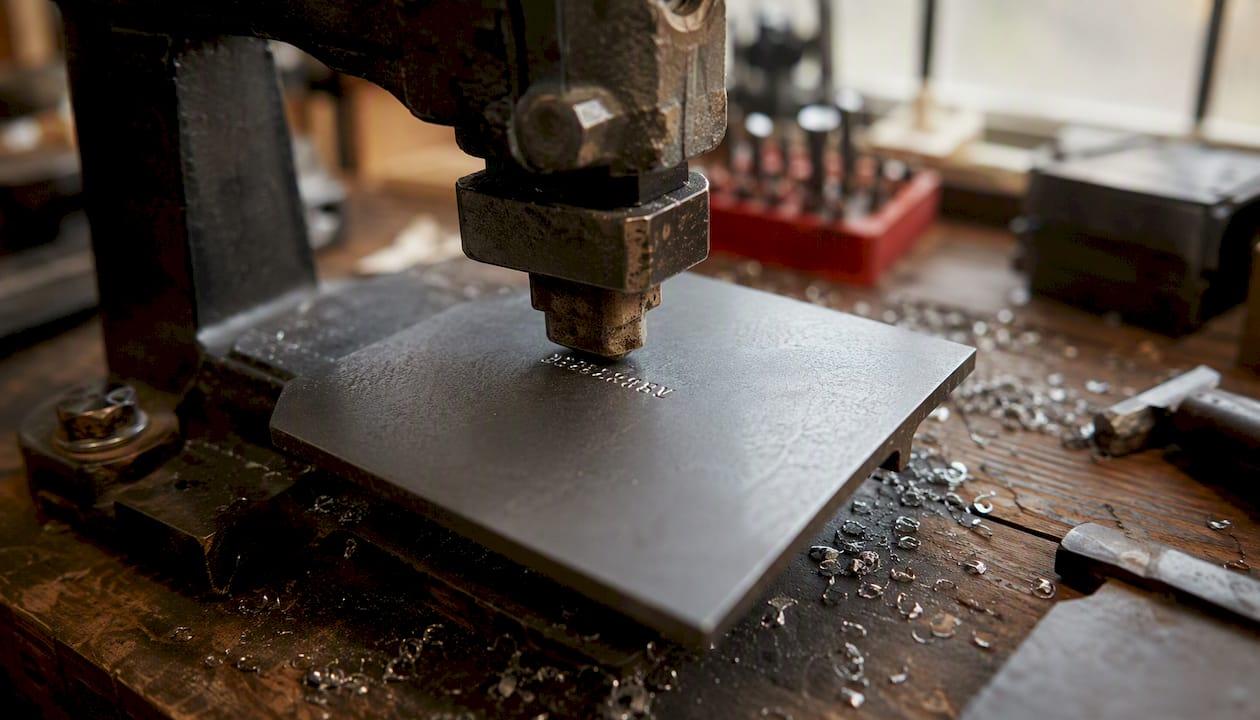
Best for: Deep tamper-resistant marks on soft metals, field-expedient marking, and legacy compliance requirements.
Method comparison
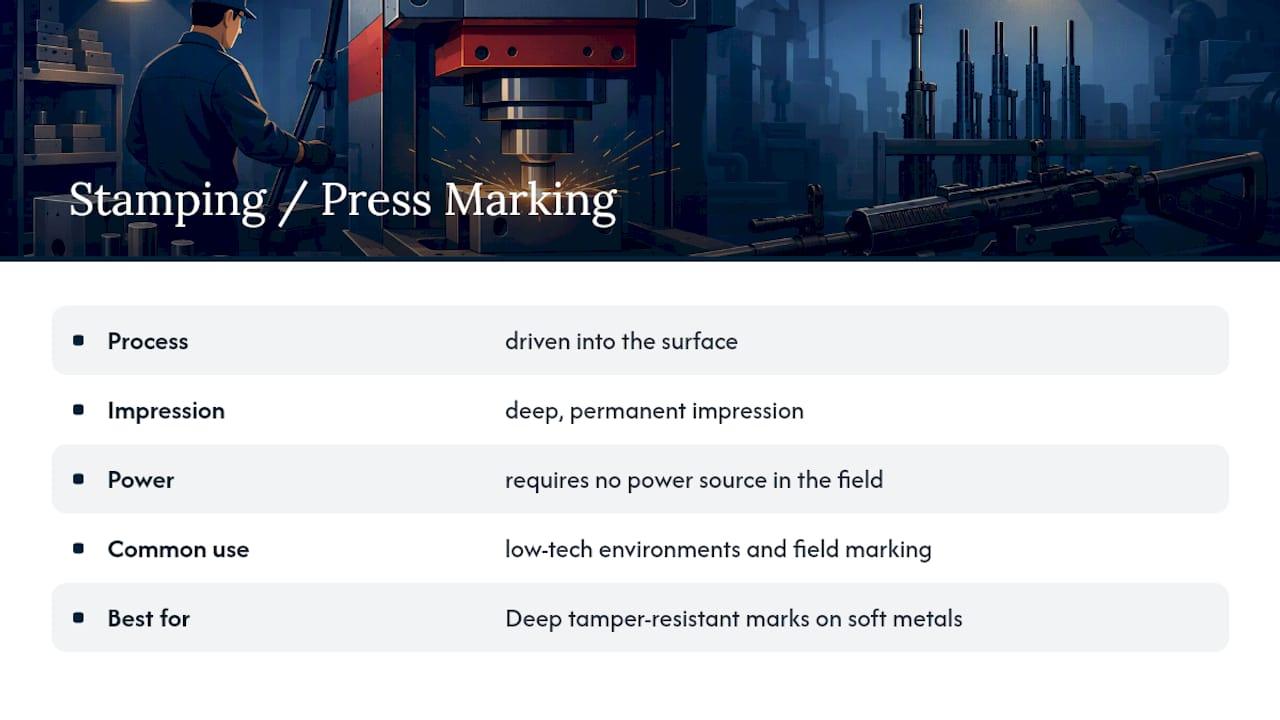
Cost per mark reflects labor and consumables at typical shop rates for small-to-medium batches; setup fees are separate.
For understanding the technical differences between etching, engraving, and marking methods, the distinctions matter when specifying a job.
What specs should you demand for a readable, durable mark?
Getting the method right is only half the job. The other half is specifying the mark correctly so it stays readable through the part’s entire service life.
Character height and minimum size
For industrial parts, a character height around a few millimeters is generally considered the practical minimum for unaided human readability, with smaller sizes possible for compact components though risking legibility issues under field conditions. Identification plates and asset tags typically use 4–6 mm characters for easy scanning at arm’s length.
Depth targets by material
Depth is what separates a permanent mark from a surface treatment that wears away. On steel and stainless, target 0.003–0.005 in. (0.076–0.127 mm) for laser engraving. Aluminum is softer, so 0.002–0.003 in. is usually sufficient. Deeper marks resist tampering and survive surface refinishing. For best practices on permanent marking for steel, depth consistency across a batch is the single most important QA checkpoint.
Font, stroke width, and spacing
Use a monospaced, sans-serif font such as Arial, Courier, or a purpose-built engraving font (DIN 1451 is common in industrial settings). Variable-width fonts create uneven stroke widths that reduce readability at small sizes. Avoid decorative or condensed fonts entirely.
Placement rules
Never place a serial mark over an existing factory serial number, proof mark, or safety-critical stamp. On firearms, the receiver’s flat is the standard location; on engine parts, use a non-load-bearing surface away from stress risers. Leave a clear zone of at least 3 mm around the mark so it reads cleanly without visual interference from adjacent features.
Common mistakes to avoid:
- Removing masking tape before the part has cooled (pulls residue into the engraved trench)
- Painting over a laser mark without first confirming the paint system is transparent to the mark’s contrast
- Specifying a font that the shop’s software cannot render at the required size
- Placing a mark on a curved surface without confirming the shop can fixture it correctly
Pro Tip: Ask the shop to send a photograph of the finished mark under raking light (light at a low angle to the surface). Raking light reveals depth and edge definition that flat photography misses, and it’s the fastest way to confirm the mark meets spec before you accept the part.
What equipment does a shop use for serial number marking?
Understanding the machines helps you ask better questions and set realistic expectations when you send a part to a shop.
Machine categories
Fiber MOPA lasers are the preferred tool for metals. MOPA (Master Oscillator Power Amplifier) architecture lets the operator tune pulse width independently of frequency, which means the shop can dial in contrast on anodized aluminum without burning through the finish, or drive deeper into stainless without heat distortion. Industrial fiber lasers like Trotec’s SpeedMarker series, running Ruby software, automate serial-number generation, DataMatrix marking, and repeatable workflows for metals including stainless and anodized aluminum.
CO2 lasers mark non-metals well (wood, acrylic, leather, coated metals) but cannot engrave bare steel or aluminum without a metal-marking spray. They’re common in shops that handle both personalized gifts and light industrial work.
Dot-peen systems are self-contained units, often portable, that connect to a PC for character layout. They’re fast on production lines and require no consumables beyond the stylus tip.
CNC engraving mills use standard G-code, making them easy to integrate into existing machining workflows. Haas documents G47 text engraving parameters including depth, retract height, and field width, along with common errors that arise when required parameters are omitted.
Handheld portable engravers are available for DIY use, but they typically produce shallower, lower-contrast marks and require careful fixturing and operator skill. They’re fine for light personalization but not for tamper-proof industrial or firearm compliance work.
Safety and shop setup basics
- Fume extraction: Laser engraving metal produces fine metallic particulate. A dedicated fume extractor with HEPA and activated-carbon filtration is non-negotiable.
- Safety interlocks: Class 4 fiber lasers require enclosures with door interlocks that cut the beam if the enclosure opens during a run.
- Fixturing and jigs: Consistent depth and placement depend on repeatable fixturing. A well-made jig pays for itself on the second batch.
- PPE: Laser-rated eye protection matched to the laser’s wavelength (1064 nm for fiber), plus hearing protection near dot-peen systems.
- ESD considerations: For electronics, ground the part and use anti-static fixturing to avoid damaging sensitive components during marking.
When to buy vs. when to hire: If you’re running more than 500 identical parts per month and have a dedicated operator, a fiber laser system starts to pencil out. For anything below that volume, legally sensitive firearm marking, or one-off jobs, hiring a professional shop costs less and carries zero equipment risk. A shop also carries the compliance documentation that a DIY setup cannot easily replicate.
What does serial number engraving typically cost, and how long does it take?
Price and turnaround depend on five factors: method, material, character count, batch size, and whether the job involves a firearm or other regulated item.
Cost drivers
- Method: Laser setup costs more per job than stamping, but the per-mark cost drops fast with volume.
- Material: Hard materials (titanium, hardened steel) require more passes or higher power, adding time.
- Character count and complexity: A 10-digit alphanumeric serial costs more than a 4-digit number.
- Batch size: Setup fees are fixed; spreading them over 100 parts cuts per-unit cost significantly.
- Firearm handling: Regulated items require chain-of-custody documentation, secure storage, and often a separate handling fee.
Typical pricing bands
Ranges reflect typical U.S. shop rates. Shipping, fixturing fabrication, and compliance documentation may add cost.
What to include in your quote request
- A clear photo of the part (all sides, with a ruler for scale)
- Material and finish (e.g., “304 stainless, brushed finish”)
- Exact text, font preference, and character height
- Quantity and whether parts are identical or sequentially numbered
- Required depth or compliance standard (ATF, MIL-SPEC, etc.)
- Your deadline
For asset marking and batch serialing guidance, a complete quote request saves at least one round-trip email and often cuts lead time by a full day.
How does a professional engraving job actually run?
Knowing the steps helps you send the right information upfront and verify the result when the part comes back.
- Inquiry. Send photos, material spec, exact text, font, character height, quantity, and any compliance requirements. The shop confirms feasibility and quotes.
- Quoting. The shop reviews fixturing needs, method selection, and compliance requirements, then returns a written quote with turnaround.
- Fixturing and masking. The shop fabricates or selects a jig to hold the part at the correct angle and height. Masking tape or a protective film covers adjacent surfaces if needed.
- Test mark on scrap. Shops typically test the proposed serial format on a sacrificial scrap part and photograph the result for client approval before running a production batch. This step prevents irreversible mistakes.
- Production marking. The shop runs the full batch, with the machine incrementing serial numbers automatically for sequential jobs.
- Inspection. Visual check for depth, legibility, and placement. For barcoded or Data Matrix marks, a scanner verifies readability. Depth gauges confirm compliance specs.
- Finishing. Masking removed, surface cleaned, any post-mark treatment (anodizing touch-up, clear coat) applied.
- Shipping/return. Parts packed securely, with QC photos and documentation included.
What to send to the shop:
- High-resolution photos of the part (all relevant surfaces)
- Material data sheet or alloy designation
- Exact text string, including leading zeros if required
- Font name or sample image
- Desired character height and depth
- Quantity and sequential range (e.g., SN-00001 through SN-00250)
- Any required certification or compliance note
Template for your initial contact email:
Part description: [e.g., AR-15 lower receiver, 7075 aluminum, anodized black]
Text to engrave: [exact string, e.g., “SN: 2026-00001”]
Font: [e.g., Arial Bold, 3 mm tall]
Depth required: [e.g., 0.003 in. minimum, ATF compliant]
Quantity: [e.g., 1 / 50 / 500, sequential]
Deadline: [date]
Photos attached: [yes/no]
For artwork prep, file types, and proofing workflows, getting your files ready before you reach out speeds the whole process.
How do shops automate sequential serial numbers for production?
Sequential numbering is where manual marking breaks down and automation earns its keep. Two main approaches handle it: G-code macros for CNC mills and software-driven templates for laser systems.
G-code macro approach (TB188-style)
Centroid’s TB188 document outlines a G-code macro approach for automatic sequential part numbering. The architecture uses one main macro that sets variables and calls a second macro, which indexes digits through separate small G-code subprograms. The system saves the current serial index between machine cycles, so the count continues correctly even after a restart. Key parameters to configure:
- Start value: The first serial number in the run
- Digit padding: Leading zeros to maintain a fixed field width (e.g., 00001 vs. 1)
- Spacing: Distance between characters, set in the G-code parameters
- Overflow/rollover: What happens when the counter exceeds the field width
Tormach notes that overflow and formatting behavior, such as rollover from 00009 to 00010, must be handled by the engraving program so serial format and barcode or database readability are preserved. Missing this step is one of the most common causes of batch errors.
Haas G47 text engraving parameters cover depth (Z~), retract height (R~), and character width/height (P~/Q~). Shops running Haas mills typically configure these once per job template and save them as a named program.
Laser software templates (EZCAD, Ruby, JCZ)
Laser marking software such as EZCAD, JCZ, and Ruby supports an auto-increment serial-number object with settings for start value, increment, digit width, overflow behavior, and test-marking. The operator places a serial-number field in the layout, defines the bounding box and font, sets the starting value and increment step, and the software handles the rest. Trotec’s Ruby software, used with SpeedMarker fiber lasers, enables automated serial generation, DataMatrix marking, and job logging for full production traceability.
When to prefer laser software over G-code macros:
- Material is metal with a finished surface (laser avoids contact and vibration)
- Throughput is high (laser marks in seconds per part)
- The job includes DataMatrix or QR codes alongside the serial number
- The machine is a dedicated laser marker rather than a CNC mill
Pro Tip: Before running a production batch, export a test-print of the first five serial numbers and the rollover number (e.g., if your field is 5 digits, test 00098 through 00102). Catching a formatting error at this stage costs nothing. Catching it after 200 marked parts is expensive.
For custom text engraving on manufacturing tools and serial-marking tasks, the software configuration step is where most production errors originate, not the marking hardware itself.
What are the legal rules for firearm serial number engraving?
The short answer: never remove, alter, or obscure a factory serial number on a firearm. Full stop.
Under 27 CFR 478.92, a firearm’s serial number must be engraved, cast, or stamped in a manner that is not susceptible to being obliterated, altered, or removed. This applies to licensed manufacturers and importers. For individuals making a firearm for personal use under applicable federal and state law, ATF guidance specifies that the mark must be engraved or cast to a minimum depth of 0.003 in. and a minimum height of 1/16 in. (0.0625 in.) for the serial number.
The core rule, plainly stated: A compliant firearm serial mark must be permanent, legible, and placed on the frame or receiver. It cannot be painted over, ground down, or covered in a way that makes it unreadable. Any shop that marks a firearm must document the process, maintain chain of custody, and return the firearm only to its lawful owner or through proper transfer channels.
Compliance checklist before sending a firearm to a shop
- Confirm the shop is licensed or operating within applicable federal and state law for firearm handling
- Provide proof of ownership (bill of sale, transfer paperwork, or equivalent)
- Confirm the mark location does not overlap any existing factory serial, proof mark, or safety stamp
- Specify the exact text, depth, and character height required
- Confirm the shop will provide written documentation of the mark (text, location, depth, date)
- Check your state’s laws, as some states have additional requirements beyond federal minimums
Operational safety and chain of custody
Firearms must be shipped through a licensed dealer (FFL) in most cases. Never ship a firearm directly to a shop unless the shop holds an FFL and has confirmed it can receive the transfer. Secure packaging, declared shipping, and adult signature requirements apply. When the part returns, verify the mark against your specification before accepting the shipment.
When in doubt, consult an attorney or contact the ATF directly. Firearm marking law is specific, and the consequences of a non-compliant mark are serious. This article is general information, not legal advice.
Why hire a professional engraving service?
DIY marking tools exist, but the gap between a compliant, permanent mark and a shallow scratch that fades in a year comes down to equipment, fixturing, and process discipline. A professional shop closes that gap reliably.
What a qualified shop provides:
- Guaranteed permanence. Calibrated equipment and verified depth checks mean the mark meets spec, not just looks right on the day.
- Legal-compliance handling. For firearms and regulated parts, the shop maintains documentation, chain of custody, and process records.
- Fixturing for repeatability. A shop that marks 50 identical parts uses a jig that holds every part at the same angle and height, so serial 00001 and serial 00050 look identical.
- QC reports. Photography of the finished mark, depth measurements, and scan verification (for barcoded marks) give you a paper trail.
- Volume pricing. Per-part cost drops significantly on batches, and setup fees amortize quickly.
What to expect from a reliable quote:
- Written turnaround commitment
- Offer of a test mark on scrap before production
- Photography of the finished mark included in delivery
- Clear terms for firearm handling (chain of custody, FFL confirmation, return shipping)
Questions to ask a shop, and red flags to watch for:
Ask whether the shop will provide QC photos of the finished mark. Ask how they handle chain of custody for firearms. Ask whether they can provide a test mark before the production run. Red flags include unwillingness to document the process, no clear answer on chain of custody, vague turnaround commitments, and no mention of depth verification. A shop that cannot answer these questions confidently is not the right shop for compliance-sensitive work.
For industrial laser engraving services and production workflows, the difference between a shop that takes compliance seriously and one that doesn’t shows up in the documentation, not just the mark.
What I’ve learned from running serial-number jobs
The most common mistake we see from new customers is underspecifying the job. A customer sends a part with a note that says “engrave serial number” and nothing else. No font, no character height, no depth requirement, no placement guidance. The shop has to guess, and guessing on a firearm receiver or a regulated industrial part is not something any good shop wants to do.
The second most common mistake is skipping the test mark. Customers in a hurry sometimes push to go straight to production. We always push back, because a test mark on a scrap piece of the same material costs almost nothing and prevents the kind of irreversible error that costs everyone time and money.
Pro Tip: For parts with a plated or anodized finish, always test the laser parameters on a scrap piece of the same lot before production. Plating thickness varies between batches, and a setting that works perfectly on one lot can burn through the finish on the next. Five minutes of testing saves an entire batch.
Signaturelaserdesigns handles serial-number engraving the right way
Signaturelaserdesigns works with both industrial clients and individual customers who need permanent, compliant identification marks. Whether you’re marking a batch of steel components, a single firearm receiver, or a set of personalized tools, our team handles the fixturing, compliance documentation, and QC photography so you get a mark that meets spec and holds up.
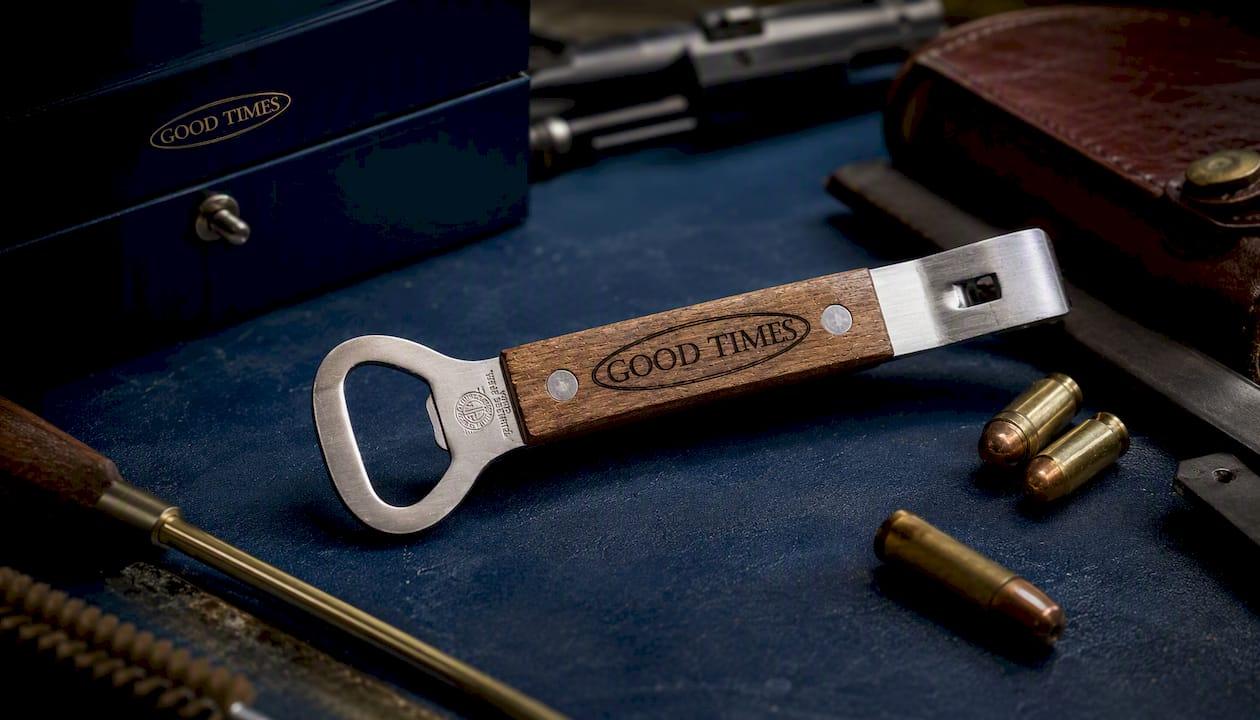
Getting a quote is straightforward. Send us a photo of your part, the material and finish, the exact text you need engraved, your preferred character height, and your quantity. We’ll confirm feasibility, quote the job, and offer a test mark before any production run. For personalized items and smaller custom orders, you can also find us on Etsy, where our
Sources
- eCFR
- G47 Text Engraving (Haas CNC)
- Set Serial Numbers on Laser Marking Machines Easily | Kirin
- Fiber laser marking machine: U-Series | Trotec Laser
This article is general information, not a substitute for advice from a qualified lawyer. Consult a qualified legal professional about your own circumstances before acting on anything here.
Recommended